소개
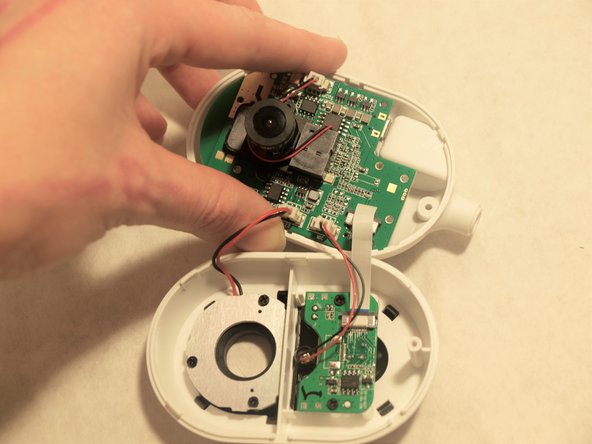
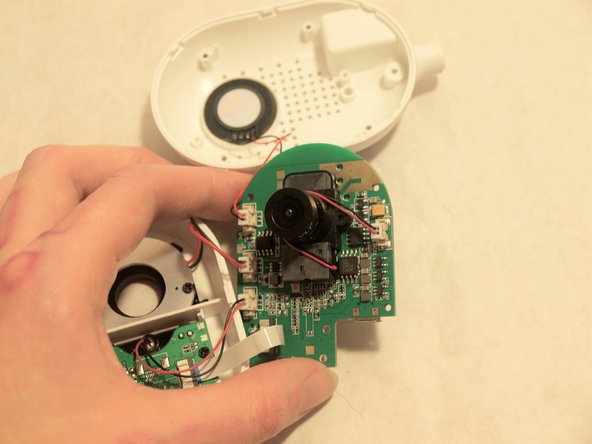
This repair guide shows how to access the micro SD card on the Swann Wi-Fi Indoor Security Camera in order to replace it. In addition to the server storage of all security camera recordings, the camera has an SD card to store video for longer periods. Common problems with the SD card reader are failure to save video and corrupted videos. More in-depth symptoms can be read about in the troubleshooting page here.
This repair guide requires the handling of electrical components that may be sensitive to ESD (Electrostatic Discharge), so proper ESD protection is also advised.
필요한 것
-
-
-
Facing the front of the camera, remove the four 2.0 mm Phillips #0 black screws that hold the back of the motherboard to the case.
-
To reassemble your device, follow these instructions in reverse order.
To reassemble your device, follow these instructions in reverse order.


