주요 콘텐츠로 건너뛰기

Teddy Ruxpin Eyes Replacement

필요한 것

  1. Teddy Ruxpin Eyes Replacement, Battery: 1 단계, 이미지 1/2 Teddy Ruxpin Eyes Replacement, Battery: 1 단계, 이미지 2/2
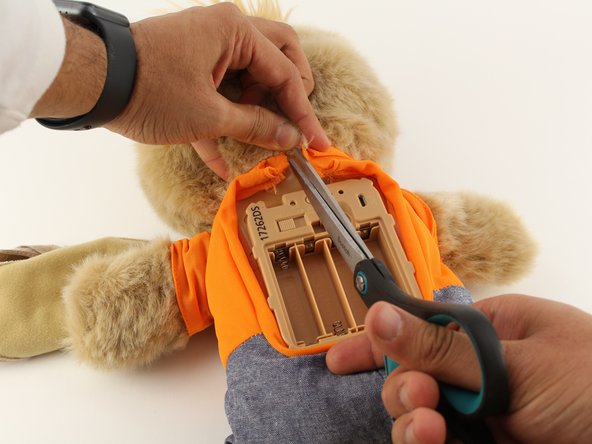
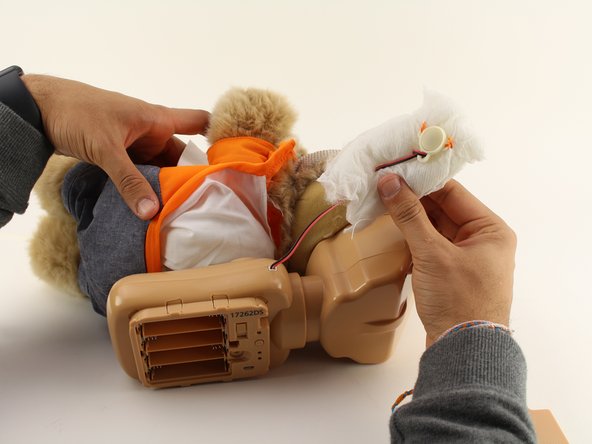
    • Remove the vest covering the back of the bear.

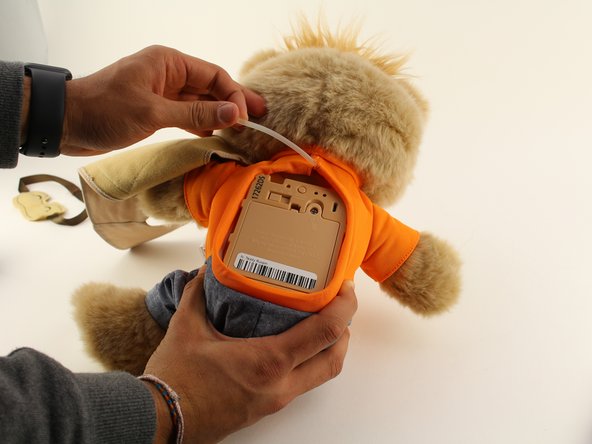
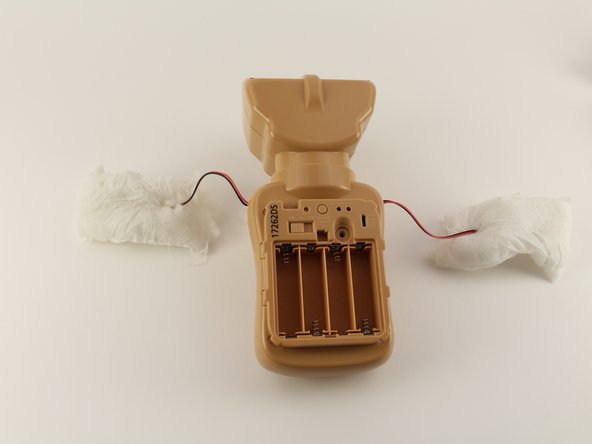
    • Orient the bear with his back facing upwards and unscrew the single Phillips #2 screw.

    • Captured screws will stay in place, no need to worry about losing this one!

  2. Teddy Ruxpin Eyes Replacement: 2 단계, 이미지 1/1
    • Pull the tab outward to remove the protective plate for the batteries.

  3. Teddy Ruxpin Eyes Replacement: 3 단계, 이미지 1/1
    • Remove all four AA batteries by pushing the positive end down and pulling the battery out toward yourself.

  4. Teddy Ruxpin Eyes Replacement, Arms: 4 단계, 이미지 1/3 Teddy Ruxpin Eyes Replacement, Arms: 4 단계, 이미지 2/3 Teddy Ruxpin Eyes Replacement, Arms: 4 단계, 이미지 3/3
    • Cut the orange shirt and zip tie.

    • Remove the zip tie.

  5. Teddy Ruxpin Eyes Replacement: 5 단계, 이미지 1/1
    • Cut across the back seam of the head of the bear along the arrow.

    • This damages the bear's exterior and will require resewing.

  6. Teddy Ruxpin Eyes Replacement: 6 단계, 이미지 1/3 Teddy Ruxpin Eyes Replacement: 6 단계, 이미지 2/3 Teddy Ruxpin Eyes Replacement: 6 단계, 이미지 3/3
    • Remove the interior of the doll.

    • Peel the outer layer around the head of the bear and forcefully pry off the face of the bear from the outside layer of the bear.

    • This will be difficult and require significant force, but do not fear about breaking the doll at this stage.

  7. Teddy Ruxpin Eyes Replacement: 7 단계, 이미지 1/2 Teddy Ruxpin Eyes Replacement: 7 단계, 이미지 2/2
    • Extract each arm button.

    • Pull on the stuffing of the bear and not the wire to remove the arm button.

  8. Teddy Ruxpin Eyes Replacement: 8 단계, 이미지 1/2 Teddy Ruxpin Eyes Replacement: 8 단계, 이미지 2/2
    • Pull off the rest of the outside layer of the bear.

  9. Teddy Ruxpin Eyes Replacement: 9 단계, 이미지 1/1
    • Unplug the arms from the main body.

  10. Teddy Ruxpin Eyes Replacement, Housing Cover: 10 단계, 이미지 1/3 Teddy Ruxpin Eyes Replacement, Housing Cover: 10 단계, 이미지 2/3 Teddy Ruxpin Eyes Replacement, Housing Cover: 10 단계, 이미지 3/3
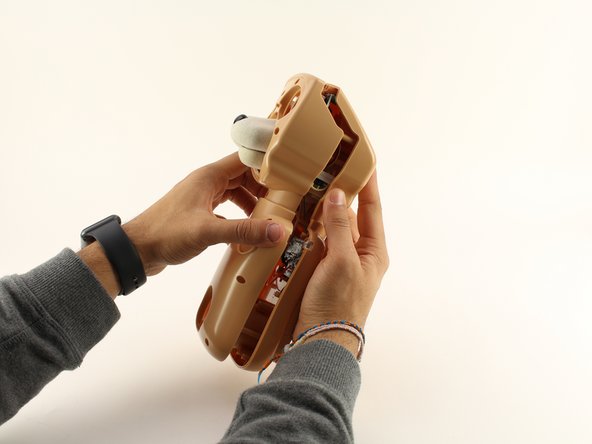
    • Unscrew the eleven circled 12.5mm Phillips #1 screws.

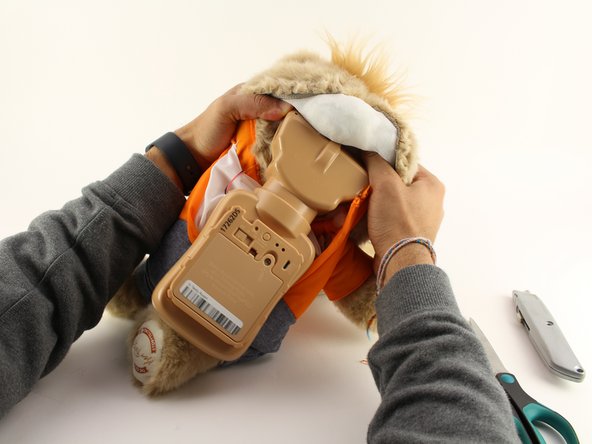
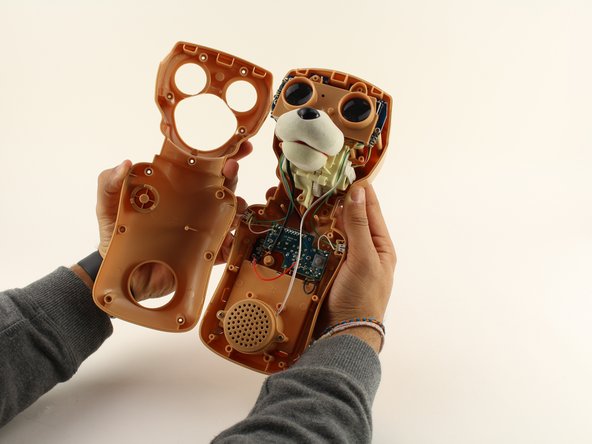
    • Remove the top of the housing to access the electronics inside.

  11. Teddy Ruxpin Eyes Replacement, Eyes: 11 단계, 이미지 1/1
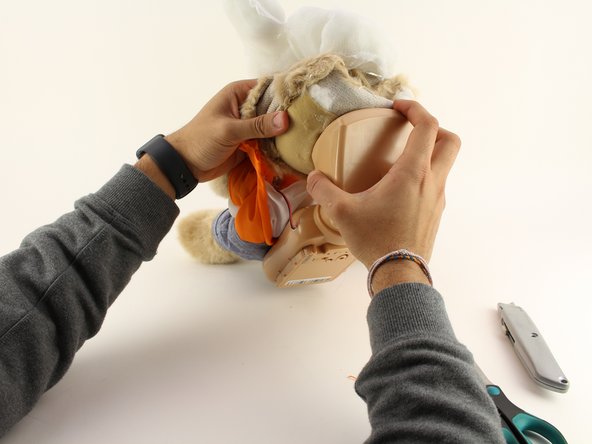
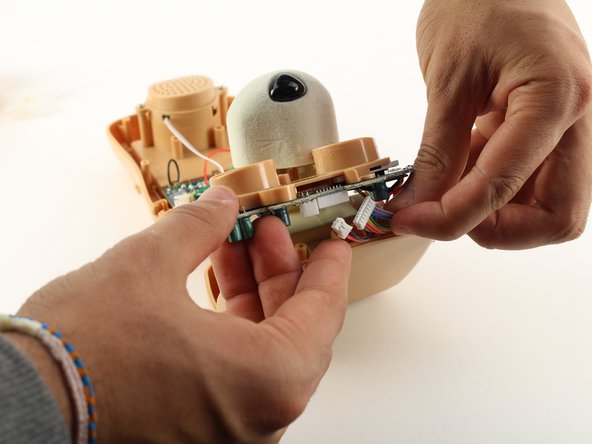
    • Using a Phillips #1 screwdriver, remove the two 12.5mm screws connecting the eyes to the rest of the mechanism.

  12. Teddy Ruxpin Eyes Replacement: 12 단계, 이미지 1/2 Teddy Ruxpin Eyes Replacement: 12 단계, 이미지 2/2
    • Unplug the two sets of wires connected to the back of the eyes by using moderate to high force.

  13. Teddy Ruxpin Eyes Replacement: 13 단계, 이미지 1/1
    • Once those wires are disconnected, desolder the wires connected from the eye motherboard.

결론

To reassemble your device, follow these instructions in reverse order.

다른 2명이 해당 안내서를 완성하였습니다.

Jayin Patel

회원 가입일: 01/23/20

406 평판

안내서 4개 작성하였습니다

Cal Poly, Team S18-G5, White Winter 2020 Cal Poly, Team S18-G5, White Winter 2020 회원

CPSU-WHITE-W20S18G5

4 회원들

안내서 7개 작성하였습니다

댓글 0개

댓글 쓰기

조회 통계:

24 시간 전: 0

7일 전: 2

30일 전: 10

전체 시간: 1,253