소개
This is a guide for replacing the battery of the Velocity Micro Cruz T301.
This guide shows how to take off the back panel and remove the battery. After replacing the battery, the device will need to be reassembled in the opposite order.
The battery powers the tablet and may need to be replaced if the device will not turn on. The tablet will also need to be replaced if it does not hold a charge.
If the battery seems to be damaged or swollen, use this guide to safely remove the battery.
Make sure that the device is turned off before using this guide.
필요한 것
-
-
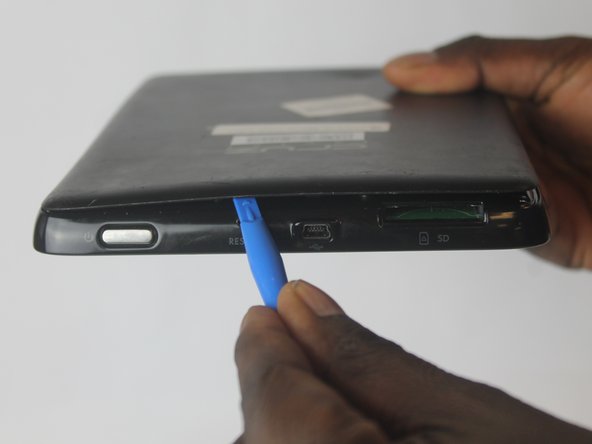
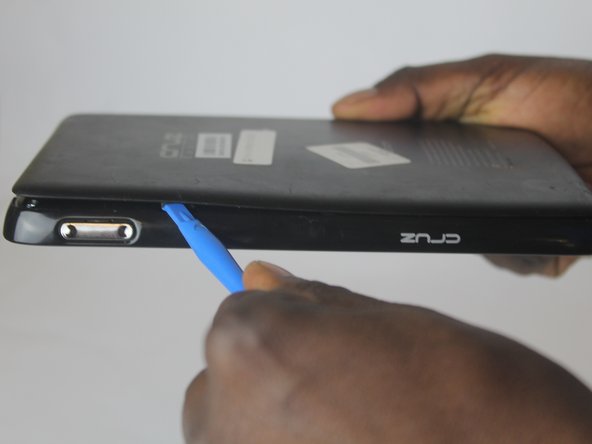
Insert the plastic iFixit opening tool into the SD port. Orient the iFixit opening tool so that the edge faces the rear panel.
-
-


To reassemble your device, follow these instructions in reverse order.
To reassemble your device, follow these instructions in reverse order.
다른 한 분이 해당 안내서를 완성하였습니다.
팀

USF Tampa, Team 1-6, Cagle Fall 2016 USF Tampa, Team 1-6, Cagle Fall 2016 회원
USFT-CAGLE-F16S1G6
3 회원들
안내서 5개 작성하였습니다