소개
A type F power outlet, also known as a Schuko socket, is a common electrical socket used in many European countries. Over time, these outlets may become damaged or worn out, and it's important to replace them to ensure safe and reliable electrical connections.
It's important to note that this guide involves working with electrical wiring, which can be extremely dangerous if not handled properly. If you're not comfortable working with electrical wiring, or if you're unsure about any aspect of the process, we strongly recommend that you seek the assistance of a qualified electrician.
Please be aware that many local jurisdictions have regulations that prohibit unlicensed individuals from performing electrical installations or modifications. Before attempting any electrical work, check your local building codes and regulations to ensure that you are legally permitted to do so. Failure to comply with these regulations may result in fines, invalidated insurance, or difficulties when selling your property.
Assuming you're confident, legally permitted, and capable of working with electrical wiring, this guide will walk you through the steps of replacing a momentary switch, including how to safely disconnect the power supply, removing the old switch, and installing the new one. It's important to remember that electrical work should always be approached with caution, so make sure to follow the instructions carefully and double-check your work at every stage of the process.
필요한 것
-
-
Find your Breaker Panel.
-
Identify the breaker to turn off.
-
Turn off the breaker.
 FixBot에 문의하기
-
-
-
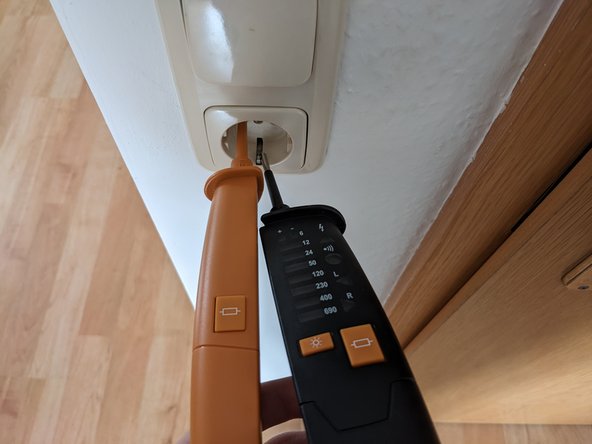
Use a Duspol or any other two-pole voltage tester to test if there is voltage at the contacts.
-
-
-
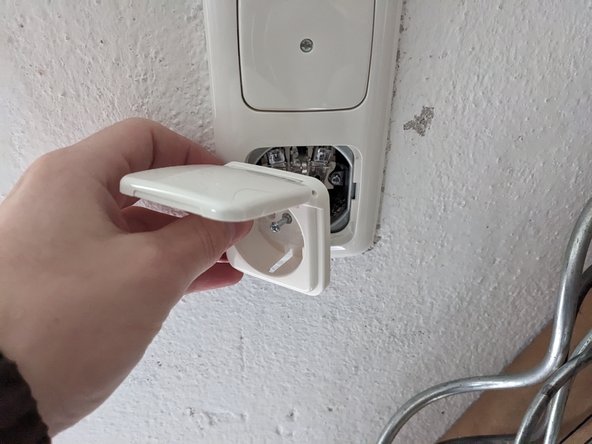
Remove the outlet cover by unscrewing the middle captive screw with flat head screwdriver.
-
Remove the frame.
-
-
-
-
Mount the outlet by following the previous steps in reverse.
-
-
-
Measure across Hot and Neutral.
-
Measure across Hot and Ground.
-
Measure across Ground and Neutral.
-
Apply load between Hot and Neutral by pressing the two large buttons.
-






To reassemble your device, follow these instructions in reverse order.
다른 2명이 해당 안내서를 완성하였습니다.

