소개
This guide will show you how to replace the heat sink and fan of your Xbox One.
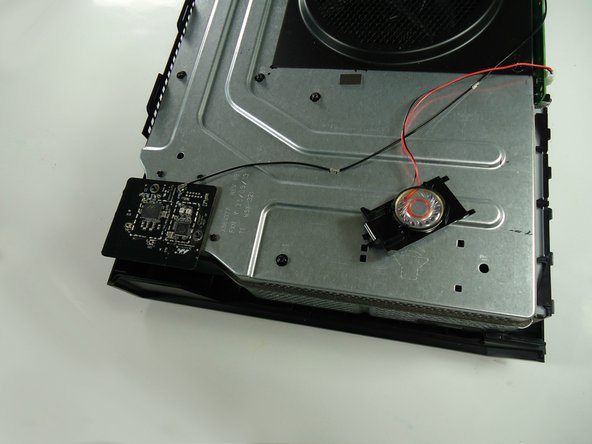
The fan is responsible for keeping the Xbox's processor at a safe operating temperature. Without it the Xbox cannot run and if it is not working properly, the Xbox may malfunction.
Note that this replacement requires you to remove the heat sink and fan from the motherboard. Every time you remove the heat sink you should replace the thermal paste that separates it from the motherboard. Be sure to have replacement thermal paste on hand before reassembling the device.
필요한 것
-
-
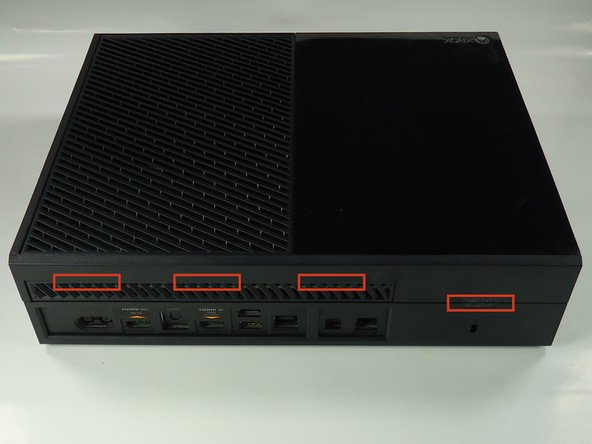
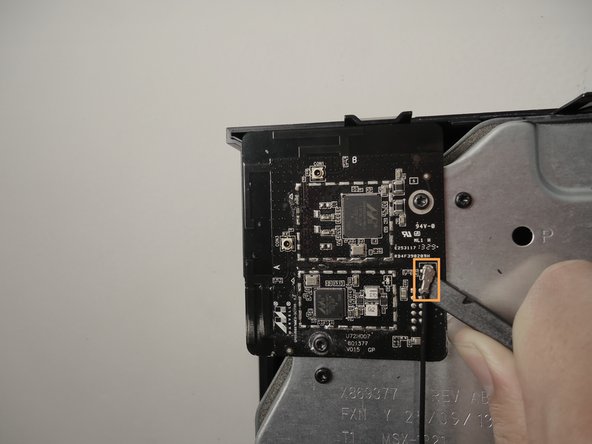
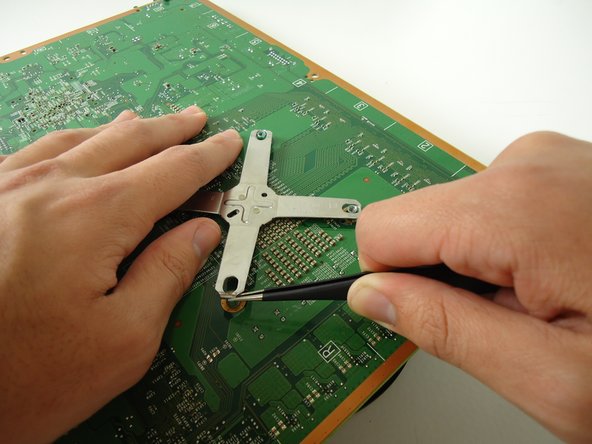
Slide the black angled tab behind the silver button toward the back of the console and set it aside.
-
-
-
-
Remove all eight of the 64.0 mm, T-9 screws labeled C1 through C8 securing the chassis top to the motherboard.
-
-
-
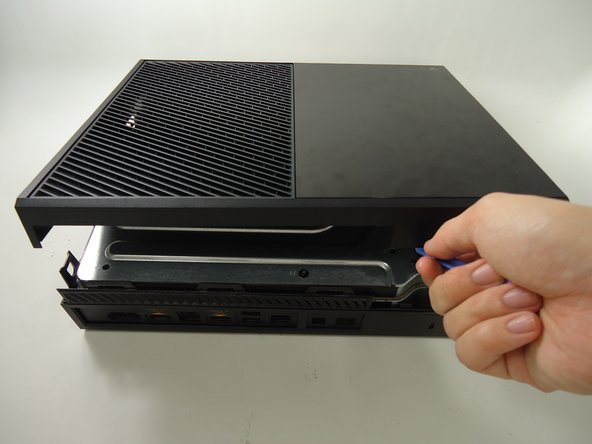
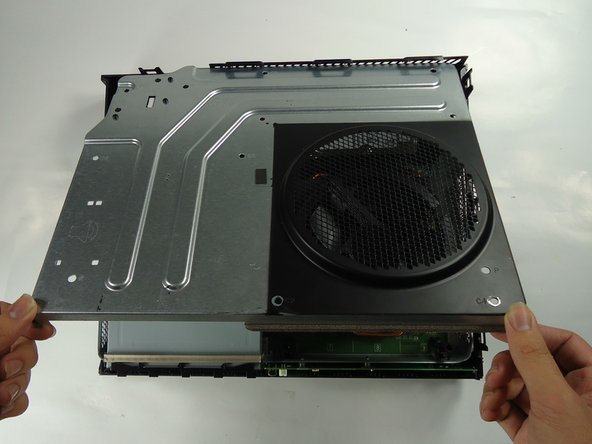
Lift the bottom half of the chassis (motherboard and all) from the bottom half of the black case.
-
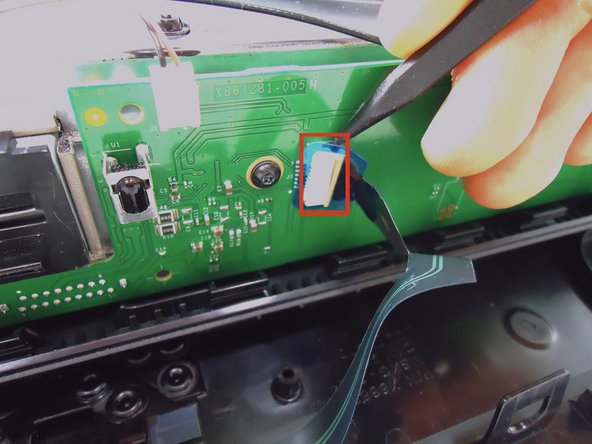
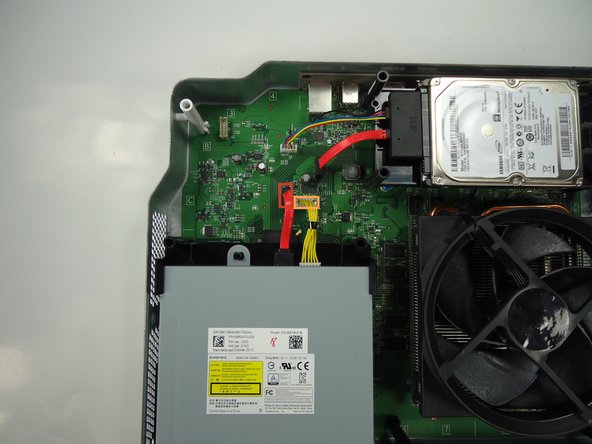
Unplug the red wire connecting the optical drive to the motherboard from its connector on the motherboard.
-
Unplug the yellow wire connecting the optical drive to the motherboard from its connector on the motherboard.
-
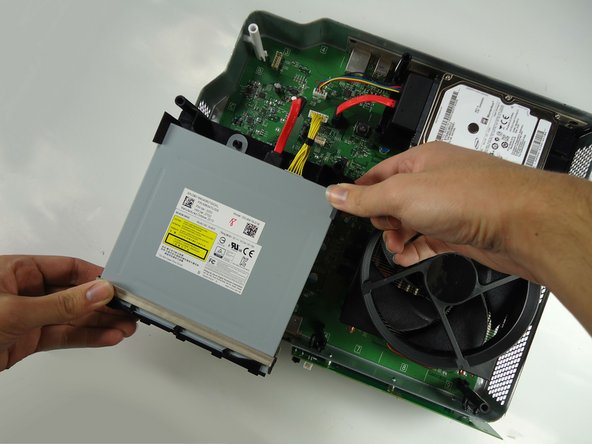
The optical drive is now free, lift it from the chassis and set it aside.
-
-
-
Unplug the red wire connecting the hard drive to the motherboard from its connector on the motherboard.
-
Unplug the multi-colored wire connecting the hard drive to the motherboard from its connector on the motherboard.
-
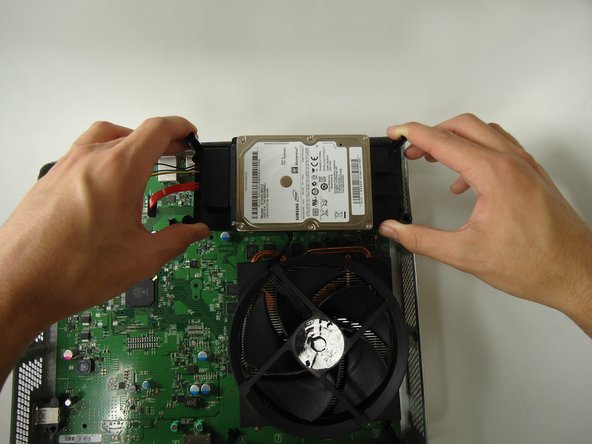
The hard drive is now free, remove it from the chassis by lifting straight up. Set it aside.
-
-
-
Turn the chassis upside down.
-
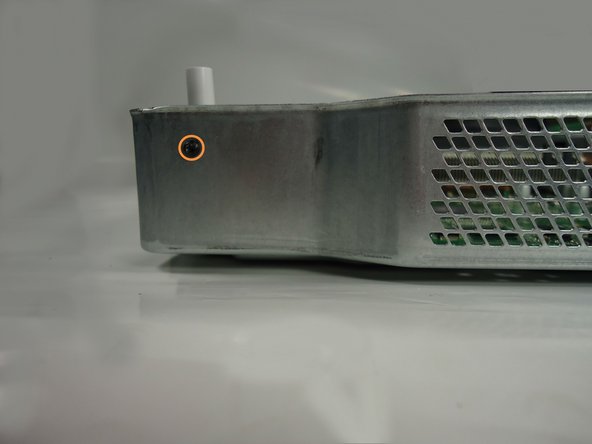
Remove the four black 9.5mm T-9 screws labeled A1, A2, A3, and A4.
-
Remove the four grey 11.0mm T-9 screws labeled B1, B2, B3, and B4.
-
-
-
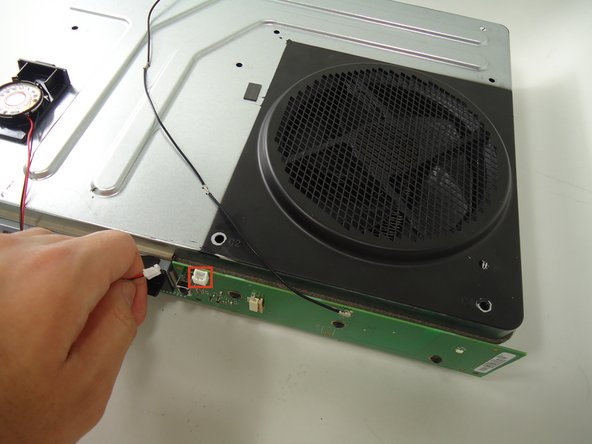
Use the flat end of the spudger to release the clips holding the fan onto the heat sink.
-


To reassemble your device, follow these instructions in reverse order.
To reassemble your device, follow these instructions in reverse order.
다른 5명이 해당 안내서를 완성하였습니다.
팀

Cal Poly, Team 6-22, Maness Winter 2014 Cal Poly, Team 6-22, Maness Winter 2014 회원
CPSU-MANESS-W14S6G22
4 회원들
안내서 11개 작성하였습니다