소개
For problems pertaining to poor sound quality, please read this guide. This guide is for replacing the headphone jack on the Xgody D300. You’ll need to know how to use a soldering iron to fully remove the headphone jack from the device. Please follow the steps carefully. By the end, your phone should be working as it normally should.
For more information on soldering, please read through the How to Solder and Desolder Connections guide.
필요한 것
-
-
-
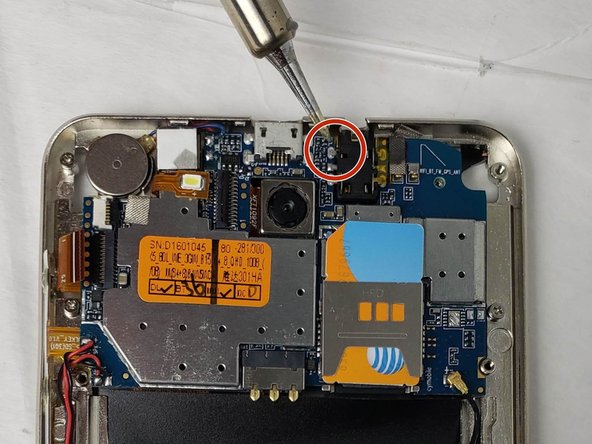
Use the Phillips #00 screwdriver to remove fourteen 3mm screws and one 6mm screw.
-
Use the Phillips #00 screwdriver to loosen three captive screws.
-
Lift the housing along the edges using the opening tool and tweezers. There will be a sticky pad that holds the housing to the smartphone.
-
-
-
Use the soldering iron and desoldering pump to remove the six soldered connections that are holding the headphone jack to the motherboard.
-


To reassemble your device, follow these instructions in reverse order.
To reassemble your device, follow these instructions in reverse order.
팀

Embry-Riddle Aeronautical University, Team S24-G5, McClure Fall 2019 Embry-Riddle Aeronautical University, Team S24-G5, McClure Fall 2019 회원
ERAU-MCCLURE-F19S24G5
4 회원들
안내서 10개 작성하였습니다