소개
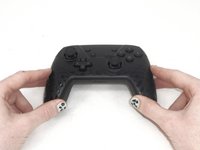
If your YCCTEAM YCC-SW4001 shoulder buttons (L, R, ZL, and ZR buttons) have debris under them, are broken, or are not functioning properly, you can follow this guide to clean or replace them.
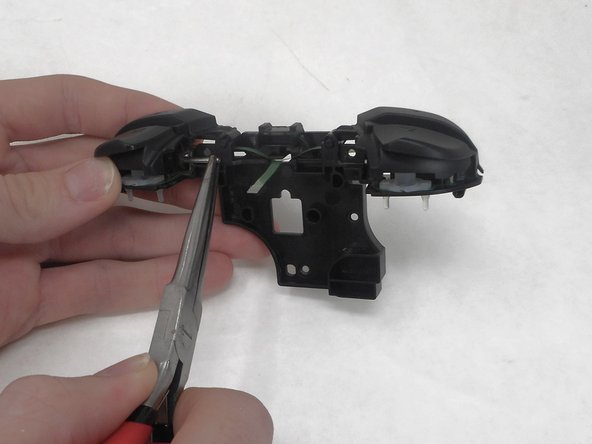
The shoulder buttons are used as inputs for the controller and have different functions across different games. This guide requires taking out an extra ZIF connector compared to the other guides. It is not dangerous, but the ZIF connector is very thin and could break with too much force.
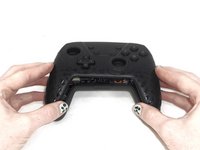
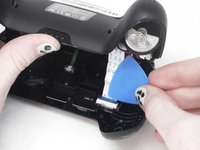
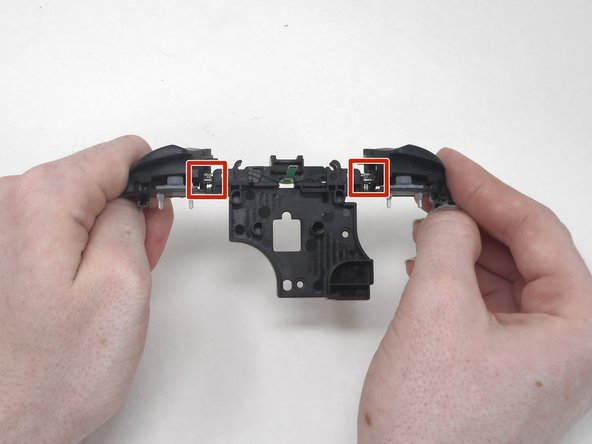
To take out the ZR and ZL buttons, a metal rod needs to be taken out. This is the most difficult part, and while it doesn't require any technical skills, it is difficult to maneuver the rods out from under the buttons.
필요한 것
-
-
Use a Phillips screwdriver to remove the eight 9.15 mm screws that secure the rear case.
 FixBot에 문의하기
-
-
-
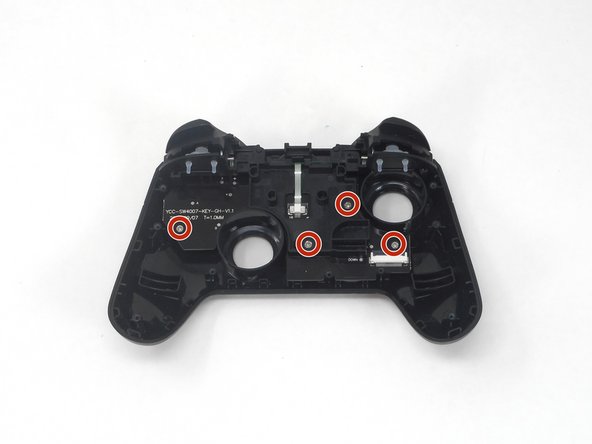
Use a Phillips screwdriver to remove the three 9.15 mm screws from the back of the controller.
-
-
-
On some models there are two more Phillips head screws on the sides that need to be removed before the front and back panels can be separated.
-
-
-
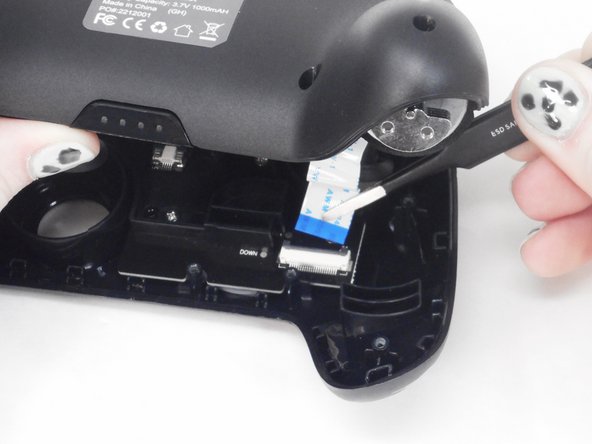
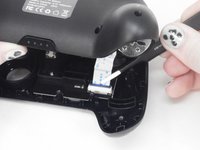
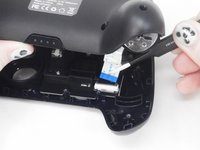
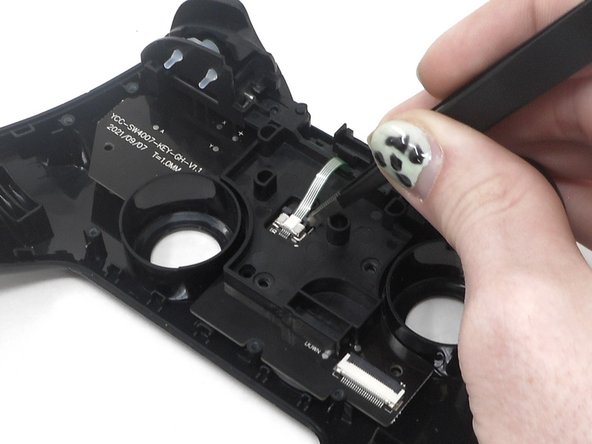
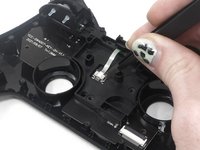
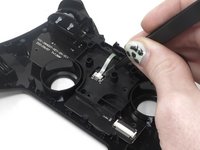
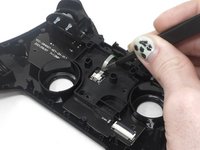
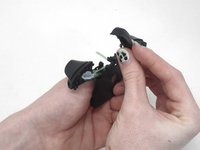
Use the tip of the opening pick to flip up the black locking flap of the ZIF connector.
-
-
-
-
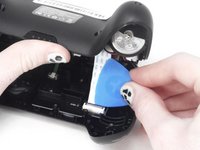
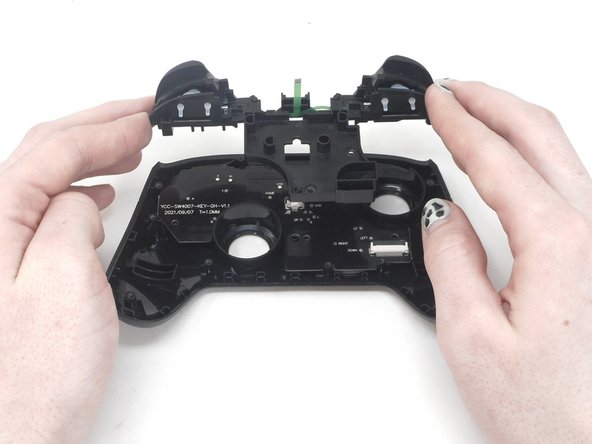
Flip over the front cover and remove the four 5.8 mm screws from the rear of the front cover using a Phillips screwdriver.
-
-
-
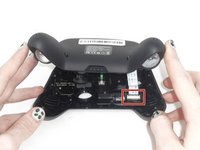
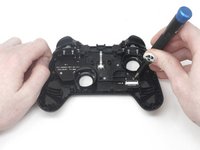
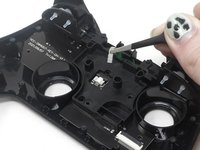
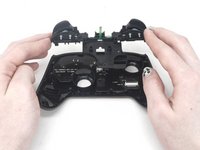
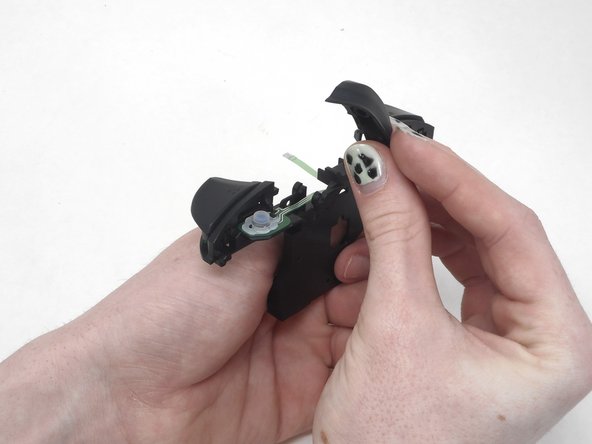
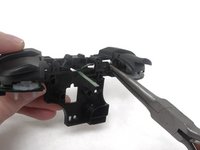
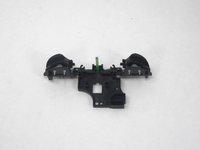
Remove the circuit board and shoulder buttons assembly from the front cover.
-
-
-
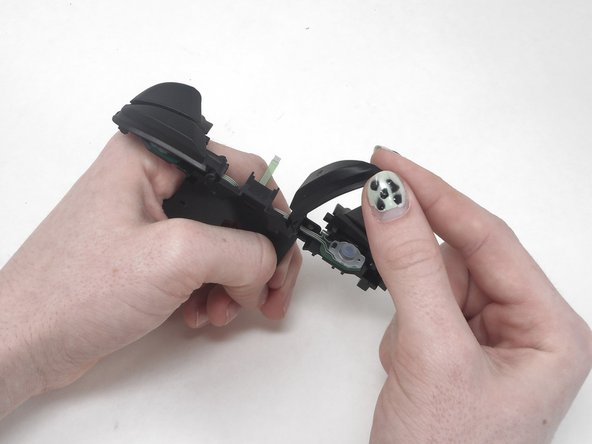
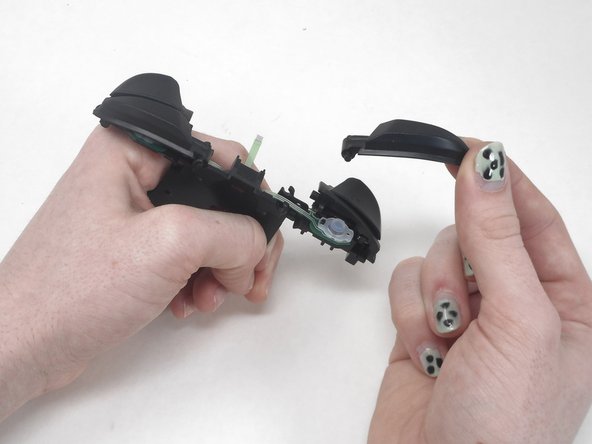
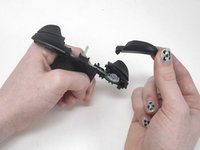
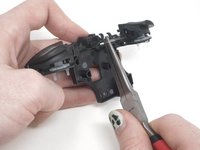
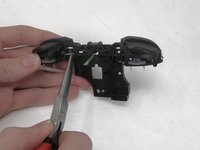
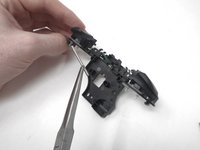
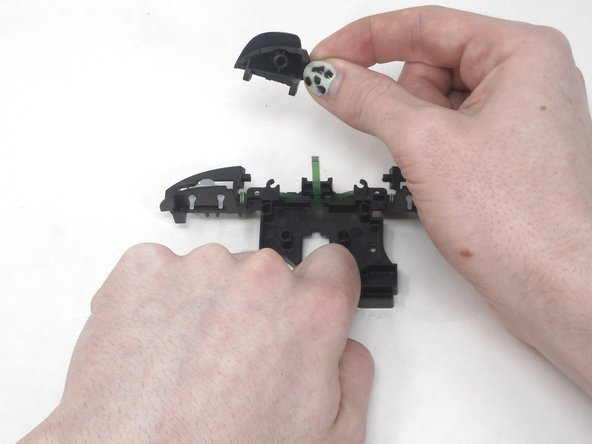
Remove the L button by hand.
-
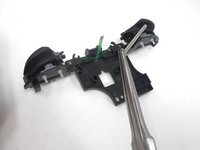
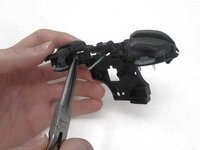
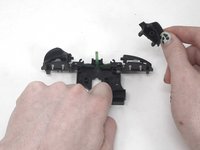
Flip the shoulder buttons attachment and look at the metal rods.
-


To reassemble your device, follow these instructions in reverse order.
팀

University of Memphis, Team 1-1, Sneed Spring 2024 University of Memphis, Team 1-1, Sneed Spring 2024 회원
UM-SNEED-S24S1G1
3 회원들
안내서 6개를 작성함