주요 콘텐츠로 건너뛰기

iHome IH11 AC Power Adapter Replacement

필요한 것

  1. iHome IH11 AC Power Adapter Replacement, Outer Case: 1 단계, 이미지 1/1
    • Unscrew the two 9.0 mm screws with the Phillips #1.

    • Remove the translucent bottom plastic piece.

  2. iHome IH11 AC Power Adapter Replacement: 2 단계, 이미지 1/2 iHome IH11 AC Power Adapter Replacement: 2 단계, 이미지 2/2
    • Remove the two 9.0mm screws on the back of the iHome with the Phillips #1 screwdriver.

    • Repeat the previous step for the two 9.0mm screws on the bottom.

    • Carefully slide the back cover off. There are wires attached to the back cover.

  3. iHome IH11 AC Power Adapter Replacement: 3 단계, 이미지 1/1
    • Remove the aluminum bracket by loosening the two nuts and removing the 8.0mm bolts with your hand.

  4. iHome IH11 AC Power Adapter Replacement, Motherboard: 4 단계, 이미지 1/2 iHome IH11 AC Power Adapter Replacement, Motherboard: 4 단계, 이미지 2/2
    • Remove the two 12.0mm screws that hold the motherboard with the Phillips #1 screwdriver.

    • Slide the motherboard gently out.

  5. iHome IH11 AC Power Adapter Replacement: 5 단계, 이미지 1/1
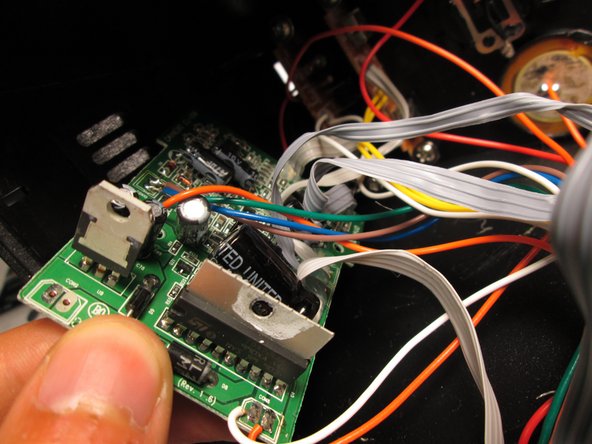
    • Remove the two 9.0 mm screws with the Phillips #1 screwdriver, then slide the circuit board for the AC adapter out.

    • Repeat the previous step by removing the two 9.0mm screws with the Phillips #1 screwdriver for the circuit board for the on/off switch.

  6. iHome IH11 AC Power Adapter Replacement: 6 단계, 이미지 1/2 iHome IH11 AC Power Adapter Replacement: 6 단계, 이미지 2/2
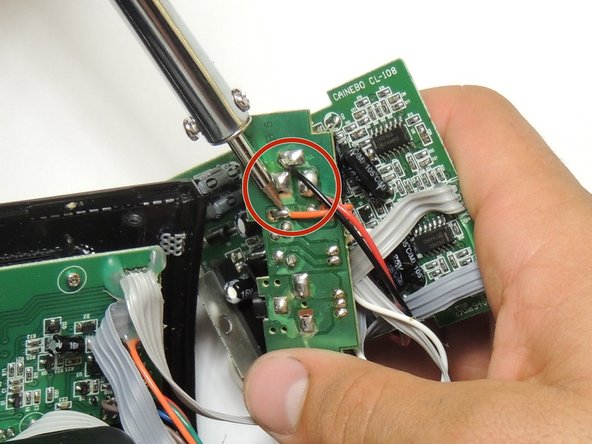
    • Unsolder the main connections holding the AC adapter to the circuit board.

    • Solder new adapter in same position with same connections.

결론

To reassemble your device, follow these instructions in reverse order.

다른 2명이 해당 안내서를 완성하였습니다.

Nick Knowles

회원 가입일: 04/19/13

21 평판

안내서 2개 작성하였습니다

Cal Poly, Team 14-9, Maness Spring 2013 Cal Poly, Team 14-9, Maness Spring 2013 회원

CPSU-MANESS-S13S14G9

5 회원들

안내서 5개 작성하였습니다

댓글 0개

댓글 쓰기

조회 통계:

24 시간 전: 0

7일 전: 0

30일 전: 0

전체 시간: 745