소개
Power hungry? Keep those electrons flowing by replacing your power supply.
필요한 것
-
-
Loosen the two captive Phillips screws securing the access door to the iMac.
-
Remove the access door from the iMac.
-
-
-
Flip your iMac over and lay it stand-side down on a flat surface.
-
To lift the front bezel off the iMac, simultaneously:
-
Use your thumbs to press in the RAM arms and hold the iMac down.
-
Use your index fingers to pull the small bridge of material on the front bezel toward yourself.
-
Pull the Front bezel up with your index fingers.
-
Once the small bridge of material has cleared the RAM arms, lift the front bezel by its lower edge just enough to clear the bottom edge of the rear case.
-
-
-
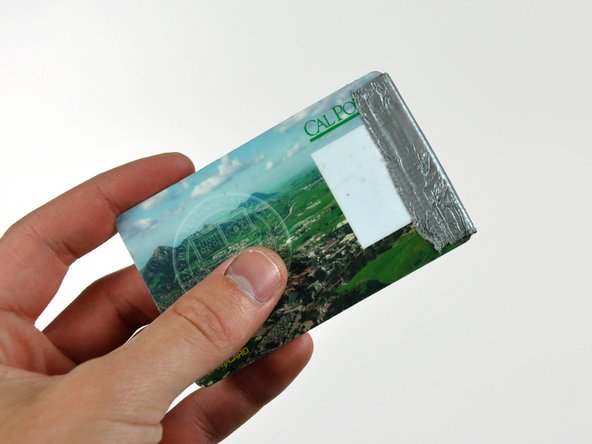
Insert a plastic card up into the corner of the air vent slot near the top of the rear case.
-
Push the card toward the top of the iMac to release the front bezel latch.
-
Pull the front bezel away from the rear case.
-
Repeat this process for the other side of the front bezel.
-
If the bezel refuses to release, try pressing the lower edge back onto the rear case and repeat this opening process.
-
-
-
-
De-route the bundle of power supply cables from behind the hard drive bracket.
-
-
-
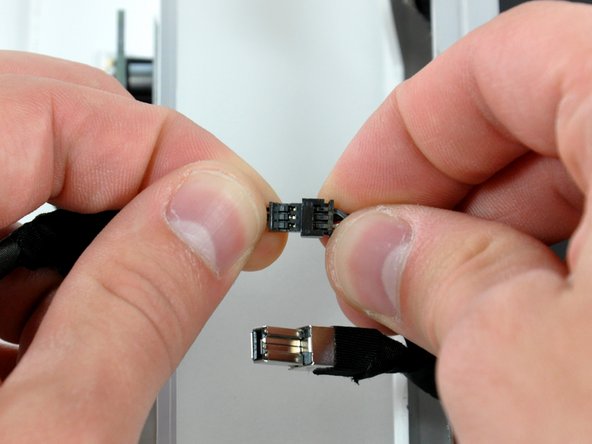
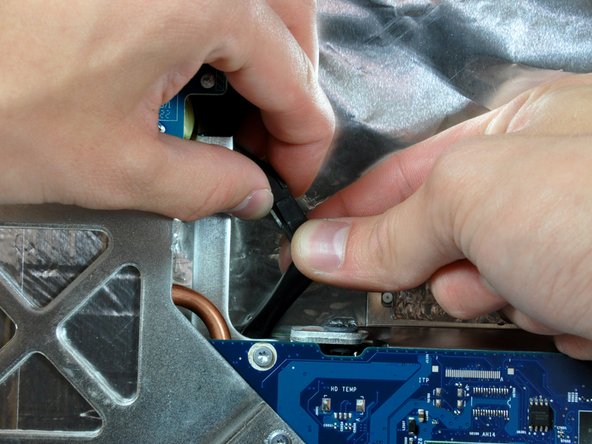
Unplug the power supply cable bundle from the logic board by simultaneously depressing the locking mechanism (toward yourself) with a spudger and pulling the connector away from its socket.
-
To reassemble your device, follow these instructions in reverse order.
To reassemble your device, follow these instructions in reverse order.
다른 57명이 해당 안내서를 완성하였습니다.
댓글 5개
The PSU in the 17” is smaller than shown and has the DC - DC convertor above it.
DC - DC convertor is above the psu in the 17” model and the psu is half the size than that shown.
@jess : Check this out: My iMac will not turn on? – it explains how to read the diagnostic LEDs.


