Use this guide to remove the logic board and strip it of all its peripherals: SSD, AirPort, heat sink and CPU, and RAM.
Before beginning any work on your iMac: Unplug the computer and press and hold the power button for ten seconds to discharge the power supply's capacitors.
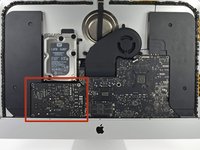
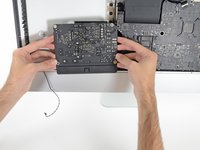
Be very careful not to touch the capacitor leads or any exposed solder joints on the back of the power supply. Only handle the board by the edges.
With the hinge free to move, the iMac will be unbalanced and hard to work on. Repairs can be completed with the iMac laying down, but are faster and easier with an iMac service wedge.
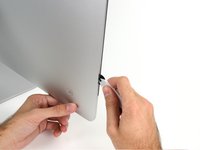
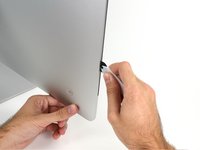
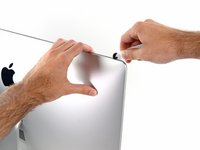
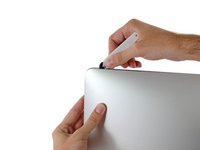
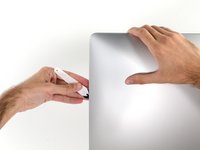
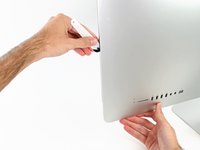
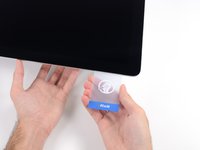
Starting on the left of the display, near the power button, insert the iMac Opening Tool into the gap between the glass panel and the rear case.
The hub on the iMac Opening Tool will keep you from pushing the wheel in too far. If using a different tool, insert no more than 3/8" (9.5 mm) into the display. You risk severing antenna cables and causing serious damage.
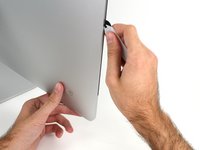
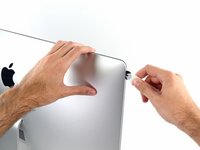
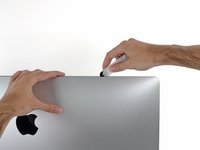
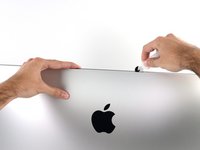
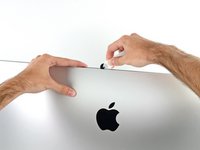
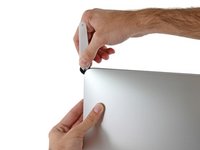
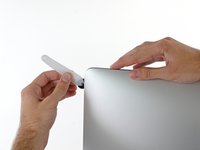
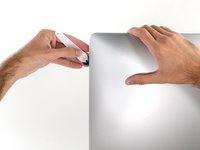
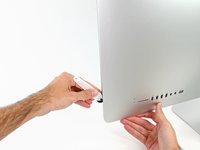
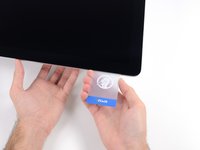
You may want to run the tool back and forth through what you've already cut a few times, to ensure you get as much of the adhesive separated as possible.
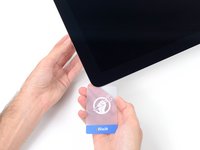
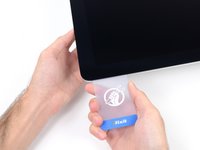
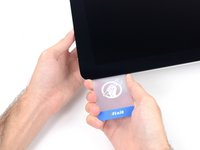
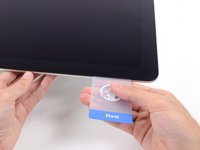
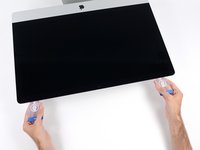
While the opening tool did the lion's share of the work, the display will still be slightly adhered to the case. A plastic card will be necessary to free up the last of this adhesive.
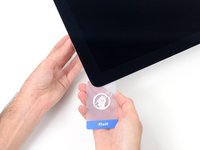
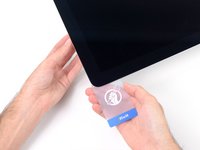
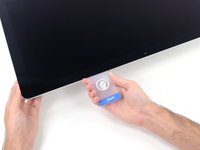
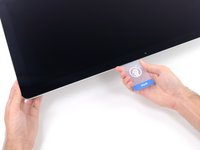
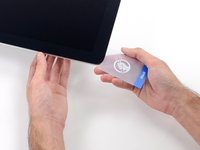
Set the iMac face-up on a table.
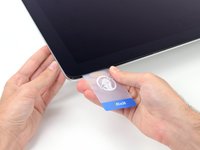
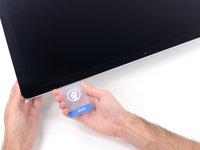
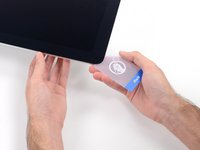
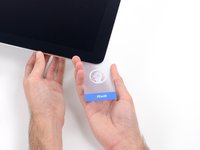
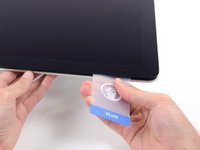
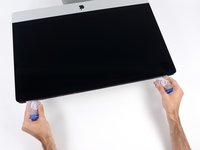
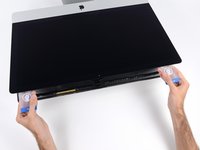
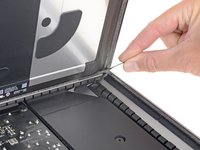
Starting from the top right corner of the iMac, insert a plastic card between the display and frame.
Be careful not to insert it more than 3/8" (9.5 mm), or you may damage internal components.
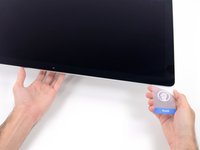
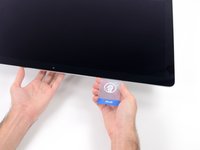
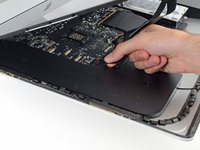
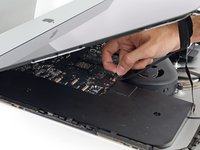
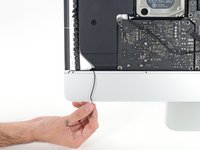
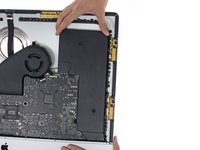
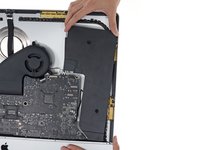
While holding the display up with one hand, use the other to unplug the display power cable.
Lift the display up enough to have easy access to the connections, but not so much that you stretch the cables and stress their connections (about 8").
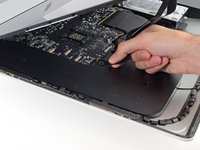
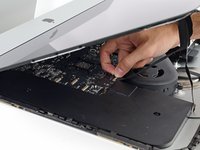
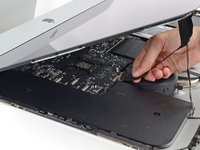
Flip up the metal retaining bracket on the display data cable.
Disconnect the display data cable.
This is a delicate connection that can easily be broken. Be sure to pull the display data cable connector straight out of its socket, toward the top of the iMac.
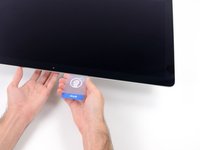
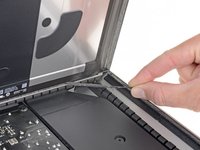
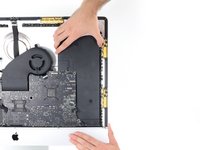
At this point there is still a strip of adhesive along the bottom of the display, that will hold the display to the frame like a hinge. You can loosen this adhesive by working the display up and down a few times.
Remove as much of the adhesive as possible by grabbing it at the outer edges, and then pulling or rolling it towards the middle.
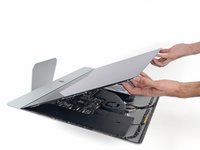
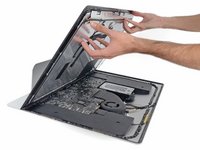
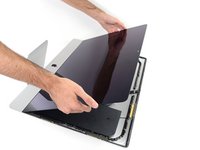
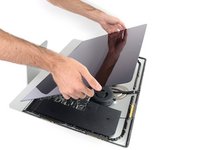
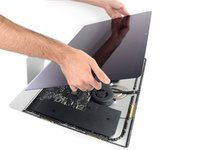
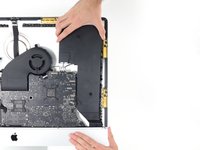
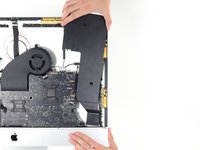
Be very careful handling the display—it's big, heavy, and made of glass. The display has fragile edges. Avoid lifting the display by the corners.
Lift the display up from the frame and remove it from the iMac. Lay the display face down on a flat, soft surface.
It may be necessary to slowly lift from one side, to peel against the remaining adhesive.
After the adhesive is cut, it cannot be used to re-seal the display in place. Follow this guide when your repair is complete to replace the adhesive strips that secure the display to the rear enclosure.
If you are replacing the display panel, you may need to transfer additional components from the old panel to the new one. Compare the back of the old display with the replacement display. Note all cables, sensors, and foam cushioning that are missing from the new display.
If there is a wire or cable underneath adhesive tape, always pull the tape off first.
If the cable is glued to the chassis, use a heated iOpener or a hair dryer to soften the adhesive first. You can then slide an opening pick underneath the cable to loosen it. Never pull directly on the delicate connectors.
Slide an opening pick underneath the foam cushion pieces to separate them from the display, and gently pull them off. You may need some double sided tape to re-attach them to the new display.
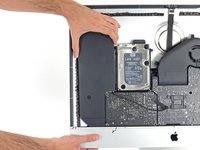
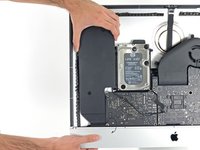
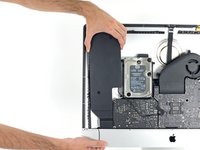
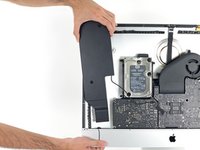
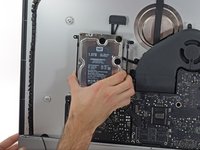
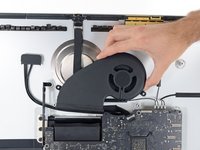
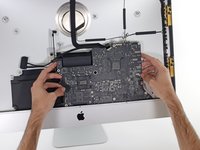
When working on the power supply, be very careful not to touch the capacitor leads or any exposed solder joints on the back of the power supply. Only handle the board by the edges.
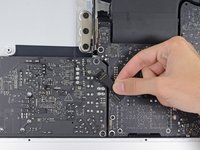
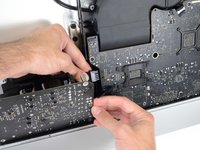
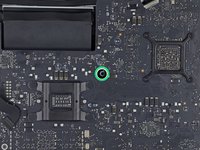
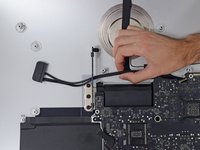
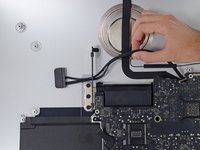
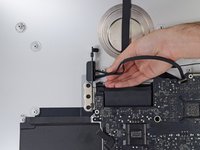
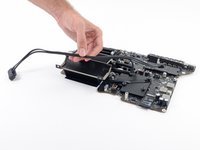
Disconnect the power supply control cable from the power supply.
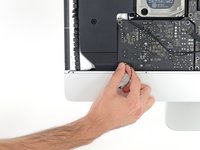
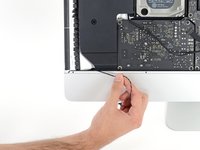
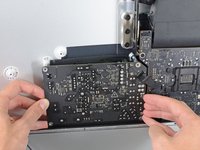
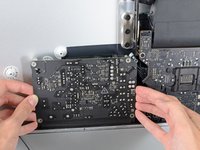
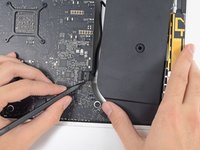
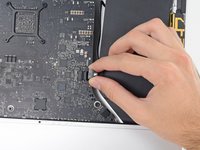
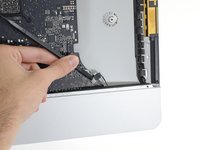
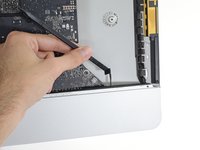
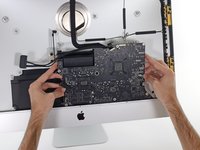
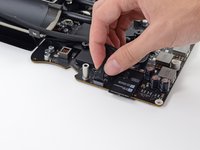
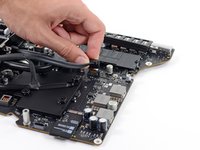
Use the flat end of a spudger to disconnect each of the four antenna connectors from the AirPort/Bluetooth card.
Note the original positions for each connector when reconnecting the cables. From left to right on the card, the antennas are connected in the following order:
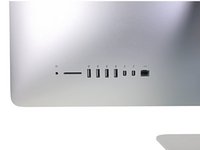
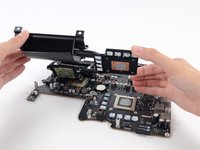
When reassembling your iMac, be very careful to align the exterior I/O ports correctly. The logic board can sit crooked even when secured with all its screws.
You can use a USB flashdrive or ethernet cable to ensure the logic board is seated correctly while you screw it in.
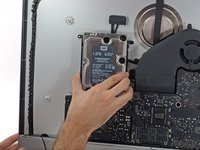
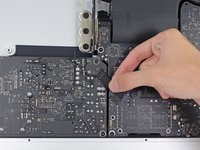
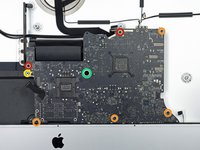
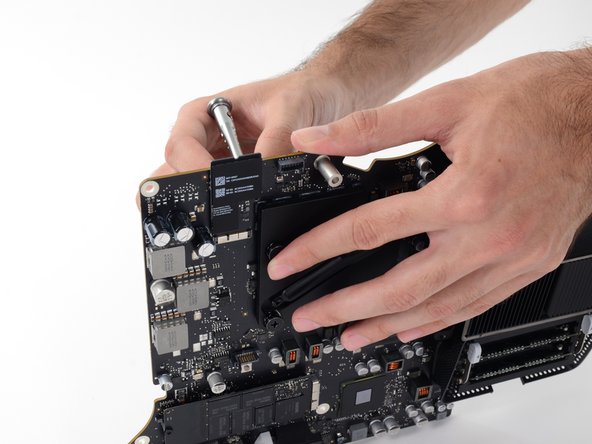
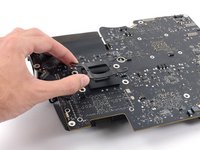
Remove the four 7.5 mm T8 screws from behind the GPU on the logic board.
These screws are set inside large, spring-loaded Phillips #2 screws. To prevent the larger screws from spinning when you loosen the T8 screws, hold them with a fingertip or Phillips #2 screwdriver.
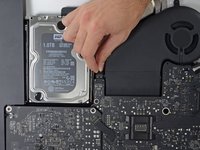
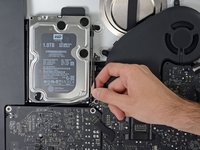
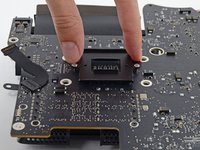
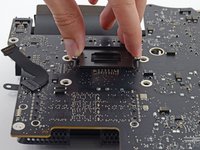
Remove a stick of RAM by grabbing it with two hands and pulling straight out of the RAM tray.
Remove any remaining sticks of RAM.
RAM modules are keyed, so that they can only be installed in the proper orientation. Ensure that the RAM module's notch lines up with the socket's notch when installing new modules.
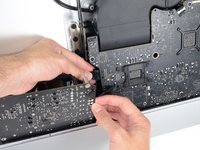
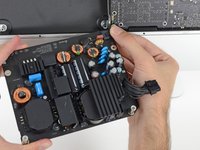
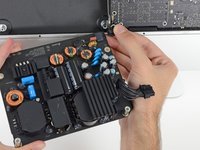
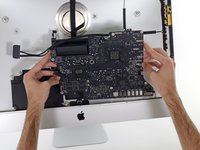
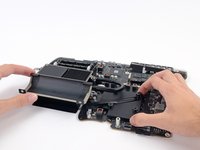
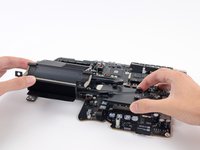
Remove the power supply cable from its connector by pulling it parallel to the logic board.
During reassembly of the logic board, pay attention to the position of the I/O connectors. When the board is back in the case, insert a USB or Thunderbolt cable into one of the connectors to align it perfectly.
The logic board in my iMac 27" 13, 2 (2546) late 2012 needs to be replaced. Will the logic board from the 27" 14,2 (2639) late 2013 match and fit inside the 27" 13,2 late 2012 housing?
I've looked all over and have yet to find a straight answer. Thanks in advance!!!
Здравствуйте! Скажите, пожалуйста, можно ли заменить материнскую плату с iMac 27 в конце 2013 года A1419, память 8 ГБ, Intel i7 3,5 ГГц, GTX 780M 4GB 1TB SSD на плате будет более новым, скажем, от iMac 27 до 2014/2015? Я понимаю, что дисплей также должен быть заменен.
Hello! Tell me please, is it possible to replace the motherboard from an iMac 27 late 2013 A1419, 8GB memory, Intel i7 3,5 GHz, GTX 780M 4GB 1TB SSD on Board is newer, say from iMac 27 late 2014/2015? I understand that the display must also be replaced.
What specific screws and at what locations to remove the logic board, PSU, RAM, etc. as a single piece? Trying to keep as much intact and undisturbed as possible. To remove these parts as a whole, which parts must be disconnected for removal and then reconnected? Or does every step describe a component removal so that an underlying component is accessible for removal? Thanks!