이 안내서에는 최근 변경 사항이 더 있습니다. 최신 비검증 버전으로 전환하십시오.
소개
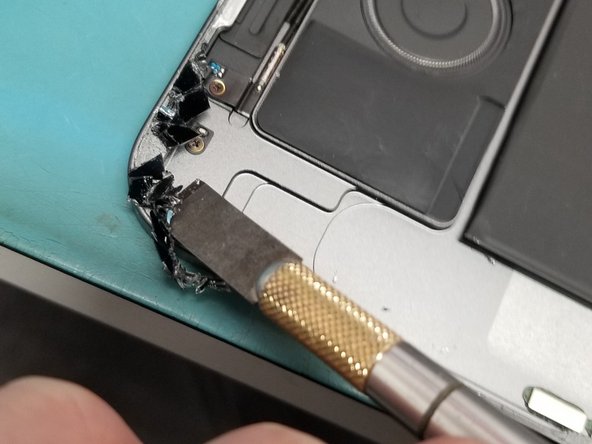
Couldn't find a guide to fix a customers iPad so here it is put alot of work into Providing something you can use a reference! Thanks comment please!
필요한 것
-
-
Be Sure to turn off iPad by pressing and release the volume up button then volume down.
-
While Pressing and holding side button until screen turns off.
-
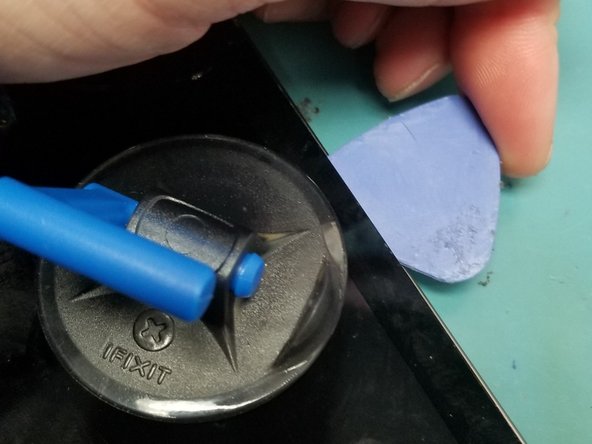
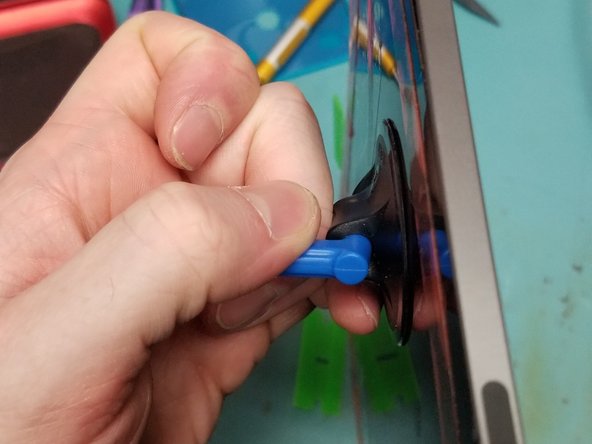
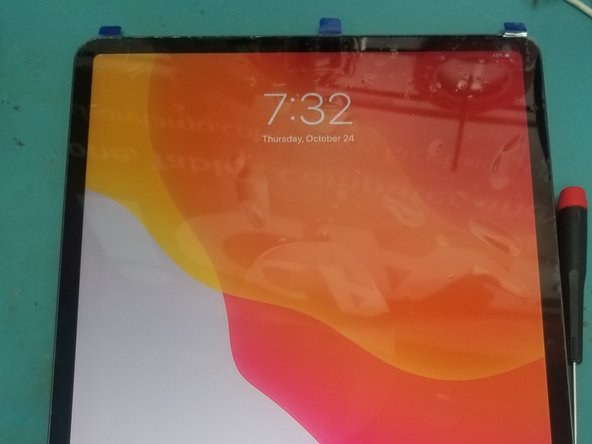
Just use the slider if you can.
-
-


To reassemble your device, follow these instructions in reverse order.
To reassemble your device, follow these instructions in reverse order.
다른 41명이 해당 안내서를 완성하였습니다.

댓글 34개
My Face ID no longer works?
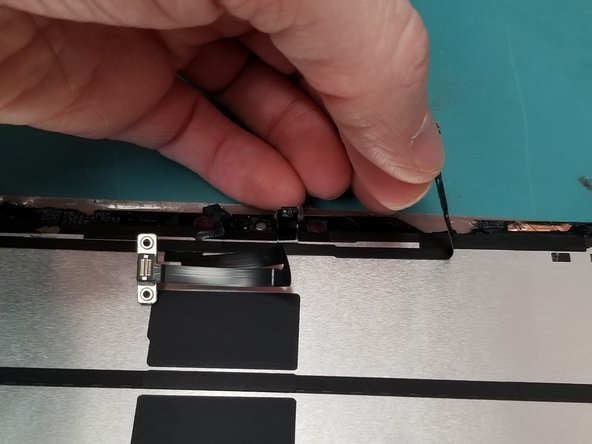
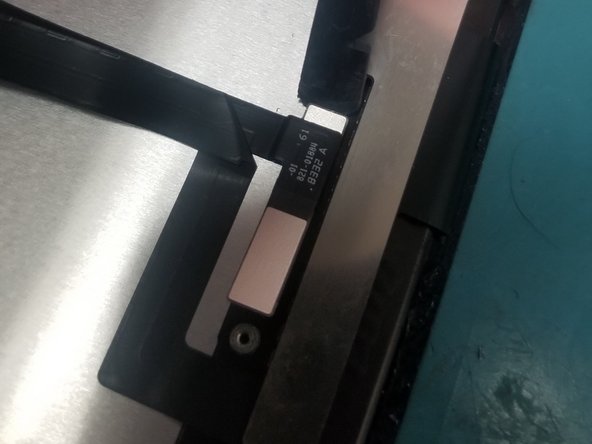
Most likely you may have damaged the flex of proximity sensor.
Check connector
Check placement with flash light make sure everything is aligned correctly
why not get a new flex cable from ebay or aliexpress
imab -