소개
This guide provides details on how to replace the battery in an iPod Nano 6th Generation.
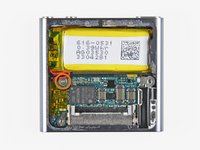
The iPod Nano 6th Generation battery is not a plug-and-play battery. This process requires delicate desoldering to remove the old battery.
There are two options for replacing this battery:
필요한 것
-
-
Use a heat gun or hair dryer to soften the adhesive securing the perimeter of the front panel assembly to the outer case.
-
-
-
While the front panel is still warm, use the edge of an opening tool to pry it from the headphone jack side of the front panel assembly out of the Nano.
-
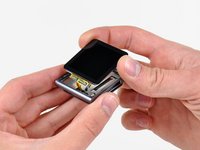
Continue prying the perimeter of the front panel assembly out of the outer casing, being careful not to damage the display data cable held under its left edge.
-
-
-
-
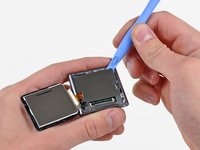
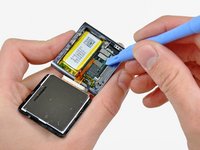
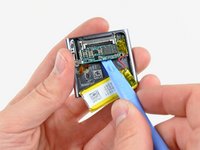
Use an opening tool to gently pry the battery up from the adhesive securing it to the outer case.
-
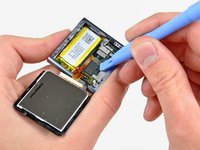
Use your thumb to pull the battery toward the left side of the Nano as you pry the battery's other edge out of the outer case.
-
-
-
The wires on your replacement battery can be spliced into the existing wires from the old battery. This process allows you to install your new battery without desoldering and removing the existing wires from the logic board.
-
Detailed instructions for this procedure can be found in this Fix It Planet video.
-
-
-
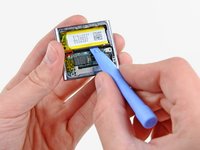
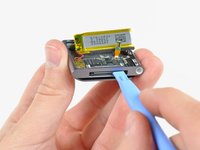
Use an opening tool to lift the headphone jack assembly connector up and out of its socket on the logic board.
-
-
-
Use your opening tool to gently push the dock connector toward the center of the Nano.
-
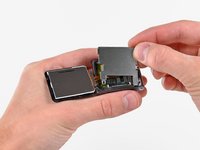
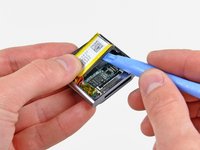
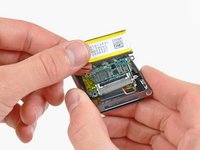
Remove the logic board assembly from the Nano, being careful not to damage the headphone jack assembly cable.
-
Follow the steps found in this PON2.0 video for desoldering and removing the old battery wires from the logic board.
-


To reassemble your device, follow these instructions in reverse order.
다른 11명이 해당 안내서를 완성하였습니다.

5가이드 댓글
This is probably a stupid question but is there a way to put on the battery without solder? i dont have any tools and there isnt really any repair shops next to my place or around
You could could splice the wires (cut the original battery wire in the middle exspose some bare wire and twist together with the replacement batteries wire) don't forget to not leave bare wire exposed heat shrink or wrap with electrical tape.
P tr -
To me this tutorial stops unfinished. The main thing i need hasnt been answered which is where is the spot i need to solder the new battery into? it hasnt been showed, at all. This is a bad tutorial.
You can see how to remove the logic board, the battery is soldered to that. Another picture from the downside of the board would be nice, so we could see where the black wire goes. But all the hard parts are shown, where that wire goes you will see when you have removed the board.