소개
This guide will show you how to replace the drive wheels for the iRobot Roomba i7 Plus (model number l7555020). The drive wheels are a very major component to the Roomba; without them movement would be limited. Ways to check if your Roomba has problems with its wheels is to test its mobility. if there any hiccups or pauses, then it's time to replace the wheels.
For help diagnosing issues with the drive wheels, check out the troubleshooting page.
필요한 것
-
-
Flip the Roomba over so the underside is facing up.
-
Remove the 4 mm screw connecting the green side brush to the chassis using a Phillips #2 screwdriver.
-
Remove the green side brush.
-
-
-
-
Remove the five screws from the underside of the Roomba using a Phillips #2 screwdriver.
-
Pull the back plate up and away from the Roomba to remove it from the device.
-
-
-
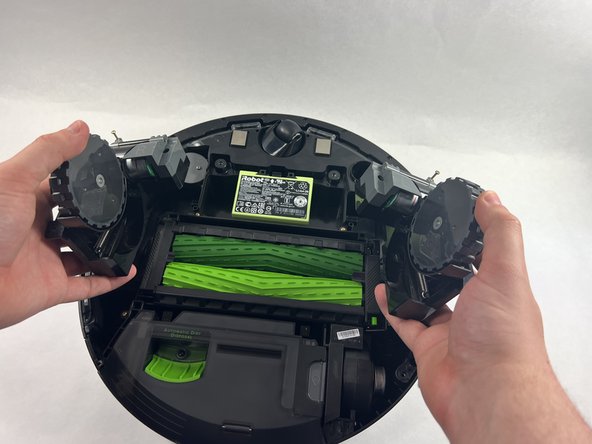
Loosen the two captive screws from each wheel (four in total) using a Phillips #2 screwdriver.
-
Grab each wheel and gently pull them out.
-


To reassemble your device, follow these instructions in reverse order.
To reassemble your device, follow these instructions in reverse order.
다른 한 분이 해당 안내서를 완성하였습니다.

팀

UMass Dartmouth, Team 7-6, Ryckebusch Spring 2023 UMass Dartmouth, Team 7-6, Ryckebusch Spring 2023 회원
UMASSD-RYCKEBUSCH-S23S7G6
3 회원들
안내서 8개 작성하였습니다