14 단계 번역중
14 단계


-
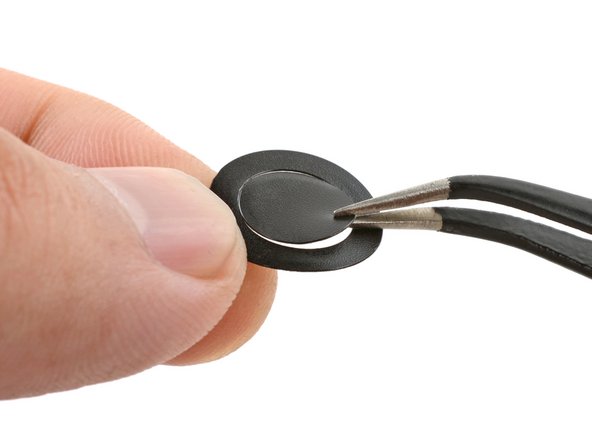
Peel the ring sticker from its liner.
-
If the sticker center is still attached, separate and remove it from the ring.
-
Set the ring sticker in the joystick recess and press it with your fingers for a few seconds to attach it.
| + | [* black] Peel the ring sticker from its liner. |
|---|---|
| + | [* black] If the sticker center is still attached, separate and remove it from the ring. |
| + | [* black] Set the ring sticker in the joystick recess and press it with your fingers for a few seconds to attach it. |
귀하의 기여는 오픈 소스 Createive Commons 라이선스 하에 허가되었습니다.