알림: 귀하는 선행 작업 안내서를 편집하고 계십니다. 변경된 사항들은 이 선행 작업 단계를 포함하는 안내서 2개에 영향을 미칩니다.
20 단계 번역중
20 단계

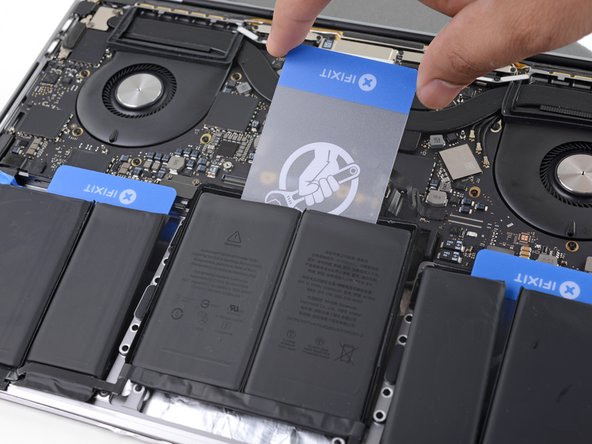


Separate the middle cells
-
Slide the corner of one of your plastic cards underneath the top edge of one of the cells and then work it underneath the other cell.
-
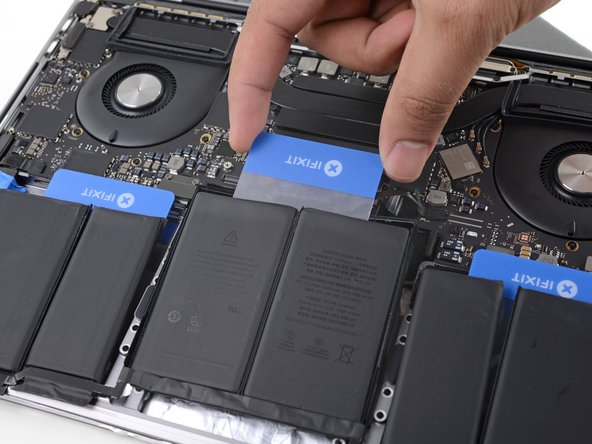
Wiggle the card from side to side and slide it underneath the battery cells to fully separate the adhesive holding them in place.
귀하의 기여는 오픈 소스 Createive Commons 라이선스 하에 허가되었습니다.