4 단계 번역중
4 단계

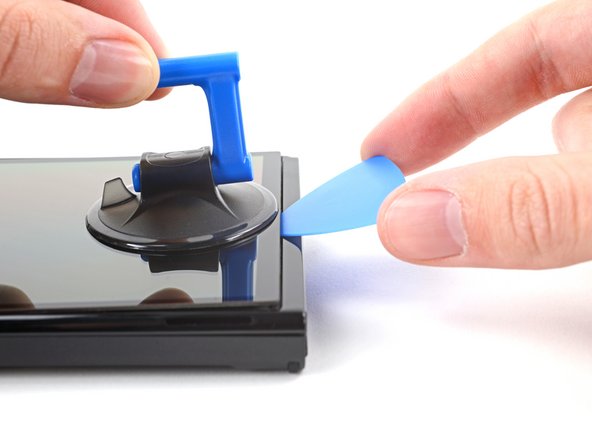


Insert an opening pick
-
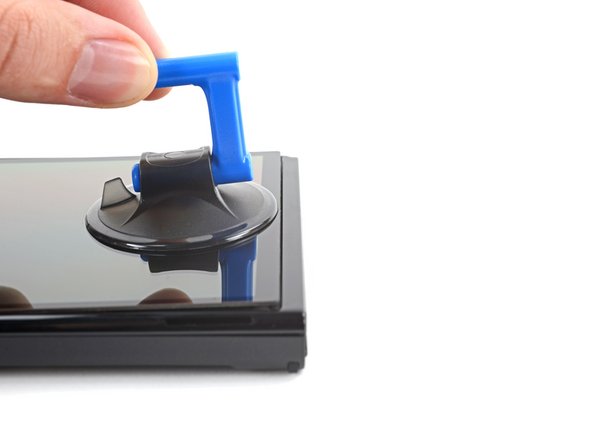
Once the screen is warm to touch, apply a suction handle to the bottom edge of the screen and as close to the edge as possible.
-
Lift the screen with the suction handle to create a small gap between the screen and the frame.
-
Insert an opening pick into the gap between the frame and the screen.
귀하의 기여는 오픈 소스 Createive Commons 라이선스 하에 허가되었습니다.