9 단계 번역중
9 단계

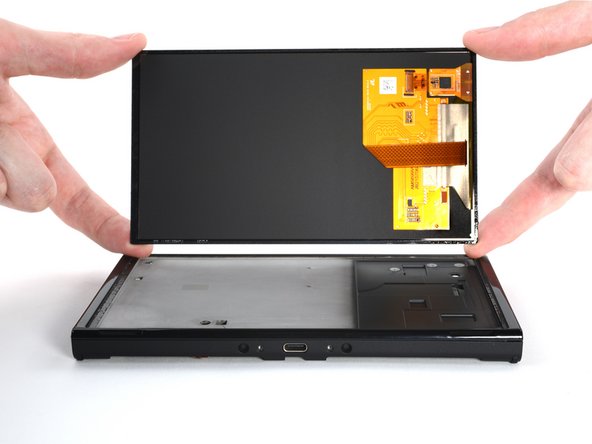


Remove the screen
-
Lift the screen off the device, threading the display cable through the frame as you do.
| [title] Remove the screen | |
| [* black] Lift the screen off the device, threading the display cable through the frame as you do. | |
| [* icon_caution] Take care not to snag any of the ribbon cables on the frame as you remove the screen. | |
| - | [* icon_reminder] You can reuse the screen adhesive if it is still sticky. Otherwise, replace the adhesive with double-sided tape such as Tesa tape. |
| + | [* icon_reminder] You can reuse the screen adhesive if it is still sticky. Otherwise, replace the adhesive with double-sided tape such as [product|IF317-072|Tesa tape|new_window=true]. |
| + | [* icon_reminder] During reassembly, make sure to thread the display cable through the frame before securing the screen adhesive. |
귀하의 기여는 오픈 소스 Createive Commons 라이선스 하에 허가되었습니다.