주요 콘텐츠로 건너뛰기

iPod Mini Akku tauschen

3 단계
iPod Mini Battery Replacement: 0 단계, 이미지 1개 중 1개
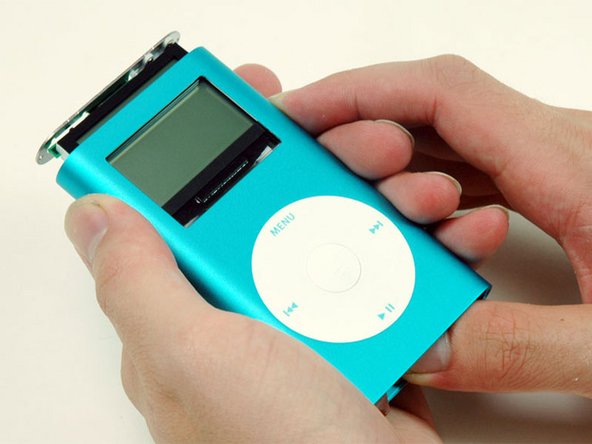
  • Carefully slide the iPod out of its casing by pushing on the logic board near the bottom edge of the click wheel.

  • As you slide the iPod out, small components may snag on the edge of the casing. Move the iPod side to side to clear these components.

  • Do not pull on the headphone jack board at the top of the iPod, as the connector to the logic board is fragile.

  • Be careful not to break the logic board connector off the iPod. The ribbon cable sits at the very top of the connector.

Schiebe den iPod vorsichtig aus seinem Gehäuse, indem du gegen das Logic Board nahe an der Unterkante des Click Wheel drückst.

Beim Herausschieben des iPods können kleine Bauteile an der Gehäusekante schaben. Bewege den iPod seitlich hin und her, damit diese Teile frei werden.

Ziehe nicht an der Kopfhöreranschluss-Platine an der Oberkante, da der Stecker zum Logic Board empfindlich ist.

Pass auf, dass du den Hauptplatinenstecker nicht abreißt. Das Flachbandkabel ist ganz oben am Stecker.

귀하의 기여는 오픈 소스 Createive Commons 라이선스 하에 허가되었습니다.