주요 콘텐츠로 건너뛰기

why! Replace the W670SZQ1 SSD hard drive

보관된 가이드
해당 안내서는 단지 역사적인 목적으로 보관됩니다. 최신 버전 안내서를 사용하여 수리 하십시오.

필요한 것

  1. why! Replace the W670SZQ1 SSD hard drive, accumulator: 1 단계, 이미지 1/3 why! Replace the W670SZQ1 SSD hard drive, accumulator: 1 단계, 이미지 2/3 why! Replace the W670SZQ1 SSD hard drive, accumulator: 1 단계, 이미지 3/3
    • Open the latch of the accumulator on the left side.

    • Open the battery latch on the right side.

    • Remove the accumulator by simultaneously holding the right-hand latch open.

  2. why! Replace the W670SZQ1 SSD hard drive, Access to the most important components: 2 단계, 이미지 1/3 why! Replace the W670SZQ1 SSD hard drive, Access to the most important components: 2 단계, 이미지 2/3 why! Replace the W670SZQ1 SSD hard drive, Access to the most important components: 2 단계, 이미지 3/3
    • Use the Philips screwdriver to remove the two screws at the bottom of the cover.

    • Lift the cover at the bottom right with the iFixit Opening Tool

    • Lift the cover at the bottom left with the iFixit Opening Tool

    • Finally, remove the cover to gain access to the most important components.

  3. why! Replace the W670SZQ1 SSD hard drive, SSD hard drive: 3 단계, 이미지 1/3 why! Replace the W670SZQ1 SSD hard drive, SSD hard drive: 3 단계, 이미지 2/3 why! Replace the W670SZQ1 SSD hard drive, SSD hard drive: 3 단계, 이미지 3/3
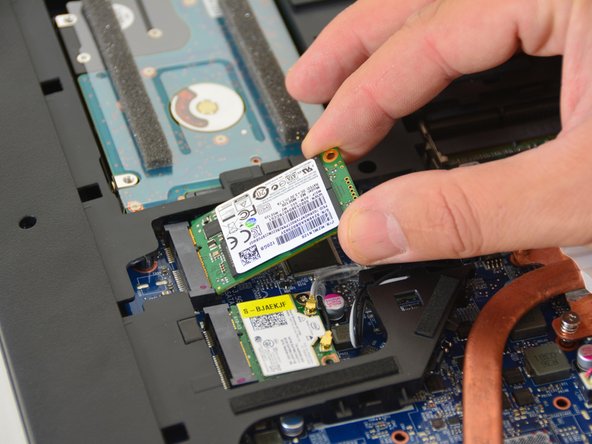
    • Remove the retaining screw of the SSD hard drive with the Philips screwdriver.

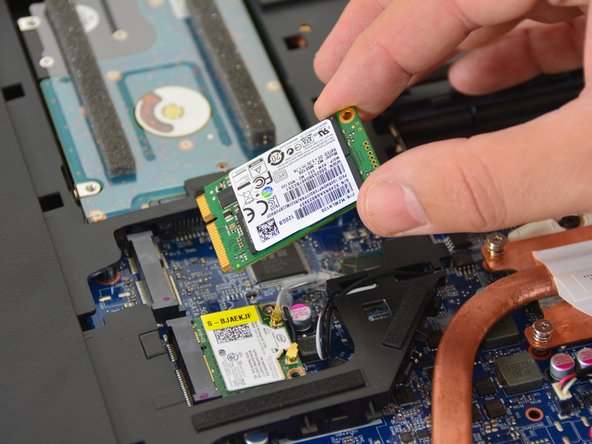
    • Remove the SSD hard drive.

결론

Repeat the steps in reverse order to reassemble your device.

다음 번역가들에게 특별히 감사 드립니다:

de en

100%

이 번역자 분들은 저희가 세상을 수리하는데 동참해 주시는 분입니다! 기여하시겠습니까?
번역 시작하기 ›

Felice Suglia

회원 가입일: 06/15/13

31,100 평판

안내서 264개 작성하였습니다

댓글 0개

댓글 쓰기

조회 통계:

24 시간 전: 0

7일 전: 4

30일 전: 11

전체 시간: 95