소개
This is how you remove the keyboard on an Asus UX50V-RX05 Laptop.
필요한 것
-
-
Use the Plastic Opening tool to pry the five slots up at the top of the keyboard.
 FixBot에 문의하기
-
-
-
-
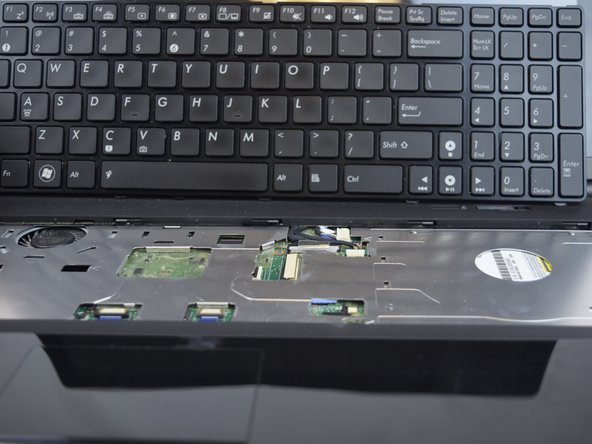
Lift the keyboard enough to expose the two ribbon connectors (LCD flex cable and flex band).
-
Use the Plastic Opening tool to push open the two black clips on each side of the connecting cords.
-
Remove the cable after pushing out the two black clips.
-
-
-
Push out each end of the black clip with a plastic opening tool or nylon spudger to remove the ribbon cable.
-
Remove the cable after pushing out both black clips.
-
Remove the keyboard.
-


To reassemble your device, follow these instructions in reverse order.
팀

USF Tampa, Team 20-2, Remmell Spring 2017 USF Tampa, Team 20-2, Remmell Spring 2017 회원
USFT-REMMELL-S17S20G2
4 회원들
안내서 6개를 작성함