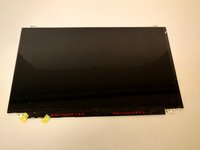
주요 콘텐츠로 건너뛰기
수리 커뮤니티 가입 - 계정 만들기

ASUS X550LB-DS71 Display Panel Replacement

필요한 것

  1. ASUS X550LB-DS71 Display Panel Replacement, Display Panel: 1 단계, 이미지 3개 중 1개 ASUS X550LB-DS71 Display Panel Replacement, Display Panel: 1 단계, 이미지 3개 중 2개 ASUS X550LB-DS71 Display Panel Replacement, Display Panel: 1 단계, 이미지 3개 중 3개
    • Flip open the laptop with the screen facing towards you.

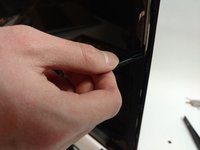
    • Using the plastic opening tool, remove the square tape from the marked locations.

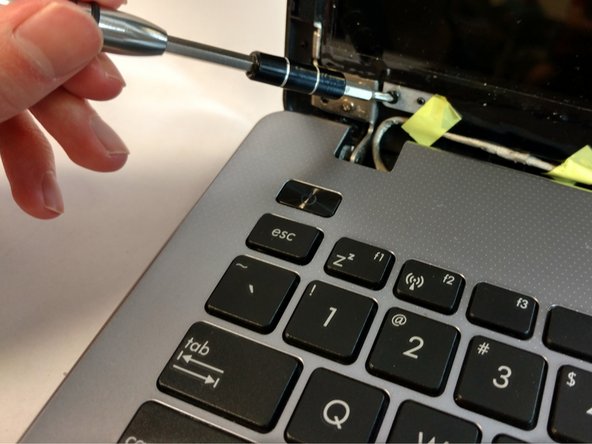
    • Use the Phillips #0 Screwdriver to remove the two 2mm screws from those locations.

  2. ASUS X550LB-DS71 Display Panel Replacement: 2 단계, 이미지 2개 중 1개 ASUS X550LB-DS71 Display Panel Replacement: 2 단계, 이미지 2개 중 2개
    • Using the plastic opening tool, open the front cover of the laptop.

    • It is recommended that you start from a corner and run the tool along the edge of the cover.

    • Be careful not to bend or crack the cover.

  3. ASUS X550LB-DS71 Display Panel Replacement: 3 단계, 이미지 3개 중 1개 ASUS X550LB-DS71 Display Panel Replacement: 3 단계, 이미지 3개 중 2개 ASUS X550LB-DS71 Display Panel Replacement: 3 단계, 이미지 3개 중 3개
    • Peel off the tape located on the left and right side of the display monitor.

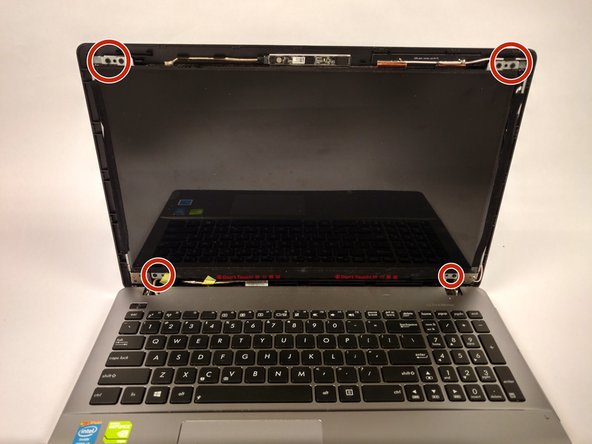
    • Use the Phillips #0 screwdriver to remove the screws at the marked locations in each corner of the display.

  4. ASUS X550LB-DS71 Display Panel Replacement: 4 단계, 이미지 3개 중 1개 ASUS X550LB-DS71 Display Panel Replacement: 4 단계, 이미지 3개 중 2개 ASUS X550LB-DS71 Display Panel Replacement: 4 단계, 이미지 3개 중 3개
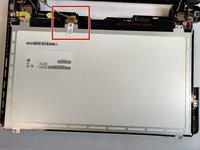
    • Place the display monitor face down to expose the ribbon connector.

    • Remove the ribbon connector to separate the display monitor from the rest of the device.

결론

To reassemble your device, follow these instructions in reverse order.

작성자

3다른 기여자 명과 함께

Nathan Dyer

회원 가입일: 09/25/17

550 평판

안내서 5개를 작성함

USF Tampa, Team S16-G1, Eyestone Fall 2017 USF Tampa, Team S16-G1, Eyestone Fall 2017 회원

USFT-EYESTONE-F17S16G1

4 회원들

안내서 5개를 작성함

0가이드 댓글

댓글 쓰기

조회 통계:

지난 24시간: 1

지난 7일: 10

지난 30일: 29

전체 시간: 1,247