소개
You may need to replace the optical drive if it's not functioning properly, or if you want to upgrade it. This is a simple replacement, and the drive is easily accessible. There is no simple way to repair the optical drive, so if you have determined that your drive is broken, the best option is to replace it.
필요한 것
-
-
Place the laptop on a flat surface with the bottom side facing upwards.
-
Using the Phillips #1 Screwdriver, remove the four 4mm screws in the back panel.
-
Using both hands, slide the back panel away from the laptop horizontally.
 FixBot에 문의하기
-
-
-
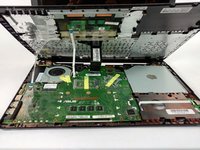
Using the Phillips #0 Screwdriver, remove the ten 2mm screws at the marked locations.
-
-
-
-
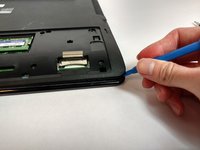
Using the Phillips #0 Screwdriver, remove the 2mm screw at the marked location.
-
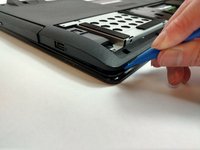
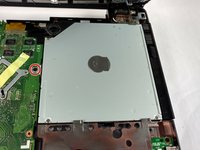
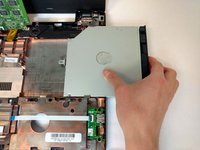
Remove the Optical Drive by sliding it to the right.
-


To reassemble your device, follow these instructions in reverse order.
팀

USF Tampa, Team S16-G1, Eyestone Fall 2017 USF Tampa, Team S16-G1, Eyestone Fall 2017 회원
USFT-EYESTONE-F17S16G1
4 회원들
안내서 5개를 작성함