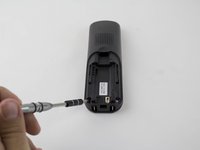
주요 콘텐츠로 건너뛰기

ATT EL52300 Keypad/Plastic Display Screen Replacement

필요한 것

  1. ATT EL52300 Keypad/Plastic Display Screen Replacement, Battery: 1 단계, 이미지 2개 중 1개 ATT EL52300 Keypad/Plastic Display Screen Replacement, Battery: 1 단계, 이미지 2개 중 2개
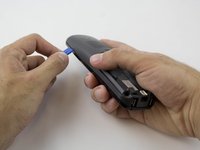
    • Find the bump where the battery cover meets the phone. Put your thumb here, and push and slide the cover down.

  2. ATT EL52300 Keypad/Plastic Display Screen Replacement: 2 단계, 이미지 1개 중 1개
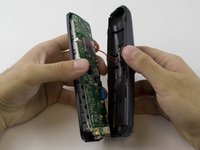
    • Unplug the battery by squeezing your hands on the small white plug and lifting it up.

    • Do not pull on the wire itself because you might damage the wire!

    • The battery is now detached and ready to be removed by lifting it out.

  3. ATT EL52300 Keypad/Plastic Display Screen Replacement, Motherboard: 3 단계, 이미지 2개 중 1개 ATT EL52300 Keypad/Plastic Display Screen Replacement, Motherboard: 3 단계, 이미지 2개 중 2개
    • Remove the two 3.75 mm screws with a PH1 screwdriver.

  4. ATT EL52300 Keypad/Plastic Display Screen Replacement: 4 단계, 이미지 2개 중 1개 ATT EL52300 Keypad/Plastic Display Screen Replacement: 4 단계, 이미지 2개 중 2개
    • Use a plastic opening tool to remove the handset case.

    • Be careful to not lift the case too far as the ringer cable is attached to the case.

  5. ATT EL52300 Keypad/Plastic Display Screen Replacement: 5 단계, 이미지 2개 중 1개 ATT EL52300 Keypad/Plastic Display Screen Replacement: 5 단계, 이미지 2개 중 2개
    이 단계에 사용된 도구:
    Anti-Static Wrist Strap
    $7.95
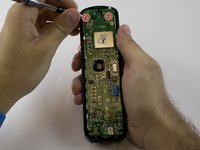
    • Remove the two 3.65 mm screws on the motherboard with a PH1 screwdriver.

    • Use an anti-static wrist strap to prevent damage to the motherboard.

  6. ATT EL52300 Keypad/Plastic Display Screen Replacement, Keypad/Plastic Display Screen: 6 단계, 이미지 2개 중 1개 ATT EL52300 Keypad/Plastic Display Screen Replacement, Keypad/Plastic Display Screen: 6 단계, 이미지 2개 중 2개
    • The keypad lies on the top of the motherboard and is easily detachable.

    • Remove the keypad.

  7. ATT EL52300 Keypad/Plastic Display Screen Replacement: 7 단계, 이미지 1개 중 1개
    • Replace the plastic display screen, or the keypad buttons as needed.

결론

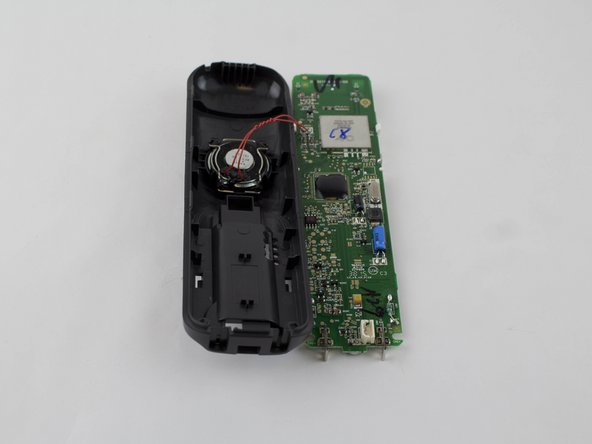
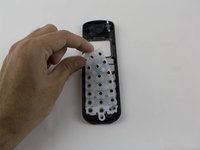
To reassemble your device, follow these instructions in reverse order.

작성자

3다른 기여자 명과 함께

Katty

회원 가입일: 08/27/15

340 평판

안내서 3개를 작성함

USF Tampa, Team 1-1, Sullivan Spring 2016 USF Tampa, Team 1-1, Sullivan Spring 2016 회원

USFT-SULLIVAN-S16S1G1

4 회원들

안내서 10개를 작성함

0가이드 댓글

댓글 쓰기

조회 통계:

지난 24시간: 0

지난 7일: 5

지난 30일: 8

전체 시간: 621