소개
The purpose of this guide is to provide instructions on replacing the front panel and gaining internal access to the controller of the Air Hog Smash Bots.
필요한 것
-
-
-
Take out your controller and access to the back of the controller.
 FixBot에 문의하기
-
-
-
Remove the screw on the battery lid. Using the Hex 4 socket and PH #0 bit, remove the 8 mm screw.
-
-
-
-
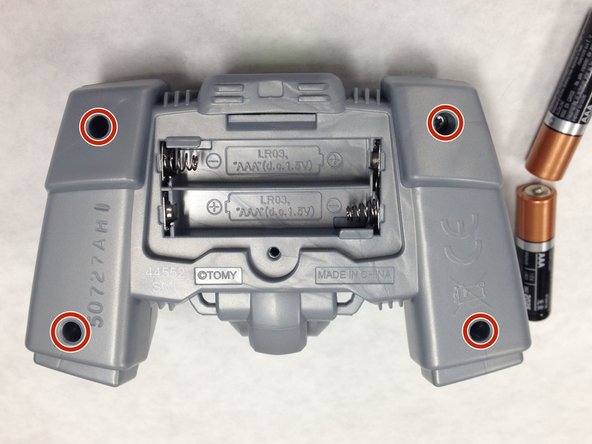
Using the Hex 4 socket and PH #0 bit, remove the four 8 mm screws on the panel.
-
-
-
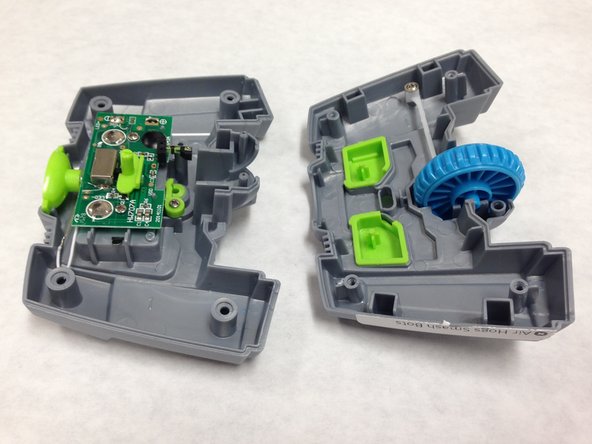
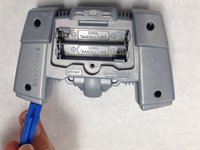
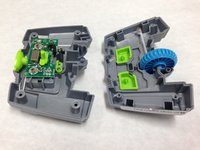
Use the plastic opening tool to disconnect the front and back parts of the panel.
-
-



To reassemble your device, follow these instructions in reverse order.

팀

IUPUI, Team 1-1, Baechle Spring 2016 IUPUI, Team 1-1, Baechle Spring 2016 회원
IUPUI-BAECHLE-S16S1G1
4 회원들
안내서 36개를 작성함
