소개
If your RAM can't keep up with the demands of today's mundane and daily tasks, use this guide to remove and replace your RAM cards.
필요한 것
-
-
Remove the two 3.5 mm Phillips #0 screws holding the cover in place.
-
Slide cover forward then carefully lift up.
-
-
-
-
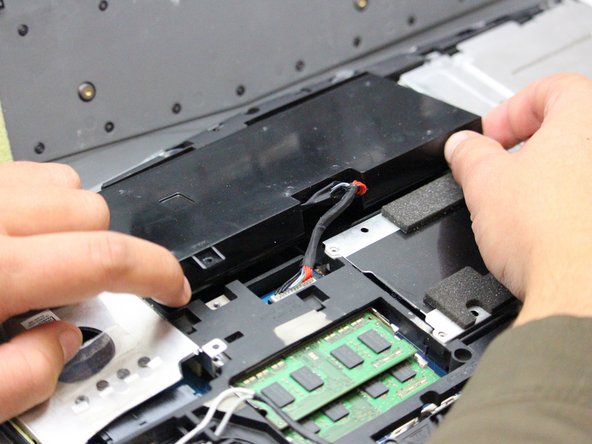
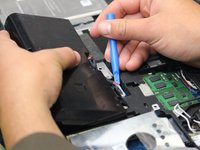
Carefully use the Plastic Opening Tool to unplug the battery.
-
Lift the battery up and out to remove.
-
-
-
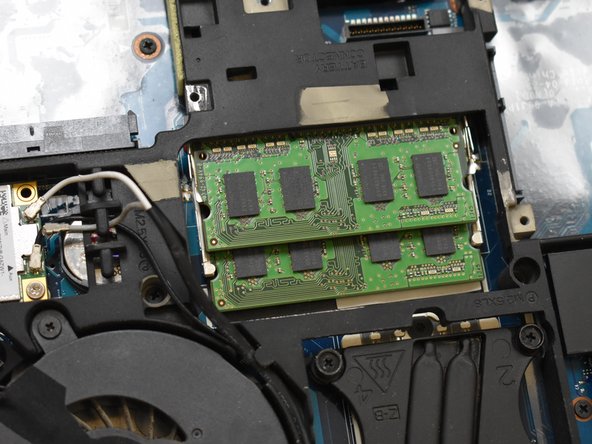
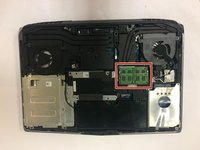
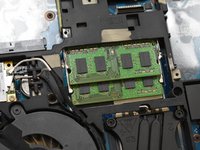
With the laptop flipped over, cover removed, and battery removed; continue by locating your RAM cards.
-
-
-
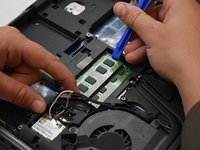
Remove the top RAM card by pressing the tabs to the sides using the Plastic Opening Tool.
-
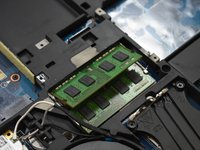
Once the top card has popped up, carefully remove it by holding the sides and sliding it out.
-


To reassemble your device, follow these instructions in reverse order.
다른 한 분이 해당 안내서를 완성하였습니다.
팀

Oregon Institute of Technology, Team S1-G2, Lancaster Fall 2018 Oregon Institute of Technology, Team S1-G2, Lancaster Fall 2018 회원
OIT-LANCASTER-F18S1G2
3 회원들
안내서 5개를 작성함
1가이드 댓글
The only problem is that this laptop has 4 slots of ram there are 2 more under the keyboard that must also be accessed to update. If anyone wants to know how I know it’s because I have this laptop and I have seen where the next lot of ram is located
Neil Radtke - 답글 공유