소개
If your Amazon Echo Show 15 (model H6Y2A5) is exhibiting unresponsive or excessively forceful buttons, use this guide to replace the faulty buttons.
The buttons on the Echo Show 15 play a crucial role in device navigation and control. Issues with unresponsive or hard-to-press buttons can disrupt the user experience.
Before diving into the replacement process, ensure your device is completely powered off and disconnected from any external power sources. This guide provides a step-by-step walkthrough to address button replacement and restore the optimal functionality of your Amazon Echo Show 15.
필요한 것
-
-
Remove the four white stickers on your device's back panel.
-
Due to the strong adhesive supporting the stickers, we recommend heating them up to make removal easier.
 FixBot에 문의하기
-
-
-
Unscrew the four 50 mm screws with a T3 Torx screwdriver.
-
Pop the sides and remove the back panel of the device.
-
-
-
Remove the five 2 mm screws with a Torx T5 screwdriver.
-
Remove the two 5 mm with a Torx T3 screwdriver.
-
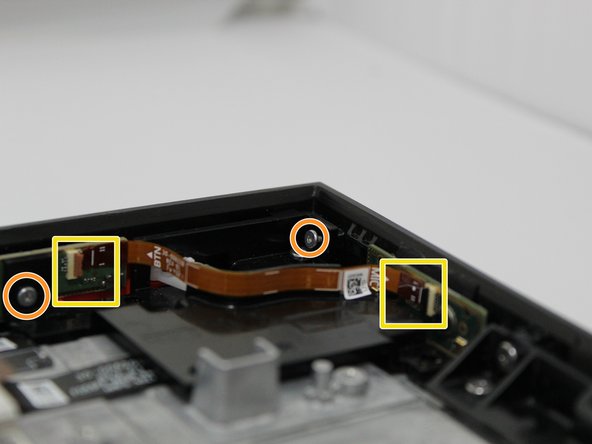
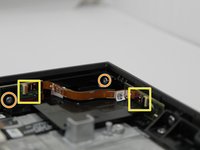
Remove both ends of the connector from the main device.
-
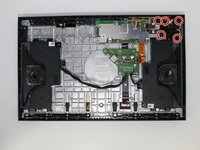
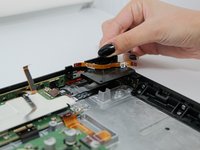
Remove the black panel.
-
-
-
-
Remove the five 3 mm screws from the metal protector using a Torx T5 screwdriver.
-
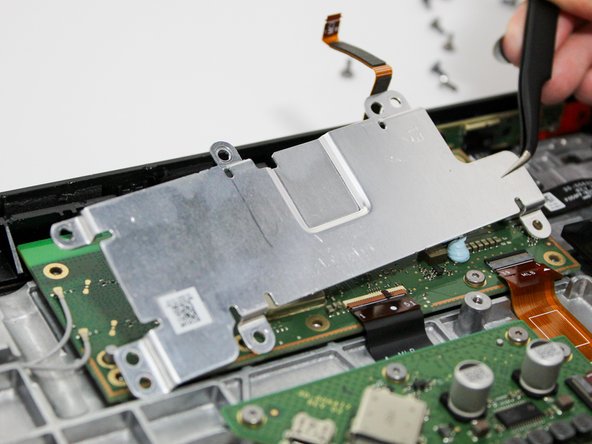
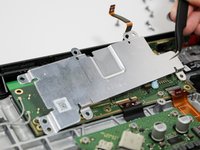
Take off the metal protector.
-
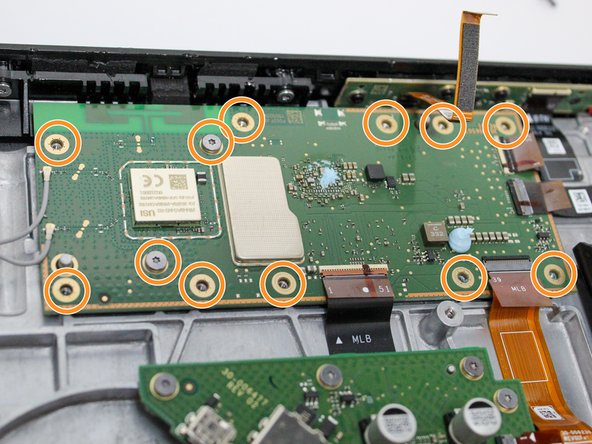
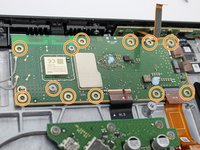
Remove the twelve 3 mm screws from the motherboard using the Torx T5 screwdriver.
-
-
-
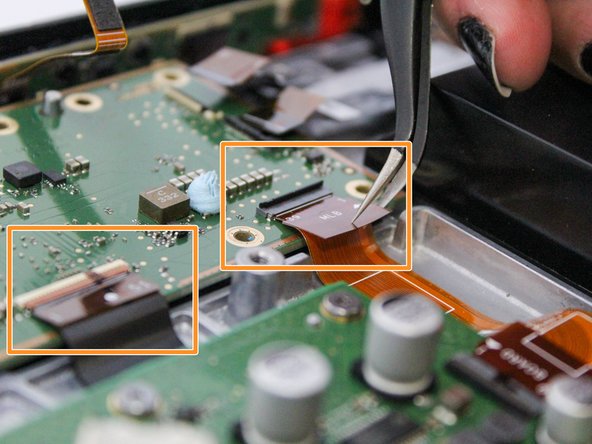
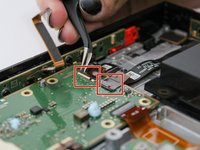
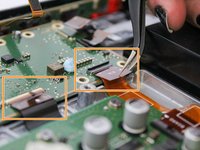
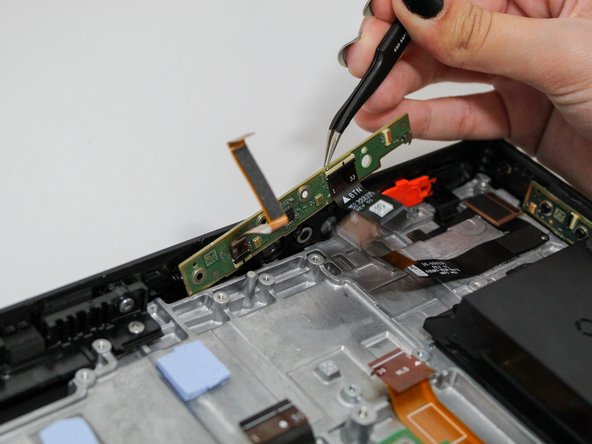
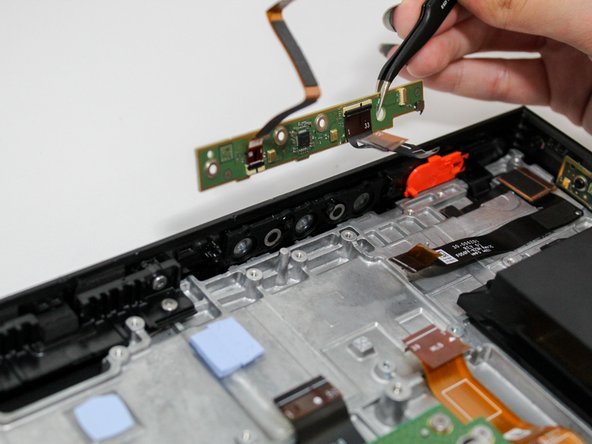
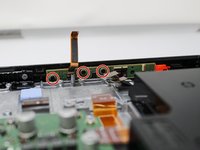
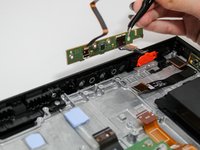
Detach the connectors for the camera and buttons from the motherboard.
-
Detach the connectors for the power station and speakers from the motherboard.
-
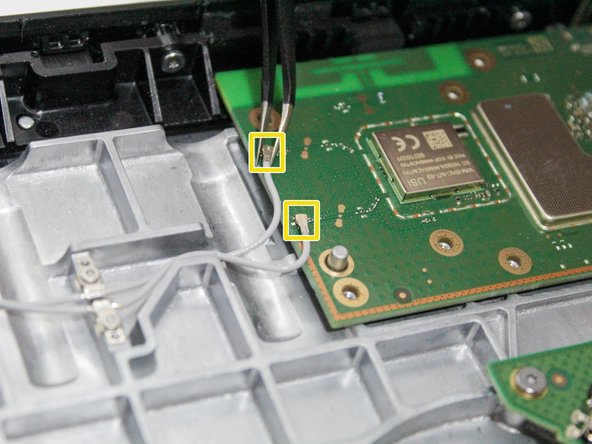
Detach the small white coaxial cables from the motherboard.
-
-
-
Remove the three 3 mm screws from the green panel in the top right-hand corner of the device using a Phillips #1 screwdriver.
-
Remove the green panel.
-


To reassemble your device, follow these instructions in reverse order.
다른 3명이 해당 안내서를 완성하였습니다.

팀

Utah Tech University, Team 1-4, McMurrin Fall 2023 Utah Tech University, Team 1-4, McMurrin Fall 2023 회원
UTAHTECH-MCMURRIN-F23S1G4
3 회원들
안내서 14개를 작성함
1가이드 댓글
I bet this is what I need to do, I’ve cleaned motherboards with the rubber push pads on snow plow controls I’ve had my pickup. Like Red Bull, coffee, spills that snuck their way in( gross) but after cleaning and or letting things air out, back in biz.buying the driver kit tomorrow thank you very much for being so clever two yrs ago! And the heads up about adhesive thanks. I miss my Show 15
All my daughter’s pics and all that jazz, miss seeing it everyday. Thank You !!🌳