주요 콘텐츠로 건너뛰기
수리 커뮤니티 가입 - 계정 만들기

Amazon Echo Tweeter Replacement

필요한 것

    1. Amazon Echo Tweeter Replacement, Power and Speaker Driver Board: 1 단계, 이미지 1개 중 1개
      • Power off and unplug your Echo before disassembly. Failure to do so could result in injury or damage to the device.

      • Peel off the rubber footing from the bottom of the Echo.

      • Do not pull the rubber footing too hard, as it could stretch out of shape. Use a spudger to help remove the foot if you have any trouble.

      댓글 쓰기

    2. Amazon Echo Tweeter Replacement: 2 단계, 이미지 3개 중 1개 Amazon Echo Tweeter Replacement: 2 단계, 이미지 3개 중 2개 Amazon Echo Tweeter Replacement: 2 단계, 이미지 3개 중 3개
      • Remove the four 42.8 mm T10 Torx screws from the bottom of the Echo.

      댓글 쓰기

    3. Amazon Echo Tweeter Replacement: 3 단계, 이미지 1개 중 1개
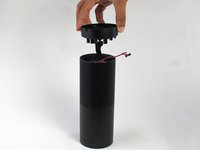
      • Slowly lift the plate containing the board. Be careful not to disconnect any of the wires.

      댓글 쓰기

    4. Amazon Echo Tweeter Replacement: 4 단계, 이미지 1개 중 1개
      이 단계에 사용된 도구:
      Tweezers
      $4.99
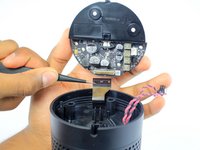
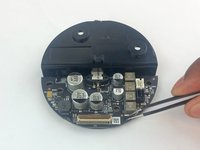
      • Using tweezers, carefully disconnect the two red and black cables from their sockets on the board.

      • Tugging on the wires may damage the device. Pull from the plastic connectors instead.

      댓글 쓰기

    5. Amazon Echo Tweeter Replacement: 5 단계, 이미지 2개 중 1개 Amazon Echo Tweeter Replacement: 5 단계, 이미지 2개 중 2개
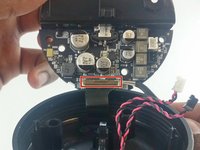
      • Lift the brown plastic latch on the ZIF connector securing the driver board ribbon cable.

      • Pull the ribbon cable from its connector. The plate and board should now be free from the Echo.

      댓글 쓰기

    6. Amazon Echo Tweeter Replacement: 6 단계, 이미지 3개 중 1개 Amazon Echo Tweeter Replacement: 6 단계, 이미지 3개 중 2개 Amazon Echo Tweeter Replacement: 6 단계, 이미지 3개 중 3개
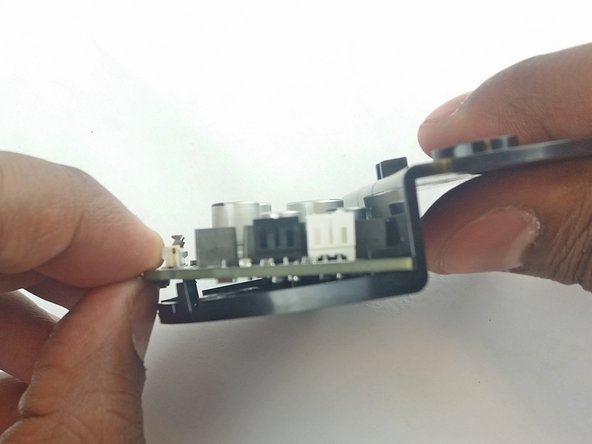
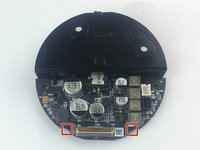
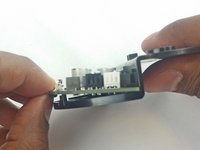
      • Using the spudger, pull back the two plastic clips on the plate.

      • Lift the board up and pull it away from the plate.

      댓글 쓰기

    1. Amazon Echo Tweeter Replacement, Tweeter Assembly: 7 단계, 이미지 2개 중 1개 Amazon Echo Tweeter Replacement, Tweeter Assembly: 7 단계, 이미지 2개 중 2개
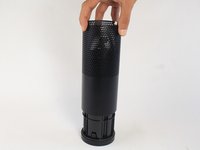
      • Remove the plastic plate from the bottom of the device. Then remove the plastic shrouding.

      댓글 쓰기

    2. Amazon Echo Tweeter Replacement: 8 단계, 이미지 1개 중 1개
      • Peel off the black fabric wrapped around the Echo.

      • Be careful not to rip the fabric. Use a spudger to help remove the adhesive if you have any trouble.

      댓글 쓰기

    3. Amazon Echo Tweeter Replacement: 9 단계, 이미지 3개 중 1개 Amazon Echo Tweeter Replacement: 9 단계, 이미지 3개 중 2개 Amazon Echo Tweeter Replacement: 9 단계, 이미지 3개 중 3개
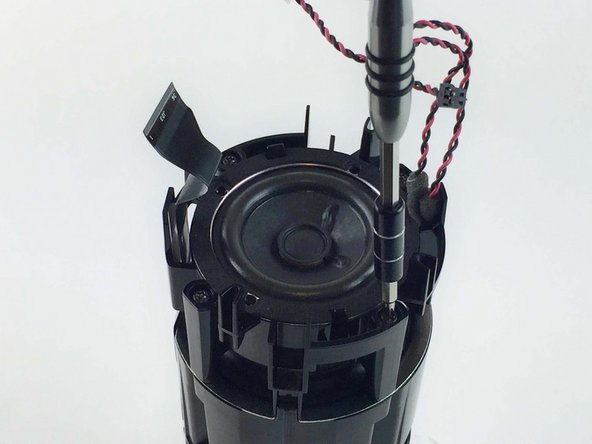
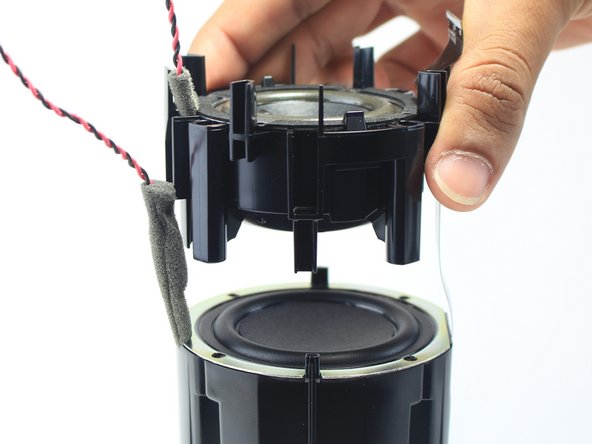
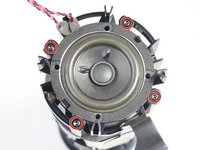
      • Remove the four 42.8 mm T10 Torx screws around the tweeter.

      • Lift the tweeter and its attached housing from the device.

      댓글 쓰기

    1. Amazon Echo Tweeter Replacement, Tweeter: 10 단계, 이미지 2개 중 1개 Amazon Echo Tweeter Replacement, Tweeter: 10 단계, 이미지 2개 중 2개
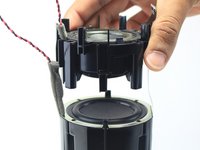
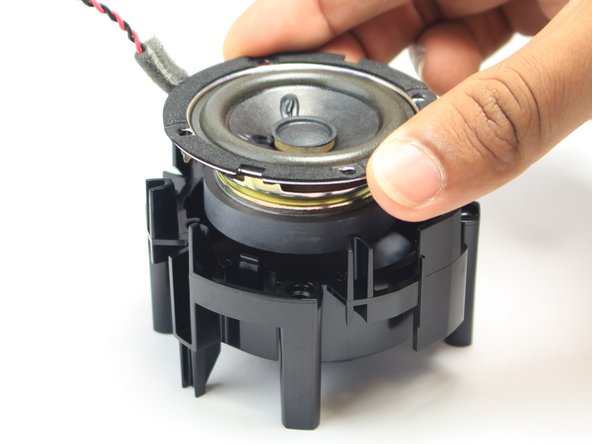
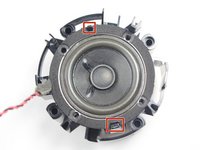
      • Using a spudger or your fingers, pull back the plastic clips near the edge of the tweeter.

      • Remove the tweeter from its plastic housing.

      댓글 쓰기

결론

To reassemble your device, follow these instructions in reverse order.

취소: 해당 안내서를 완성하지 않았습니다.

다른 한 분이 해당 안내서를 완성하였습니다.

Alexander Albert

회원 가입일: 02/04/16

1,169 평판

안내서 6개를 작성함

3가이드 댓글

Anyone know where to get a replacement tweeter?

Ryan Alexander - 답글 공유

Could you kindly post the dimension and depth of this tweeter/full range unit? Thank you.

No Body - 답글 공유

Can anyone provide me the spare tweeter of Amazon echo dot 3rd generation

Pravesh Bansal - 답글 공유

댓글 쓰기

조회 통계:

지난 24시간: 1

지난 7일: 7

지난 30일: 33

전체 시간: 6,766