주요 콘텐츠로 건너뛰기
수리 커뮤니티 가입 - 계정 만들기

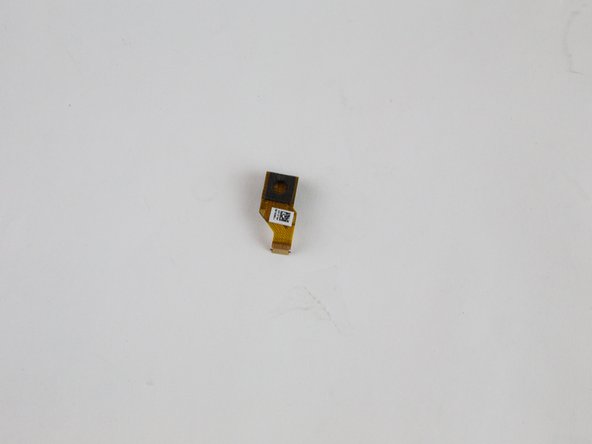
Amazon Fire HD 10 Rear Facing Camera Replacement

필요한 것

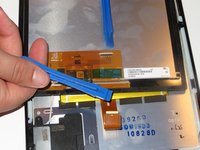
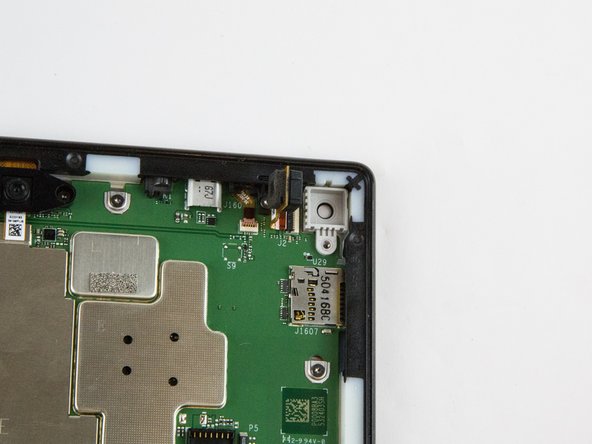
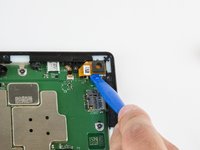
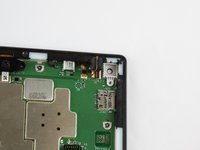
    1. Amazon Fire HD 10 Rear Facing Camera Replacement, Screen: 1 단계, 이미지 3개 중 1개 Amazon Fire HD 10 Rear Facing Camera Replacement, Screen: 1 단계, 이미지 3개 중 2개 Amazon Fire HD 10 Rear Facing Camera Replacement, Screen: 1 단계, 이미지 3개 중 3개
      • Avoid prying near bottom right hand side due to LCD Connector

      • Use a plastic opening tool to pry the screen up in the right hand corner.

      댓글 쓰기

    2. Amazon Fire HD 10 Rear Facing Camera Replacement: 2 단계, 이미지 1개 중 1개
      • Do not completely remove the screen yet as there is a ZIF connector connected.

      • Lift the screen and digitizer from the case.

      • You may need to use some force due to the glue.

      댓글 쓰기

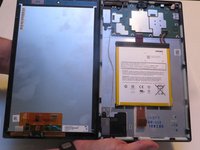
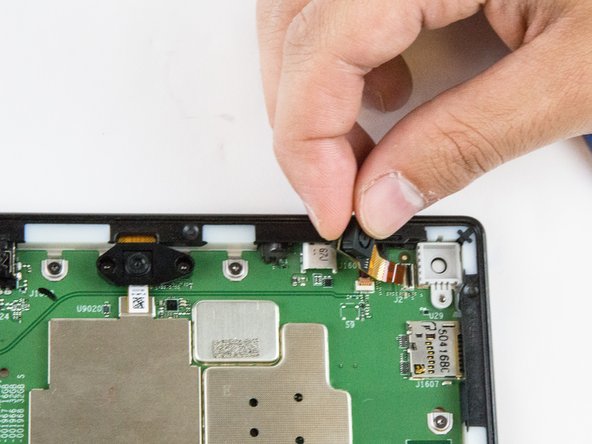
    3. Amazon Fire HD 10 Rear Facing Camera Replacement: 3 단계, 이미지 2개 중 1개 Amazon Fire HD 10 Rear Facing Camera Replacement: 3 단계, 이미지 2개 중 2개
      • Be mindful of the ZIF connector.

      • Disconnect the ribbon connector from the digitizer side using your hands or the plastic opening tool.

      댓글 쓰기

    4. Amazon Fire HD 10 Rear Facing Camera Replacement: 4 단계, 이미지 1개 중 1개
      • Remove the screen and digitizer from the case completely.

      댓글 쓰기

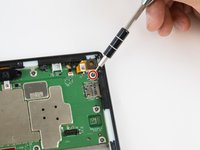
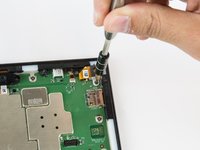
    1. Amazon Fire HD 10 Rear Facing Camera Replacement, Rear Facing Camera: 5 단계, 이미지 2개 중 1개 Amazon Fire HD 10 Rear Facing Camera Replacement, Rear Facing Camera: 5 단계, 이미지 2개 중 2개
      • Remove the single T5 Torx screw at the base of the camera.

      • Once removed, place the screw aside in a safe location.

      댓글 쓰기

    2. Amazon Fire HD 10 Rear Facing Camera Replacement: 6 단계, 이미지 2개 중 1개 Amazon Fire HD 10 Rear Facing Camera Replacement: 6 단계, 이미지 2개 중 2개
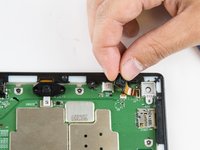
      • Lift the camera from the case using the plastic opening tool.

      • The camera is still connected to the motherboard via the ZIF connector.

      댓글 쓰기

    3. Amazon Fire HD 10 Rear Facing Camera Replacement: 7 단계, 이미지 2개 중 1개 Amazon Fire HD 10 Rear Facing Camera Replacement: 7 단계, 이미지 2개 중 2개
      • Gently grab the camera and pull to remove.

      • The camera is now free from the motherboard.

      댓글 쓰기

결론

To reassemble your device, follow these instructions in reverse order.

취소: 해당 안내서를 완성하지 않았습니다.

다른 2명이 해당 안내서를 완성하였습니다.

작성자

2다른 기여자 명과 함께

Jaie Hillery

회원 가입일: 10/07/14

1,774 평판

안내서 10개를 작성함

USF Tampa, Team 16-6, Blackwell Winter 2016 USF Tampa, Team 16-6, Blackwell Winter 2016 회원

USFT-BLACKWELL-W16S16G6

3 회원들

안내서 52개를 작성함

0가이드 댓글

댓글 쓰기

조회 통계:

지난 24시간: 0

지난 7일: 3

지난 30일: 31

전체 시간: 1,248