주요 콘텐츠로 건너뛰기
수리 커뮤니티 가입 - 계정 만들기

Anker Soundcore Motion Boom Plus Subwoofer Replacement

필요한 것

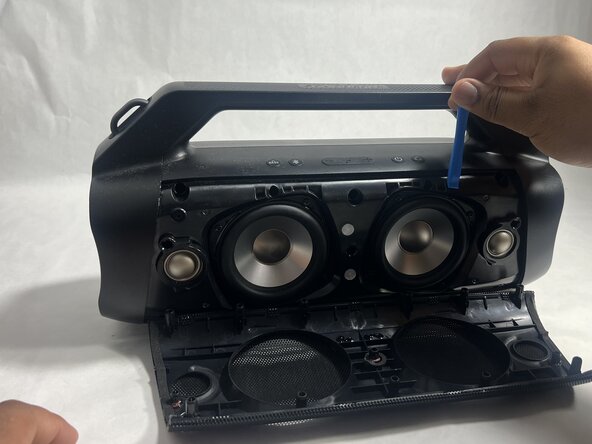
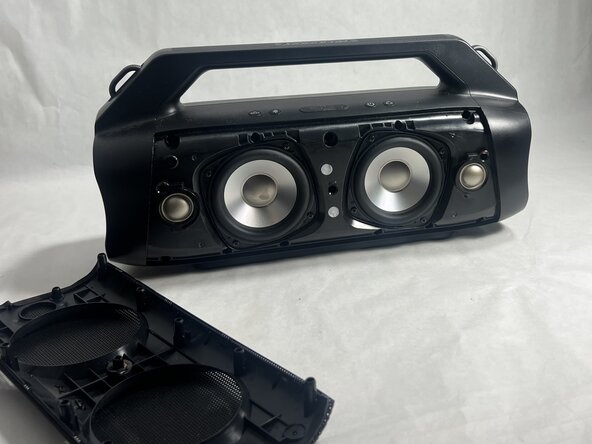
    1. Anker Soundcore Motion Boom Plus Subwoofer Replacement, Case: 1 단계, 이미지 3개 중 1개 Anker Soundcore Motion Boom Plus Subwoofer Replacement, Case: 1 단계, 이미지 3개 중 2개 Anker Soundcore Motion Boom Plus Subwoofer Replacement, Case: 1 단계, 이미지 3개 중 3개
      • Insert an opening tool into the seam between the speaker grille and the chassis.

      • Pry the tool around the top, bottom, and sides until the grille fully releases.

      • Apply gentle pressure to avoid damaging the grille.

      • Remove the grille.

      댓글 쓰기

    2. Anker Soundcore Motion Boom Plus Subwoofer Replacement: 2 단계, 이미지 2개 중 1개 Anker Soundcore Motion Boom Plus Subwoofer Replacement: 2 단계, 이미지 2개 중 2개
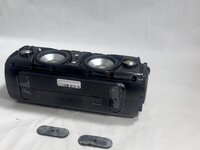
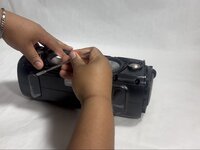
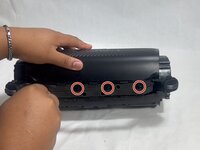
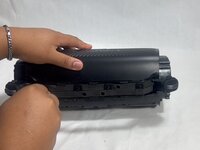
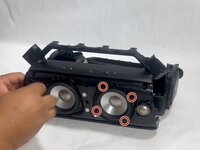
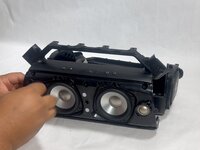
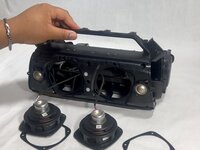
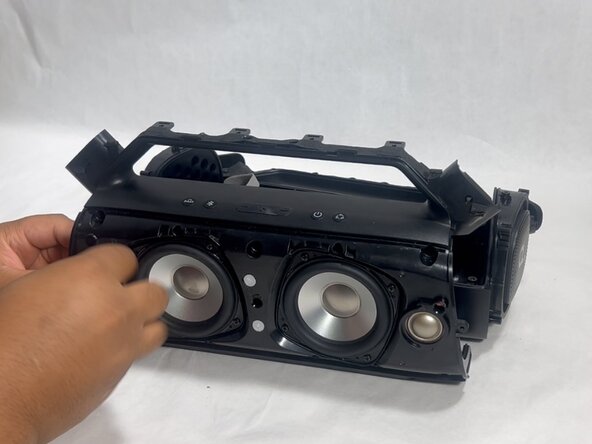
      • Remove the two passive radiators on either side of the device.

      • Avoid pulling too hard or with too much force to prevent breaking the passive radiators.

      댓글 쓰기

    3. Anker Soundcore Motion Boom Plus Subwoofer Replacement: 3 단계, 이미지 2개 중 1개 Anker Soundcore Motion Boom Plus Subwoofer Replacement: 3 단계, 이미지 2개 중 2개
      • Remove the sixteen 14 mm Phillips screws, eight on each end of the speaker.

      댓글 쓰기

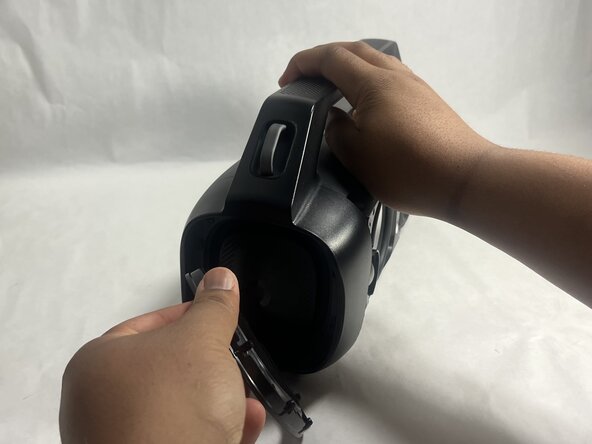
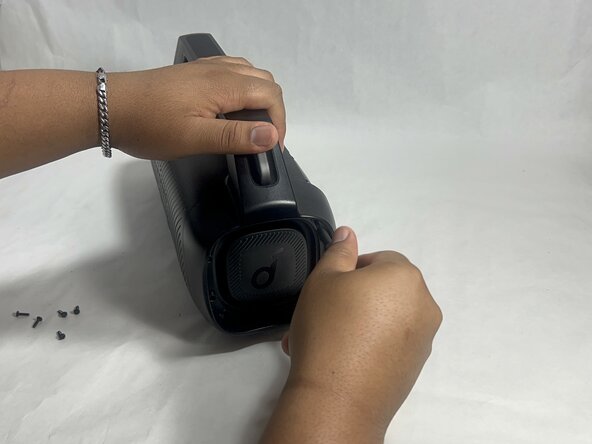
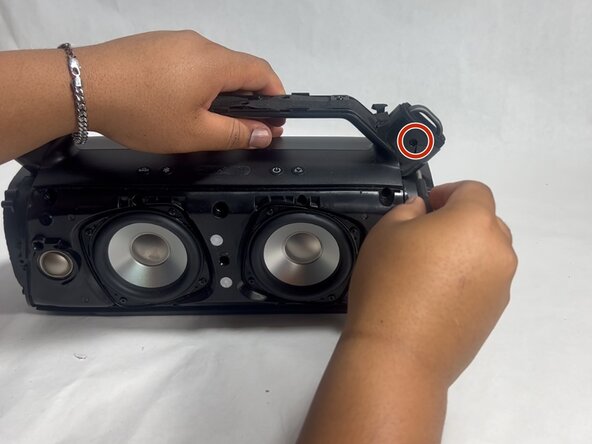
    4. Anker Soundcore Motion Boom Plus Subwoofer Replacement: 4 단계, 이미지 3개 중 1개 Anker Soundcore Motion Boom Plus Subwoofer Replacement: 4 단계, 이미지 3개 중 2개 Anker Soundcore Motion Boom Plus Subwoofer Replacement: 4 단계, 이미지 3개 중 3개
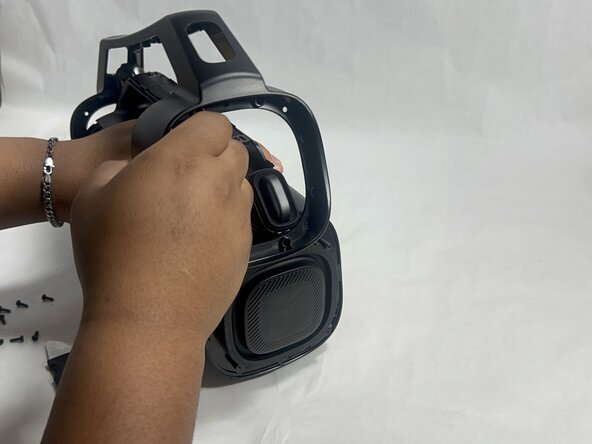
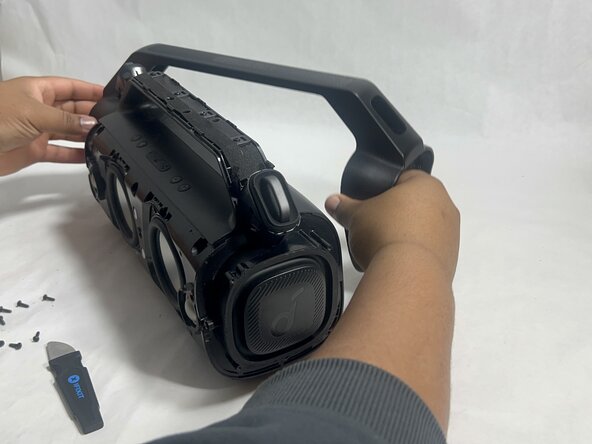
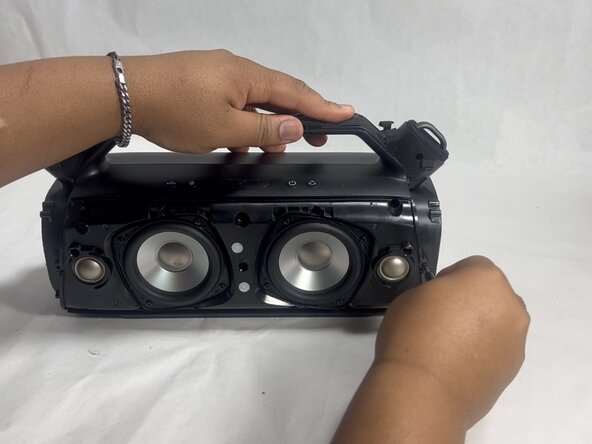
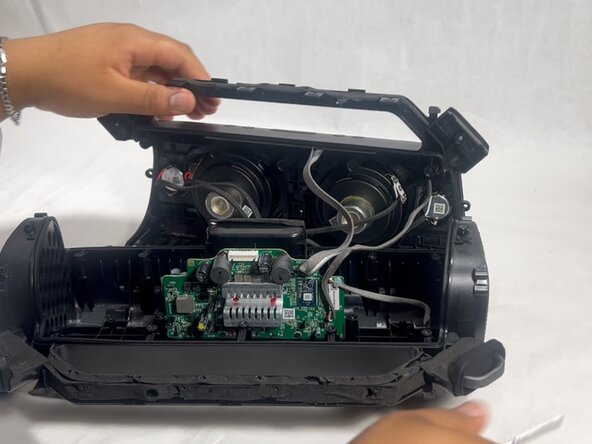
      • Gently remove the handle from the device by clicking off the handles from the sides and then pulling it off.

      댓글 쓰기

    5. Anker Soundcore Motion Boom Plus Subwoofer Replacement: 5 단계, 이미지 2개 중 1개 Anker Soundcore Motion Boom Plus Subwoofer Replacement: 5 단계, 이미지 2개 중 2개
      • Flip the speaker onto its side and use a spudger to remove the two rubber feet on the bottom of the device.

      댓글 쓰기

    6. Anker Soundcore Motion Boom Plus Subwoofer Replacement: 6 단계, 이미지 2개 중 1개 Anker Soundcore Motion Boom Plus Subwoofer Replacement: 6 단계, 이미지 2개 중 2개
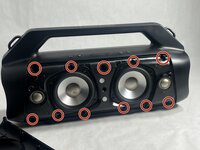
      • Remove the eleven 13 mm Philips screws that secure the driver housing.

      댓글 쓰기

    7. Anker Soundcore Motion Boom Plus Subwoofer Replacement: 7 단계, 이미지 2개 중 1개 Anker Soundcore Motion Boom Plus Subwoofer Replacement: 7 단계, 이미지 2개 중 2개
      • Remove the two 14 mm Phillips screws located on each side of the handle, near the clip points.

      댓글 쓰기

    8. Anker Soundcore Motion Boom Plus Subwoofer Replacement: 8 단계, 이미지 2개 중 1개 Anker Soundcore Motion Boom Plus Subwoofer Replacement: 8 단계, 이미지 2개 중 2개
      • Remove the four 14 mm Philips screws on the top of the device.

      댓글 쓰기

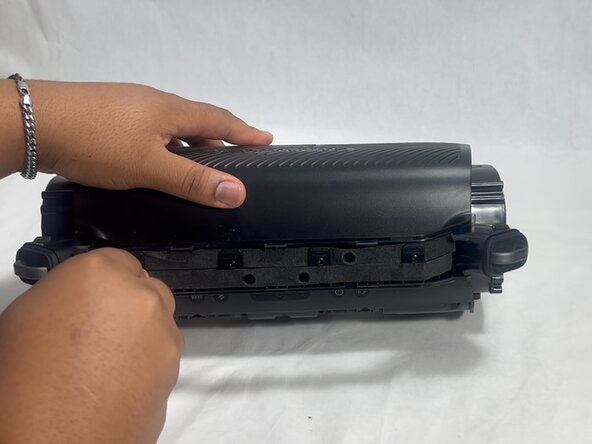
    9. Anker Soundcore Motion Boom Plus Subwoofer Replacement: 9 단계, 이미지 1개 중 1개
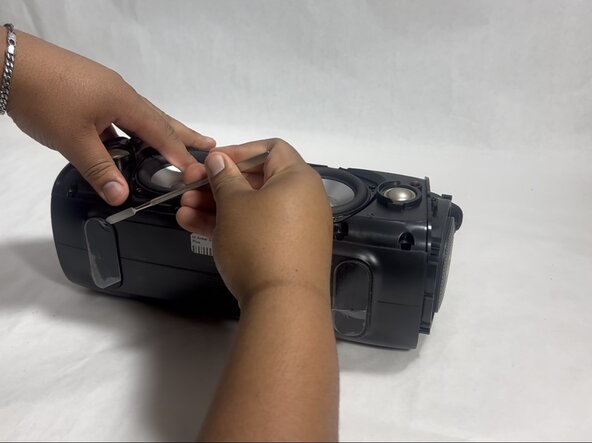
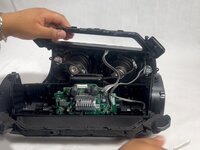
      • Insert a spudger into the seam on top of the device.

      • Gently pry the casing open.

      댓글 쓰기

    10. Anker Soundcore Motion Boom Plus Subwoofer Replacement: 10 단계, 이미지 3개 중 1개 Anker Soundcore Motion Boom Plus Subwoofer Replacement: 10 단계, 이미지 3개 중 2개 Anker Soundcore Motion Boom Plus Subwoofer Replacement: 10 단계, 이미지 3개 중 3개
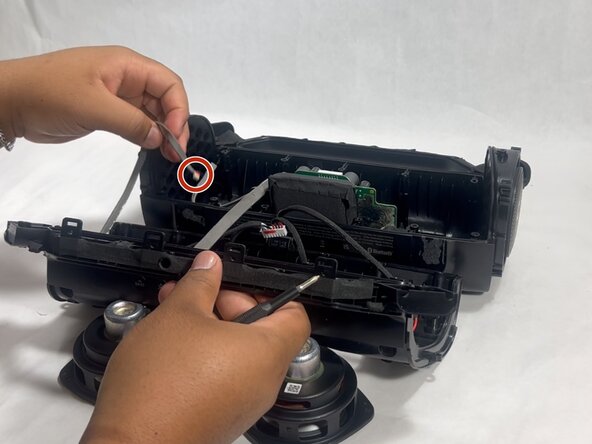
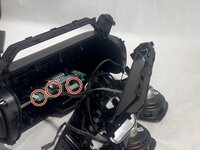
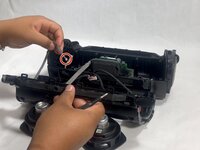
      • Disconnect each of the three cables by gently pulling the connectors out of their sockets.

      • Do not pull with force. The ribbon cables are fragile and easily break.

      댓글 쓰기

    1. Anker Soundcore Motion Boom Plus Subwoofer Replacement, Subwoofer: 11 단계, 이미지 3개 중 1개 Anker Soundcore Motion Boom Plus Subwoofer Replacement, Subwoofer: 11 단계, 이미지 3개 중 2개 Anker Soundcore Motion Boom Plus Subwoofer Replacement, Subwoofer: 11 단계, 이미지 3개 중 3개
      • Remove the four 11 mm Phillips screws securing the right subwoofer.

      • Gently pull the subwoofer out of the device.

      댓글 쓰기

    2. Anker Soundcore Motion Boom Plus Subwoofer Replacement: 12 단계, 이미지 1개 중 1개
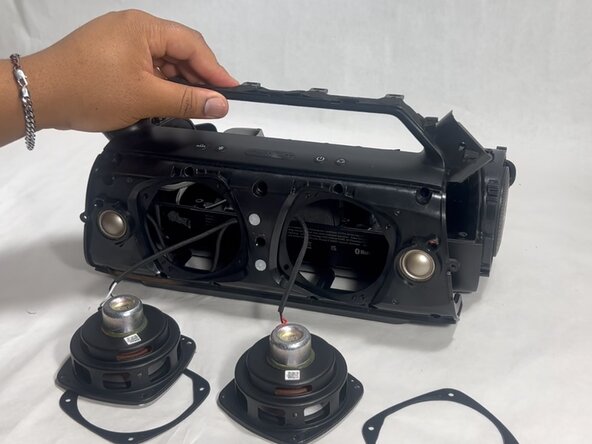
      • Detach the cables connected to the subwoofer.

      • Do not pull with force, as the cables are fragile and easily break.

      • Remove the right subwoofer.

      • Repeat the previous two steps for the left subwoofer.

      댓글 쓰기

결론

To reassemble your device, follow the above steps in reverse order.
Take your e-waste to an R2 or e-Stewards certified recycler.
Repair didn’t go as planned? Try some basic troubleshooting or ask our Answers community for help.

취소: 해당 안내서를 완성하지 않았습니다.

작성자

1다른 기여자 명과 함께

Hayley

회원 가입일: 03/26/25

988 평판

안내서 6개를 작성함

UMass Dartmouth, Team 3-7, Botvin Spring 2025 UMass Dartmouth, Team 3-7, Botvin Spring 2025 회원

UMASSD-BOTVIN-S25S3G7

2 회원들

안내서 12개를 작성함

0가이드 댓글

댓글 쓰기

조회 통계:

지난 24시간: 3

지난 7일: 10

지난 30일: 33

전체 시간: 336