소개
This set of instructions covers the Apple Powerbook 190/5300 Series’ hard drive removal and replacement.. This procedure should be performed for the replacement of a faulty or inoperable hard drive; including but not limited to data cable damage, or power cable damage. The user may also want to remove their hard drive to secure their data from compromise.
This device contains the highest voltage of any Powerbook of its time, and requires precaution. Remove the battery and power adaptor before the procedure.
필요한 것
-
-
To begin this repair process first position the Powerbook towards you with the monitor closed, also make sure the laptop is away from anything that can cause a fire, self harm, etc.
-
Press the battery removal latch located on the right side of the front panel.
-
Gently slide the battery out. Make sure you place the battery in a safe place where it can also be easily accesible
 FixBot에 문의하기
-
-
-
For the next step you are to grab the TR8 Torx Security Screwdriver
-
Once you have the screwdriver turn the laptop over and look for three T8 torx screws that should be located near the bottom panel of the device.
-
Once located, begin unscrewing and place screws in a comfortable space where they are easily accesible
-
-
-
-
Once the screws are off carefully turn the laptop over, make sure the monitor of the device is facing you
-
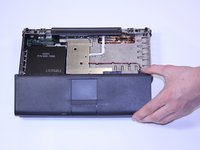
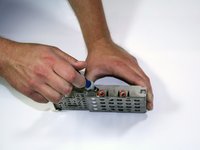
With the monitor facing towards you, gently pull up on the keyboard panel from the bottom.
-
With the keyboard turned over as pictured, carefully remove its ribbon cable from the connection port on the logic board. Use the spudger tool to lift the white plastic retainer about 1/16" to release the cable.
-
-
-
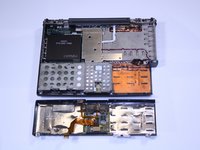
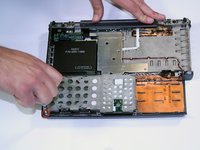
Gently lift up the laptop's front-most panel and slowly raise the trackpad from the logic board.
-
Disconnect the front panel's ribbon cable from the board by slowly pulling it out of the connection port. Set the panel aside.
-
-
-
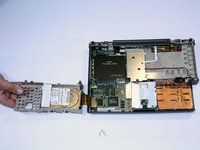
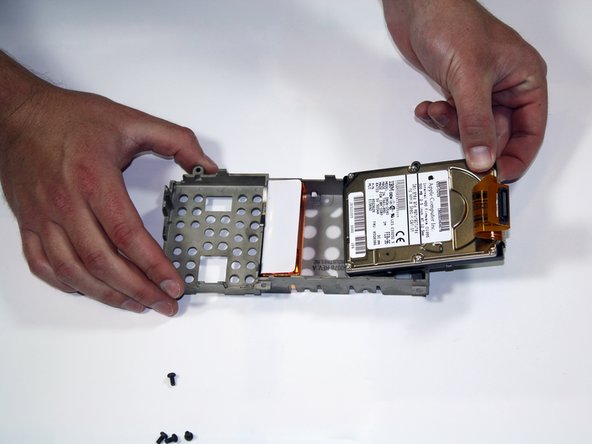
Unscrew the Torx #8 screws holding the hard drive case in place on the logic board.
-
Lift up on the hard drive to disconnect its ribbon cable from the logic board, just like in the previous steps.
-


To reassemble your device, follow these instructions in reverse order.
다른 2명이 해당 안내서를 완성하였습니다.
팀

Cal Poly, Team 25-30, Garner Spring 2011 Cal Poly, Team 25-30, Garner Spring 2011 회원
CPSU-GARNER-S11S25G30
4 회원들
안내서 6개를 작성함