주요 콘텐츠로 건너뛰기
수리 커뮤니티 가입 - 계정 만들기

Apple Studio Display M7649 Front Buttons Replacement

필요한 것

    1. Apple Studio Display M7649 Front Buttons Replacement, Stand: 1 단계, 이미지 2개 중 1개 Apple Studio Display M7649 Front Buttons Replacement, Stand: 1 단계, 이미지 2개 중 2개
      • Lay the display facing down with the stand away from you.

      • Remove the three size 2.0 hex screws on the swing arm and remove the swing arm as well as the plastic shield under it.

      댓글 쓰기

    1. Apple Studio Display M7649 Front Buttons Replacement, Panels: 2 단계, 이미지 1개 중 1개
      • Remove the size 2.5 hex screws from each corner that connects the panels to the display and remove them.

      댓글 쓰기

    2. Apple Studio Display M7649 Front Buttons Replacement: 3 단계, 이미지 1개 중 1개
      • Rotate the display so the legs of the display are now facing you

      • Grip the top of the clear panel and lift it upwards, and pull the ADC cable through the hole.

      댓글 쓰기

    3. Apple Studio Display M7649 Front Buttons Replacement: 4 단계, 이미지 1개 중 1개
      • Remove the grey back panel by lifting the bottom and pulling the ADC cable through the hole.

      댓글 쓰기

    1. Apple Studio Display M7649 Front Buttons Replacement, Metal EMI Shield: 5 단계, 이미지 1개 중 1개
      • The next layer will be a shiny metal panel, which might have some stickers. Make sure to remove these stickers.

      댓글 쓰기

    2. Apple Studio Display M7649 Front Buttons Replacement: 6 단계, 이미지 1개 중 1개
      • Now locate and remove the lone Phillips screw holding the EMI shield to the display

      댓글 쓰기

    3. Apple Studio Display M7649 Front Buttons Replacement: 7 단계, 이미지 2개 중 1개 Apple Studio Display M7649 Front Buttons Replacement: 7 단계, 이미지 2개 중 2개
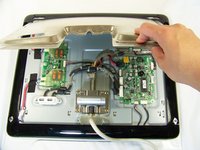
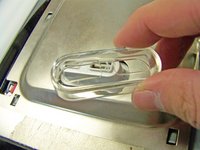
      • Now that the screw has been removed, slide the panel towards your body and lift it out.

      • You may need to remove the clear USB port cover to remove the metal EMI shield.

      댓글 쓰기

    1. Apple Studio Display M7649 Front Buttons Replacement, Front Buttons: 8 단계, 이미지 1개 중 1개
      • Using the spudger, remove the four black panel covers on the edges of the display.

      댓글 쓰기

    2. Apple Studio Display M7649 Front Buttons Replacement: 9 단계, 이미지 1개 중 1개
      • Remove these screws under the panels.

      • There may be more screw holes than actual screws

      댓글 쓰기

    3. Apple Studio Display M7649 Front Buttons Replacement: 10 단계, 이미지 1개 중 1개
      • Remove the two connections that connect the buttons to the logic board

      댓글 쓰기

    4. Apple Studio Display M7649 Front Buttons Replacement: 11 단계, 이미지 1개 중 1개
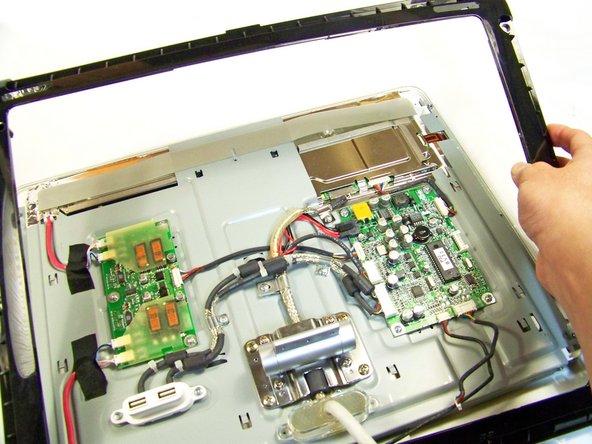
      • Remove the outer frame and and pull the cables through the hole. Flip the frame upside down.

      댓글 쓰기

    5. Apple Studio Display M7649 Front Buttons Replacement: 12 단계, 이미지 1개 중 1개
      • The red highlighted box is the power button

      • The teal highlighted box is the brightness button

      • This guide will focus on the power button. Removal of the brightness button will follow the same instructions, but you will be working on the left button (teal box) instead of the right (red box)

      댓글 쓰기

    6. Apple Studio Display M7649 Front Buttons Replacement: 13 단계, 이미지 1개 중 1개
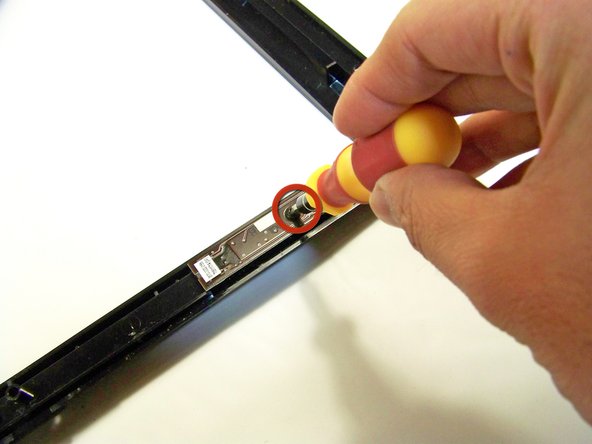
      • Remove the screws at the bottom holding the button(s) down

      • In this picture we are removing the power button

      댓글 쓰기

    7. Apple Studio Display M7649 Front Buttons Replacement: 14 단계, 이미지 1개 중 1개
      • Remove and replace the button(s).

      댓글 쓰기

결론

To reassemble your device, follow these instructions in reverse order.

취소: 해당 안내서를 완성하지 않았습니다.

다른 한 분이 해당 안내서를 완성하였습니다.

작성자

4다른 기여자 명과 함께

Andrew Tsao

회원 가입일: 01/19/10

186 평판

안내서 5개를 작성함

Cal Poly, Team 3-20, Maness Winter 2010 Cal Poly, Team 3-20, Maness Winter 2010 회원

CPSU-MANESS-W10S3G20

4 회원들

안내서 39개를 작성함

0가이드 댓글

댓글 쓰기

조회 통계:

지난 24시간: 1

지난 7일: 7

지난 30일: 25

전체 시간: 3,501