주요 콘텐츠로 건너뛰기
수리 커뮤니티 가입 - 계정 만들기

Asus 1015E-DS03 Trackpad Replacement

필요한 것

  1. Asus 1015E-DS03 Trackpad Replacement, Battery: 1 단계, 이미지 1개 중 1개
    • Hold the laptop using both hands with the battery facing upwards.

    댓글 쓰기

  2. Asus 1015E-DS03 Trackpad Replacement: 2 단계, 이미지 1개 중 1개
    • Push the two tabs located below the battery in towards each other using your thumbs.

    댓글 쓰기

  3. Asus 1015E-DS03 Trackpad Replacement: 3 단계, 이미지 1개 중 1개
    • Push the battery upwards and out of the laptop as shown.

    댓글 쓰기

  4. Asus 1015E-DS03 Trackpad Replacement: 4 단계, 이미지 1개 중 1개
    • Continue to push the battery upwards until it is completely separated from the laptop as shown.

    댓글 쓰기

  5. Asus 1015E-DS03 Trackpad Replacement, Keyboard: 5 단계, 이미지 1개 중 1개
    • Once the battery is removed, unscrew the highlighted 3mm screws (4) using a #0 Phillps head screwdriver.

    • Be very careful not to lose the screws, these four screws are very small.

    댓글 쓰기

  6. Asus 1015E-DS03 Trackpad Replacement: 6 단계, 이미지 2개 중 1개 Asus 1015E-DS03 Trackpad Replacement: 6 단계, 이미지 2개 중 2개
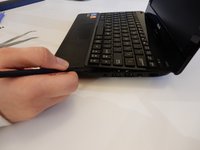
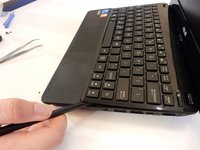
    • After all four screws are removed, flip the laptop over with the keyboard facing up.

    • Use a spudger to pry up where the keyboard is attached to the laptop on all sides until it is detached from the laptop.

    • It is normal to hear cracking noises when prying off the keyboard.

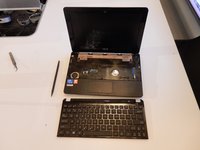
    • After keyboard is detached from laptop, there is a ribbon cable still attached to the motherboard. See next step before completely removing keyboard.

    댓글 쓰기

  7. Asus 1015E-DS03 Trackpad Replacement: 7 단계, 이미지 1개 중 1개
    • After the keyboard is detached, the ribbon cable which connects the keyboard to the laptop's motherboard is exposed.

    • Be careful not to tear or rip the ribbon cable.

    댓글 쓰기

  8. Asus 1015E-DS03 Trackpad Replacement: 8 단계, 이미지 1개 중 1개
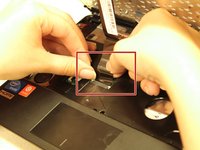
    • Using the spudger push the white clips upwards that are holding the cable.

    댓글 쓰기

  9. Asus 1015E-DS03 Trackpad Replacement: 9 단계, 이미지 2개 중 1개 Asus 1015E-DS03 Trackpad Replacement: 9 단계, 이미지 2개 중 2개
    • Gently pull the strip out of the square slot.

    댓글 쓰기

  10. Asus 1015E-DS03 Trackpad Replacement, Trackpad: 10 단계, 이미지 1개 중 1개
    • Unscrew all of the indicated 5mm screws (11) using a #0 Philips head screwdriver.

    • One of the screws will be covered by a sticker indicating that proceeding will void the warranty.

    댓글 쓰기

  11. Asus 1015E-DS03 Trackpad Replacement: 11 단계, 이미지 2개 중 1개 Asus 1015E-DS03 Trackpad Replacement: 11 단계, 이미지 2개 중 2개
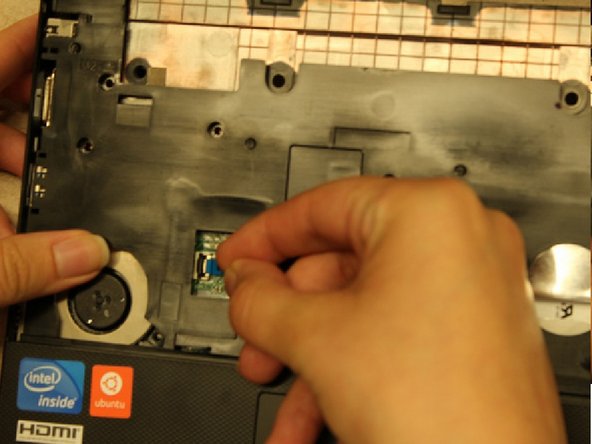
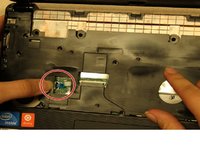
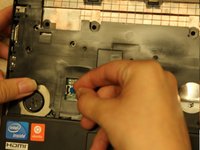
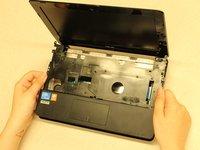
    • Before the baseboard can be fully removed from the laptop, you need to detach the small blue tab attached to the motherboard.

    • Gently lift up on the black plastic tab that is securing the blue tab in place.

    • Carefully pull the blue tab out of the dock.

    댓글 쓰기

  12. Asus 1015E-DS03 Trackpad Replacement: 12 단계, 이미지 2개 중 1개 Asus 1015E-DS03 Trackpad Replacement: 12 단계, 이미지 2개 중 2개
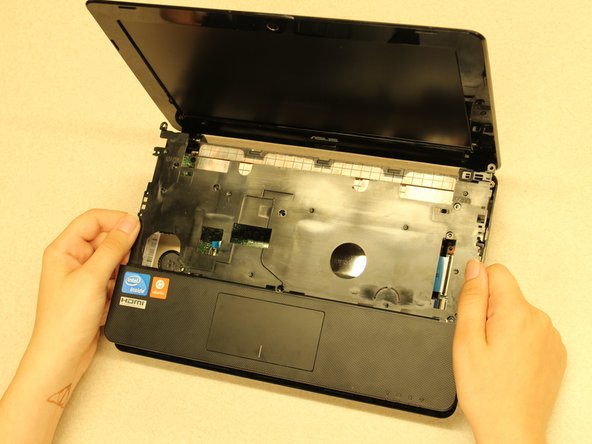
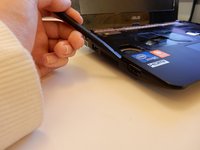
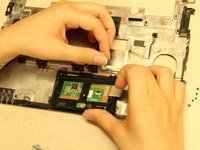
    • Use the spudger from the laptop to 'pop' open the track-pad base, starting from the corner shown

    • Once the corner is popped it may be easier to use your fingers to pop off the entire track-pad base

    • You will hear popping. Although this is normal, use caution pulling the track-pad base from the rest of the laptop

    댓글 쓰기

  13. Asus 1015E-DS03 Trackpad Replacement: 13 단계, 이미지 3개 중 1개 Asus 1015E-DS03 Trackpad Replacement: 13 단계, 이미지 3개 중 2개 Asus 1015E-DS03 Trackpad Replacement: 13 단계, 이미지 3개 중 3개
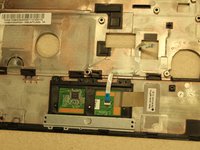
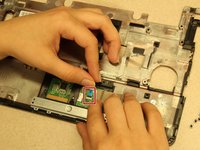
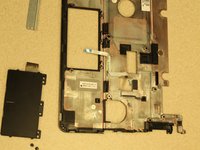
    • Once the trackpad base is detached, flip it face-down.

    • Lift the small black tab that the blue flat cable is attached to.

    댓글 쓰기

  14. Asus 1015E-DS03 Trackpad Replacement: 14 단계, 이미지 1개 중 1개
    • Remove the 3mm screws (3) circled in red with a #0 Phillips head screwdriver.

    • The metal plate shown in blue will fall off by itself, replace it before re-securing the baseplate.

    댓글 쓰기

  15. Asus 1015E-DS03 Trackpad Replacement: 15 단계, 이미지 3개 중 1개 Asus 1015E-DS03 Trackpad Replacement: 15 단계, 이미지 3개 중 2개 Asus 1015E-DS03 Trackpad Replacement: 15 단계, 이미지 3개 중 3개
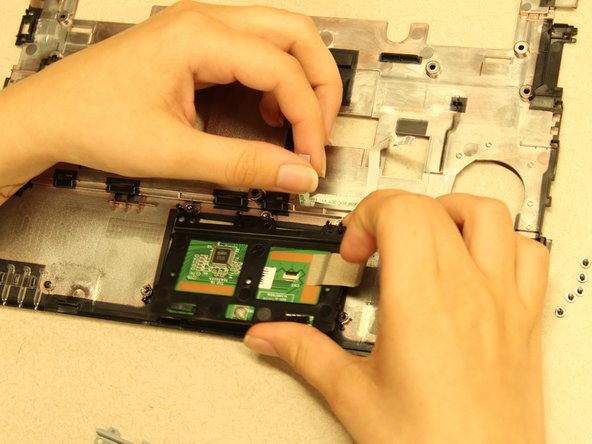
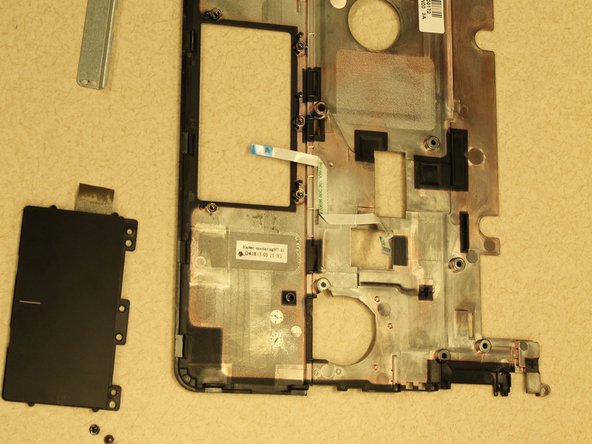
    • Detach the tape connecting the trackpad to the trackpad base, and carefully remove the trackpad.

    댓글 쓰기

결론

To reassemble your device, follow these instructions in reverse order.

취소: 해당 안내서를 완성하지 않았습니다.

다른 한 분이 해당 안내서를 완성하였습니다.

작성자

3다른 기여자 명과 함께

Liam Monteith

회원 가입일: 03/21/16

149 평판

안내서 1개를 작성함

Clemson, Team 7-4, Benson Spring 2016 Clemson, Team 7-4, Benson Spring 2016 회원

CLEM-BENSON-S16S7G4

5 회원들

안내서 7개를 작성함

0가이드 댓글

댓글 쓰기

조회 통계:

지난 24시간: 1

지난 7일: 5

지난 30일: 59

전체 시간: 909