소개
Fans can overheat and stop working. This guide will help you be able to remove and replace the fan inside the ASUS K50IJ.
필요한 것
-
-
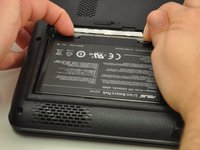
Slide the tab over to unlock the battery cover located on the bottom-left corner of the laptop.
 FixBot에 문의하기
-
-
-
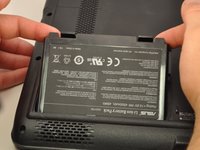
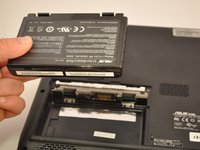
Press the tabs on the battery and lift them. The battery should come out easily.
-
-
-
-
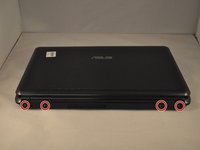
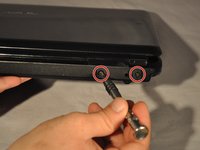
Using the PH1 screwdriver, remove the four 4 .75 mm screws that are located on the vent panel.
-
-
-
Remove the one .5 mm screw located in the top right corner of the battery compartment.
-
-
-
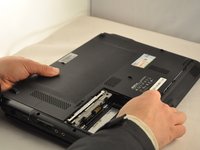
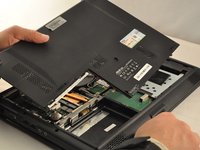
Remove the bottom panel by sliding it toward the hinges and lifting the back panel up.
-
-
-
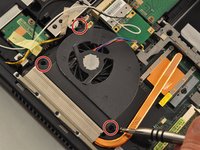
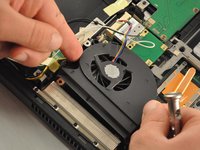
Using the PH1 screwdriver, remove the 3 .75mm screws labeled as 1, 2, and 3 on the fan. NOTE these screws have the labels "1", "2", and "3" next to them.
-
Lift the fan up with your fingers.
-


To reassemble your device, follow these instructions in reverse order.
다른 한 분이 해당 안내서를 완성하였습니다.

팀

Eastern Washington University, Team S1-G3, Carnegie Fall 2017 Eastern Washington University, Team S1-G3, Carnegie Fall 2017 회원
EWU-CARNEGIE-F17S1G3
4 회원들
안내서 5개를 작성함