소개
If your laptop is displaying the dreaded ‘blue screen of death,’ randomly reboots itself, and/or frequently freezes, you will need to replace the Random Access Memory (RAM) on your laptop. You may also want to upgrade your RAM for more memory. Follow this guide in order to replace or upgrade your RAM.
Remember to power off your laptop and unplug it from the power adapter prior to beginning this repair.
필요한 것
-
-
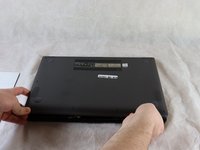
Carefully remove the two longer 9.5 mm screws on the corners with a Phillips #1 screwdriver.
-
Remove the eight 7.5 mm Phillips #1 screws on the back of the device.
 FixBot에 문의하기
-
-
-
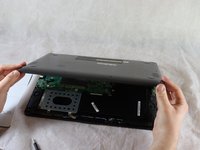
Once the cover has been separated from the device, carefully lift the back cover off the device (begin by lifting from the front of the cover first).
-
-
-
-
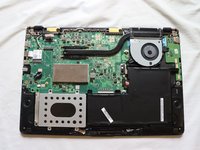
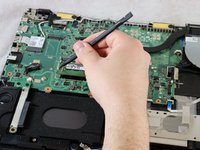
Position the flat end of the Spudger under one of the corners on the RAM cover and pry it up slightly.
-
Move the spudger around the periphery of the cover to lift the cover up.
-
-
-
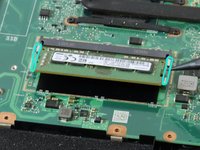
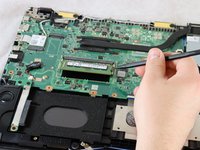
Using a spudger or your fingers, gently pull the metal brackets away from the RAM.
-


To reassemble your device, follow these instructions in reverse order.
다른 한 분이 해당 안내서를 완성하였습니다.

팀

Clemson, Team 2-5, Hunter Spring 2022 Clemson, Team 2-5, Hunter Spring 2022 회원
CLEM-HUNTER-S22S2G5
4 회원들
안내서 12개를 작성함