소개
Be sure is it not the disk that is faulty before replacing the disk drive. If you are having anyother problems with this device check the troubleshooting page here.
필요한 것
-
-
Start by removing the 10 screws on the back of the laptop with a Phillips head 1 screw driver.
-
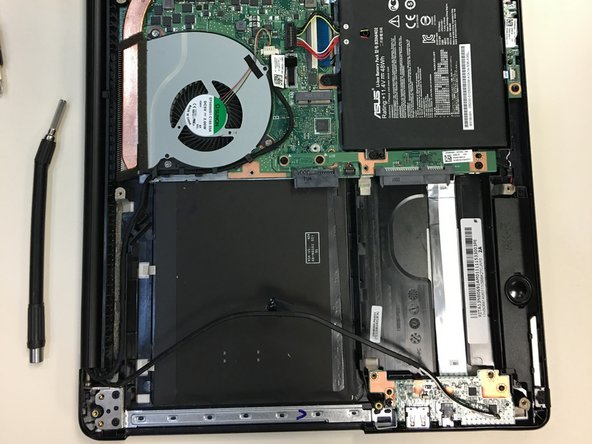
Remove back cover.
-
-


To reassemble your device, follow these instructions in reverse order.
To reassemble your device, follow these instructions in reverse order.
다른 한 분이 해당 안내서를 완성하였습니다.
팀

University of North Texas, Team S6-G5, Thomas Fall 2017 University of North Texas, Team S6-G5, Thomas Fall 2017 회원
UNT-THOMAS-F17S6G5
4 회원들
안내서 5개 작성하였습니다