소개
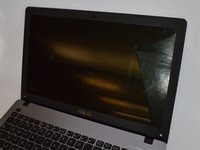
Use this guide to replace the display screen of your Asus R510CA-OB01 laptop. In the event that your screen is faulty or blurred or you'd like to update to a screen with better resolution, you can use this guide to replace the display screen in your device.
필요한 것
-
-
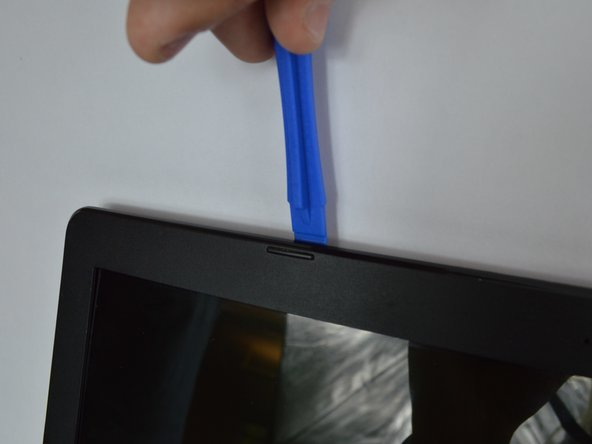
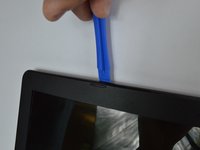
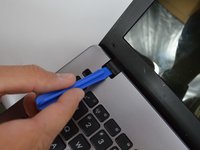
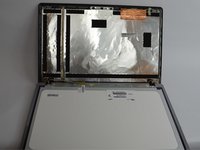
Open the device.
-
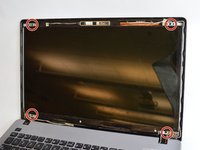
Remove the black plastic squares on each side with a spudger.
 FixBot에 문의하기
-
-
-
Remove the two 5mm screws at each bottom corner of the display using a Phillips #0 screwdriver.
-
-
-
-
After the two screws are removed, use a plastic opening tool to remove the black cover around the screen.
-
-
-
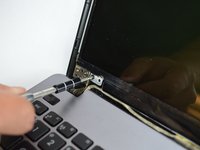
Remove the four 5mm screws that attach the screen with a Philips #0 screwdriver.
-
-
-
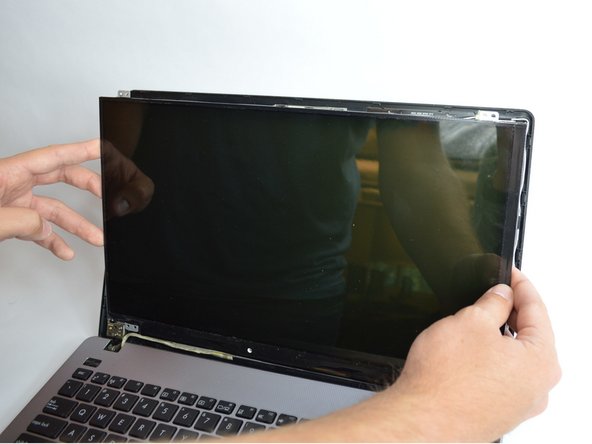
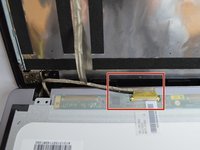
Lift up the screen from the back of the laptop and then you will see a cable connected to the screen.
-
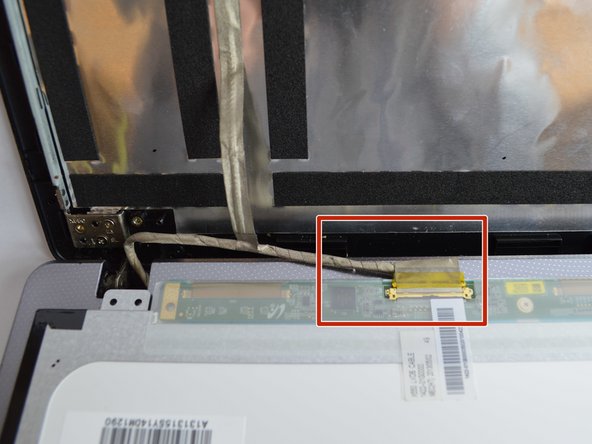
You can simply disconnect the cable and insert a new screen.
-


To reassemble your device, follow these instructions in reverse order.
다른 한 분이 해당 안내서를 완성하였습니다.

팀

USF Tampa, Team S3-G4, Nance Fall 2017 USF Tampa, Team S3-G4, Nance Fall 2017 회원
USFT-NANCE-F17S3G4
2 회원들
안내서 4개를 작성함