소개
This guide will demonstrate how to remove and replace the keypad for the BLU Tank II cell phone. You will need to remove the parts talked about in the previous guides in order to replace the keypad. You will also need a screwdriver and an opening tool to replace the keypad.
필요한 것
-
-
-
With the screen facing you, find the left corner of the phone. There should be a visible groove.
-
With your fingers, carefully press a fingernail into the slot and separate the back panel from the phone.
 FixBot에 문의하기
-
-
-
-
-
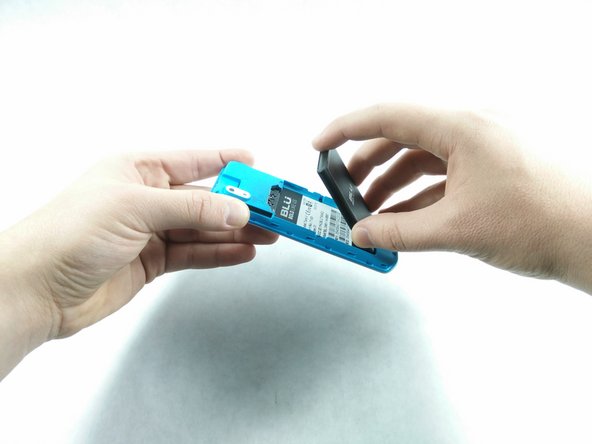
After the back panel has been removed, put your finger on and press down on the bottom part of the battery.
-
Lift the battery up and carefully remove the battery.
-
-
-
-
-
-
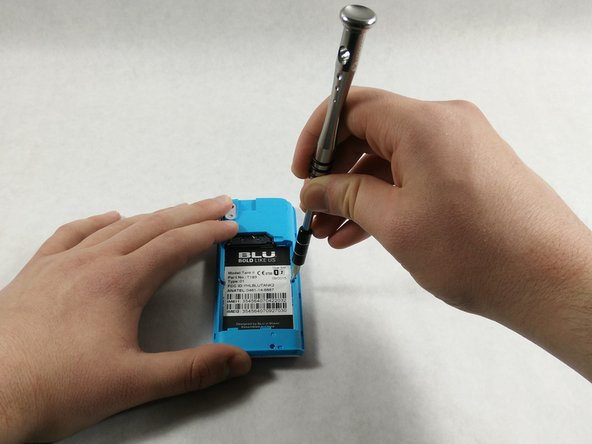
Wedge the blue plastic iFixit opening tool between the front plate and the outer lens plate.
-
Carefully separate the front plate from all sides of the phone.
-
-
-
-
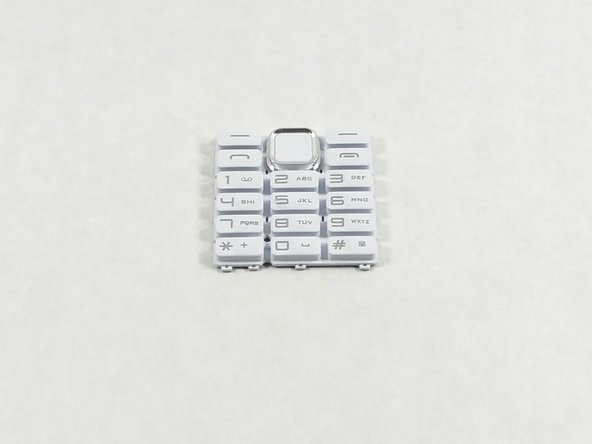
Once the front plate is separated from the outer lens plate, place your fingers on the backside of the keypad.
-
Peel the keypad out from the keyholes in the front plate.
-
-







To reassemble your device, follow these instructions in reverse order.

팀

UMass Dartmouth, Team S6-G2, Isaacson Spring 2017 UMass Dartmouth, Team S6-G2, Isaacson Spring 2017 회원
UMASSD-ISAACSON-S17S6G2
4 회원들
안내서 72개를 작성함
