소개
Prerequisite for removing the back panel of a Nikon Coolpix S3500.
필요한 것
-
-
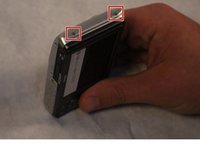
With the battery door facing upward, take your PH000 screwdriver and remove the 4 mm screws from the bottom of the device.
 FixBot에 문의하기
-
-
-
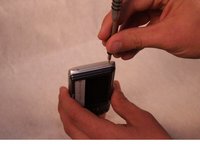
After removing the screws, rotate the device to where the micro USB port is facing up.
-
Now, take your PH000 screwdriver and remove the two 4 mm screws from the device.
-
-
-
-
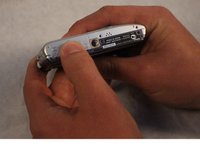
Rotate the device 180 degrees so that the opposite side of the device is now facing upwards.
-
Now, take your PH000 screwdriver and remove the two 4 mm screws from the device.
-
-
-
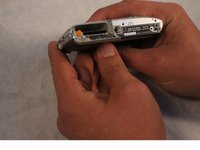
After all of the screws are removed, rotate the device so that the bottom of the device is now facing upward.
-
With your index finger, press down and slide open the memory card/battery door.
-
-
-
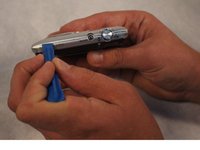
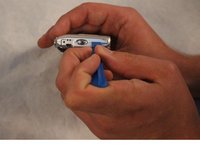
Now take the plastic opening tool, and place it in the seam of the device.
-
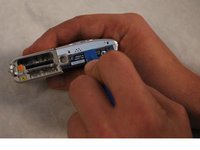
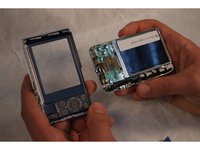
Now, work the tool around the seam of the device until you can safely pry open the device.
-


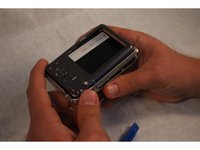
To reassemble your device, follow these instructions in reverse order.
다른 2명이 해당 안내서를 완성하였습니다.
팀

Sam Houston State, Team 2-1, Blackburne Fall 2015 Sam Houston State, Team 2-1, Blackburne Fall 2015 회원
SHSU-BLACKBURNE-F15S2G1
3 회원들
안내서 7개를 작성함