소개
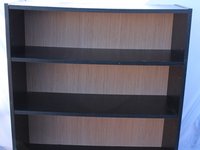
If you have a broken bookshelf that is ready for the trash then this guide is for you. Before starting your fast fix project please remember that you will need at least two people to complete your project. Through this process you will be taking a broken down bookshelf and turning it into a strong and sturdy shelf that will last a lifetime by simply replacing the back of the shelf. Please note that you will be using a jig saw during this process.
필요한 것
-
-
-
Gather all pieces of the bookshelf if it fell apart or the shelf itself is still together.
 FixBot에 문의하기
-
-
-
You will need to put the bookshelf back together by holding the sides together.
-
Drill new holes to insert new screws to reinforce the shelf. Use a 1/8 inch drill bit.
-
Put screws into the freshly made holes with 1/8 by 1 inch wood screws to bring it together.
-
-
-
-
Now that the base of the bookshelf is back together, we will need to measure out the size of board needed for the new backing.
-
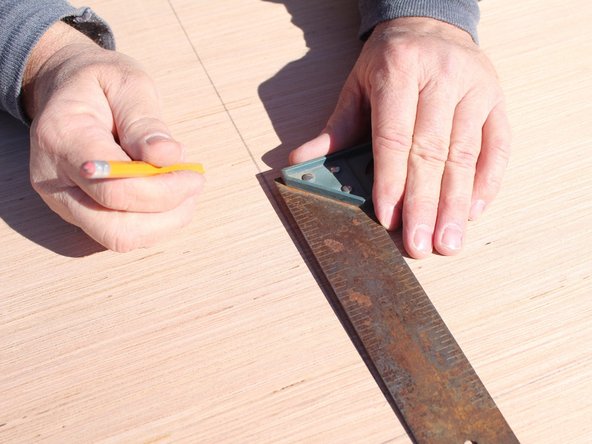
Use the measuring tape and the square ruler to measure out the specific size you need. Use a pencil to draw the lines out so you can saw the piece out with precision.
-
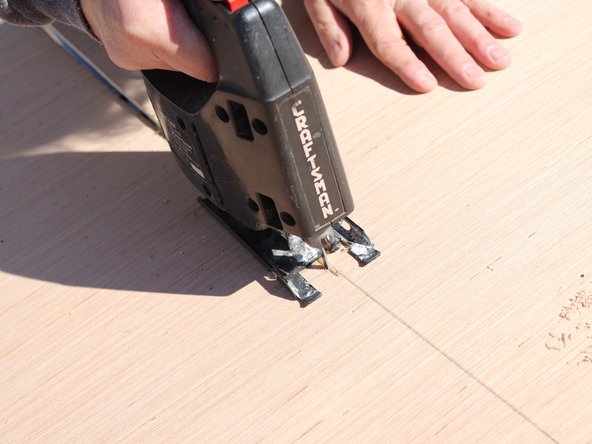
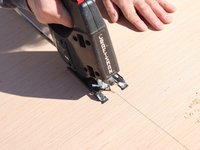
Use the jig saw to cut the piece of plywood out following the lines you just drew.
-
-
-
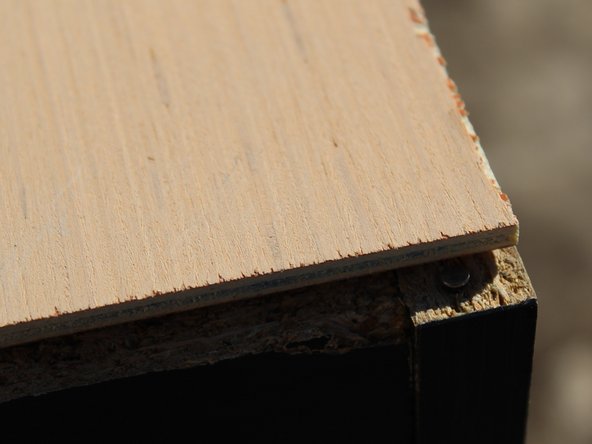
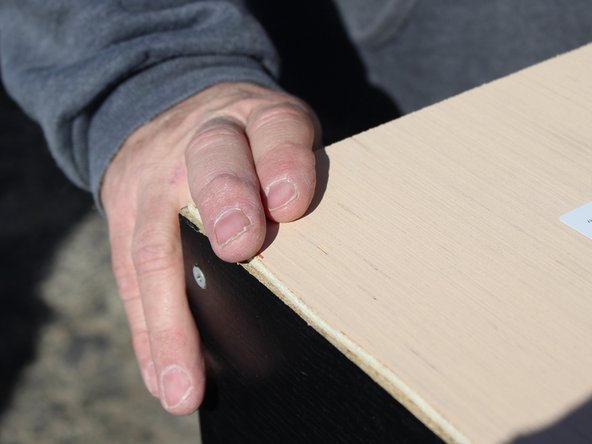
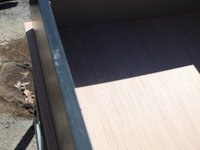
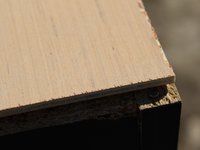
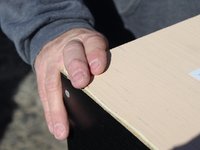
Line your new piece of plywood that you just cut, up with the back of the bookshelf.
-
Make sure that the corners are lined up so that as you hammer in the nails it stays lined up and even.
-
-
-
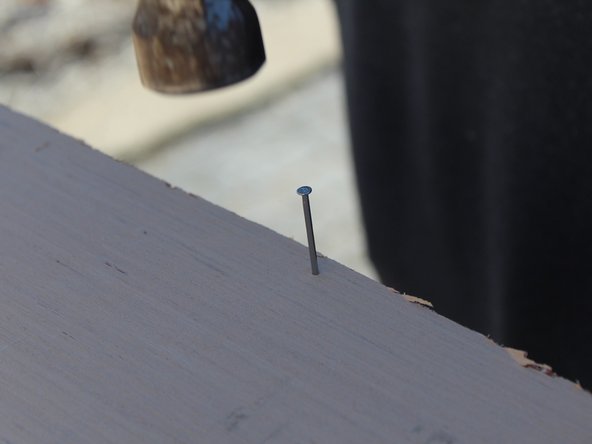
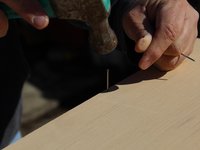
Start from the top and work your way down each side when putting the nails in so the board doesn't bow.
-
Use 2d penny nails and hammer them in along all four sides.
-
Five nails on each of the four sides is all you will need.
-
-
-
The shelf has its new plywood backing, so you can stand it up and you will feel the immediate difference in the sturdiness of your new shelf.
-
Place the shelf in the room of your choosing and place your books on it, knowing that it will not fall apart.
-
-






다른 5명이 해당 안내서를 완성하였습니다.

팀

Missouri Western, Team S1-G1, Cools Stephens Spring 2019 Missouri Western, Team S1-G1, Cools Stephens Spring 2019 회원
MWSU-COOLS STEPHENS-S19S1G1
1 회원
안내서 3개를 작성함
