소개
Mesh fabric is used in many items, and due to its thin composition, it can tear easily. We may feel inclined to throw away an entire item with mesh tears, as the damaged mesh can no longer function as it did before. In order to prevent unnecessary excess waste, use this guide to learn how to replace the damaged mesh on a backpack.
필요한 것
-
-
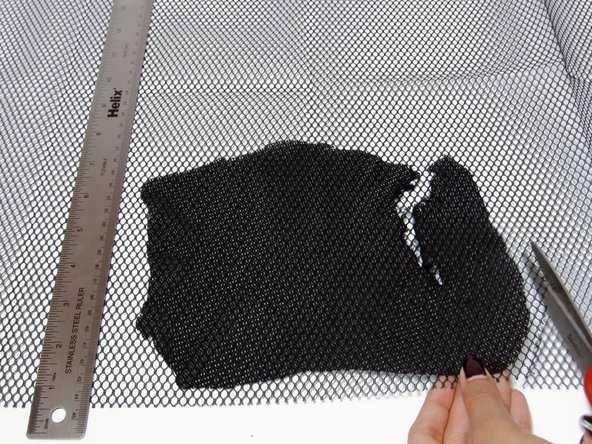
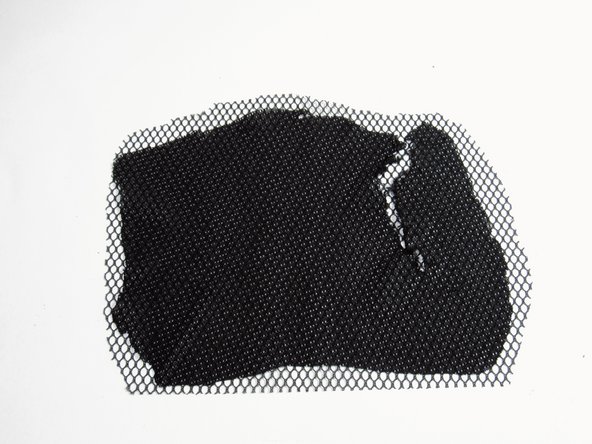
Use the mesh cut-out and a ruler to measure a new sheet of mesh.
-
Add 1 cm of seam allowance to each side.
-
-
-
-
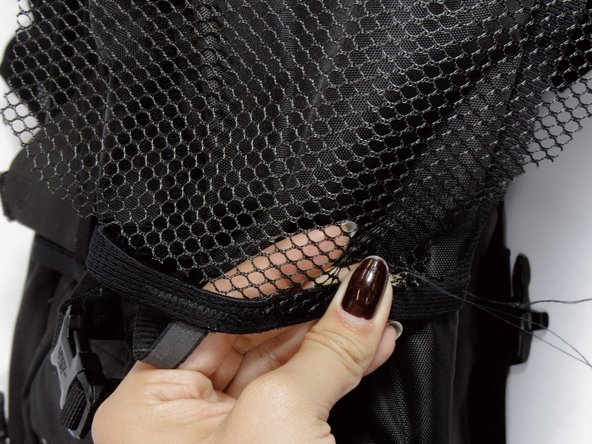
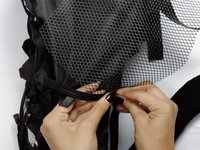
Sew the sides and the bottom of the mesh with an overcast stitch to the backpack.
-
-
-
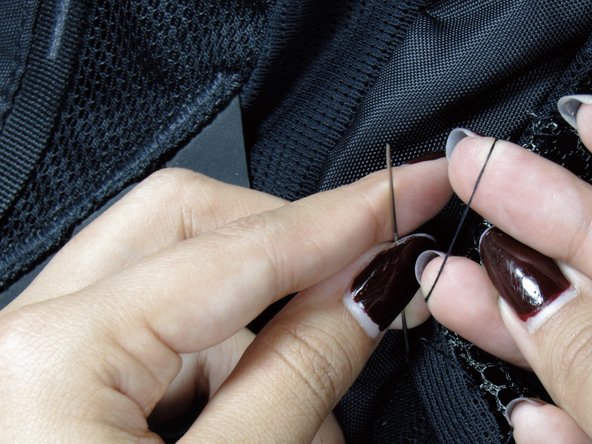
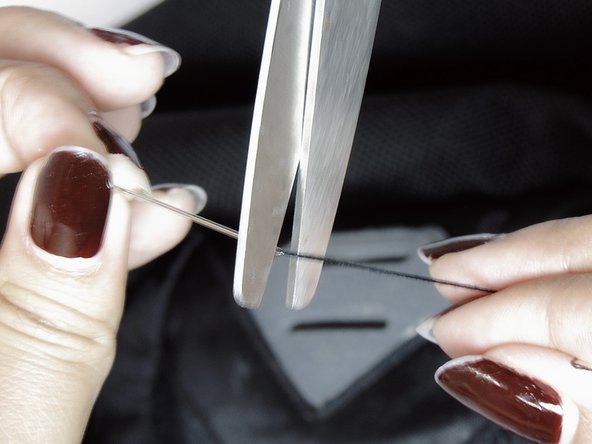
Once done sewing all sides, tie off your thread 2-4 times and cut off the excess.
-
-
-
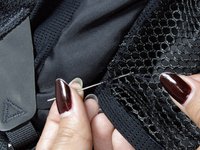
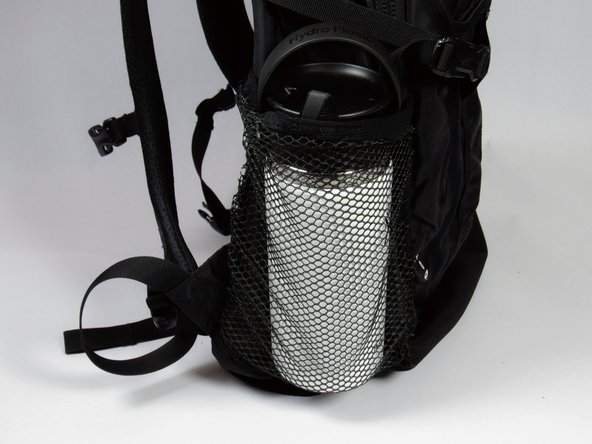
Insert an object to test the sturdiness of the new mesh. Pick up the backpack to see if the object can slip out and that the stitches are holding.
-
Check for any holes you might have missed while stitching
-
If there are stitches missing, return to step 4.
-


팀

UC Davis, Team 2-3, Vidal-Chiesa Fall 2024 UC Davis, Team 2-3, Vidal-Chiesa Fall 2024 회원
UCD-VIDAL-CHIESA-F24S2G3
3 회원들
안내서 1개 작성