소개
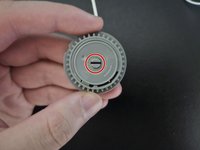
This guide demonstrates how to fix a Beyblade LR string launcher or BeyLauncher. When used over a long period, the string may not return. This may happen because the string got tangled, fell out of its housing, or a spring popped out of place. You may think you need to replace it, but you can fix it instead. Use this guide, and you can continue to battle using your LR string launcher.
필요한 것
-
-
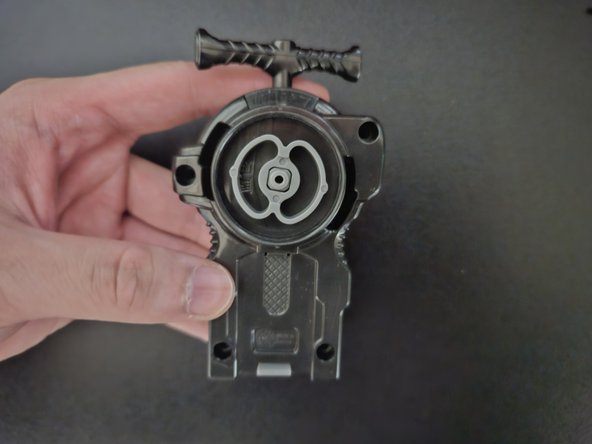
Use a Phillips #00 screwdriver to remove five screws from the bottom of the launcher.
 FixBot에 문의하기
-
-
-
-
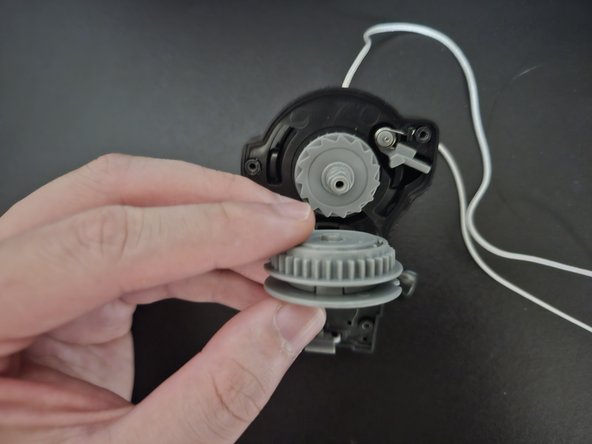
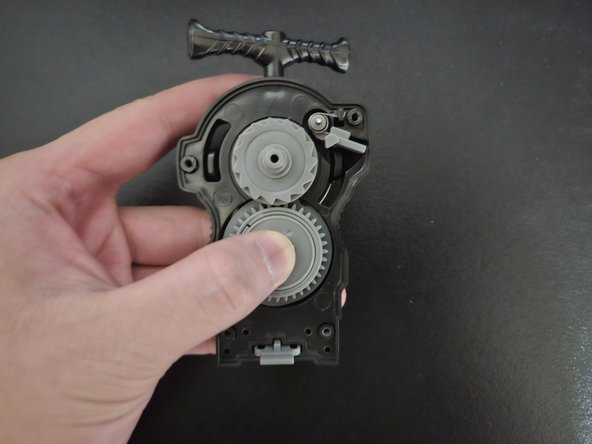
Use a flathead screwdriver to rotate the slot on the front of the gear counterclockwise 9-10 times.
-
-
-
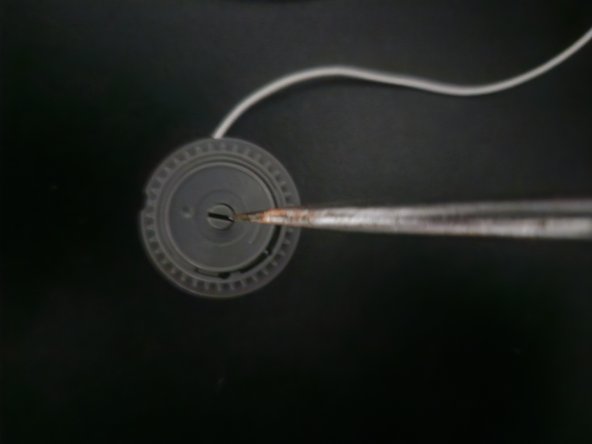
Keep the flathead screwdriver in the slot.
-
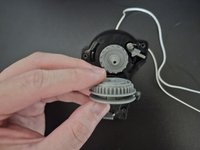
Place the gear back in the socket with the slot perpendicular.
-
Carefully remove the flathead screwdriver.
-
Push on the slot to recall the string.
-
-
-
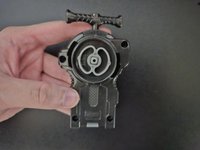
Put the cover back on the string launcher.
-
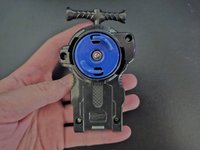
Use a Phillips #00 screwdriver to replace the five screws that secure the cover.
-


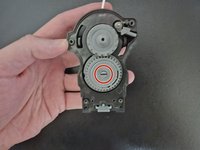


To reassemble, follow these instructions in reverse order.
다른 3명이 해당 안내서를 완성하였습니다.