주요 콘텐츠로 건너뛰기
수리 커뮤니티 가입 - 계정 만들기

Bissell OptiClean Cyclonic Vacuum Filter Replacements

필요한 것

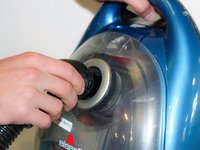
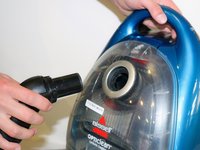
    1. Bissell OptiClean Cyclonic Vacuum Filter Replacements, Flex Hose with Handle: 1 단계, 이미지 2개 중 1개 Bissell OptiClean Cyclonic Vacuum Filter Replacements, Flex Hose with Handle: 1 단계, 이미지 2개 중 2개
      • Grab hold of both the flex hose handle and the extension wand.

      • Pull straight out to detach the handle from the extension wand.

      댓글 쓰기

    2. Bissell OptiClean Cyclonic Vacuum Filter Replacements: 2 단계, 이미지 1개 중 1개
      • Locate the lock clip on the other end of the flex hose.

      댓글 쓰기

    3. Bissell OptiClean Cyclonic Vacuum Filter Replacements: 3 단계, 이미지 2개 중 1개 Bissell OptiClean Cyclonic Vacuum Filter Replacements: 3 단계, 이미지 2개 중 2개
      • Hold down the lock clip to unlock the flex hose from the vacuum.

      • Remove the flex hose from the vacuum.

      댓글 쓰기

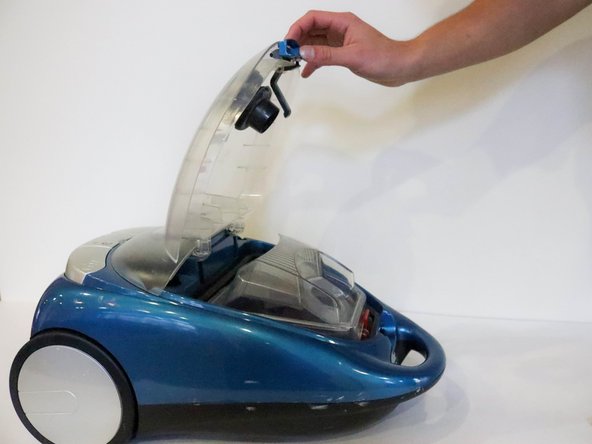
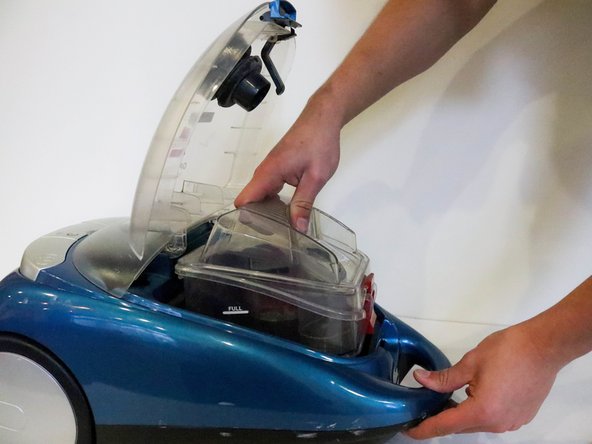
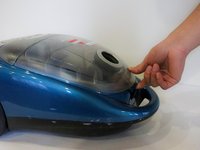
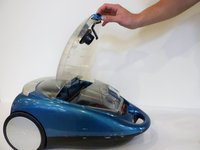
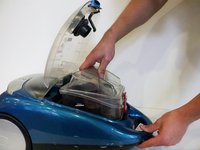
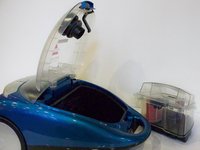
    1. Bissell OptiClean Cyclonic Vacuum Filter Replacements, Filters: 4 단계, 이미지 3개 중 1개 Bissell OptiClean Cyclonic Vacuum Filter Replacements, Filters: 4 단계, 이미지 3개 중 2개 Bissell OptiClean Cyclonic Vacuum Filter Replacements, Filters: 4 단계, 이미지 3개 중 3개
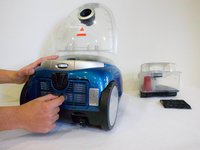
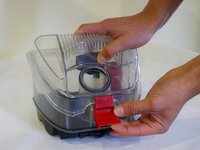
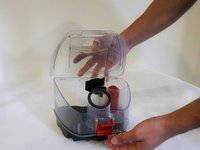
      • After removing hose, place vacuum on back and unclip the top compartment.

      • Open the compartment.

      • Pull the dirt collection box out of the vacuum.

      댓글 쓰기

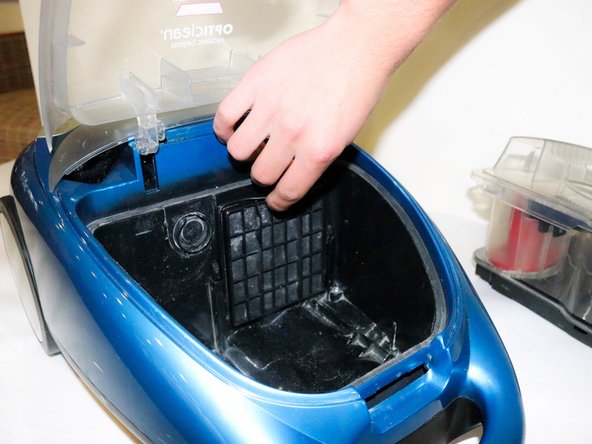
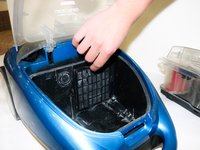
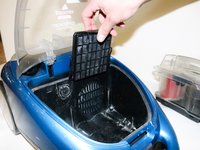
    2. Bissell OptiClean Cyclonic Vacuum Filter Replacements: 5 단계, 이미지 3개 중 1개 Bissell OptiClean Cyclonic Vacuum Filter Replacements: 5 단계, 이미지 3개 중 2개 Bissell OptiClean Cyclonic Vacuum Filter Replacements: 5 단계, 이미지 3개 중 3개
      • Place dirt collection box to the side.

      • Locate the Pre-Motor Filter.

      • Pull the filter out by grabbing the pull tab on top.

      댓글 쓰기

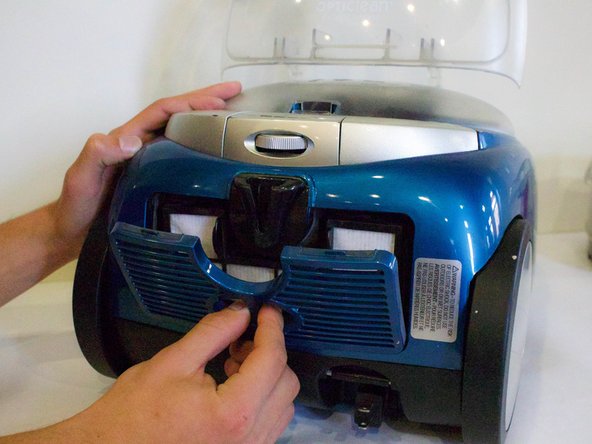
    3. Bissell OptiClean Cyclonic Vacuum Filter Replacements: 6 단계, 이미지 3개 중 1개 Bissell OptiClean Cyclonic Vacuum Filter Replacements: 6 단계, 이미지 3개 중 2개 Bissell OptiClean Cyclonic Vacuum Filter Replacements: 6 단계, 이미지 3개 중 3개
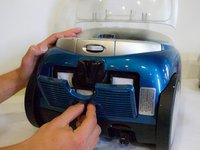
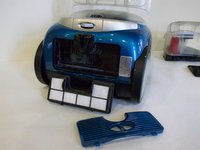
      • Turn vacuum around and locate the filter cover on the bottom.

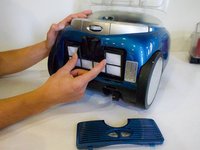
      • Place fingers in the opening and pull off the filter cover.

      • Place fingers on each tab on the Post-Motor HEPA Media Filter and pull out.

      댓글 쓰기

    4. Bissell OptiClean Cyclonic Vacuum Filter Replacements: 7 단계, 이미지 3개 중 1개 Bissell OptiClean Cyclonic Vacuum Filter Replacements: 7 단계, 이미지 3개 중 2개 Bissell OptiClean Cyclonic Vacuum Filter Replacements: 7 단계, 이미지 3개 중 3개
      • Take filter out to clean or replace.

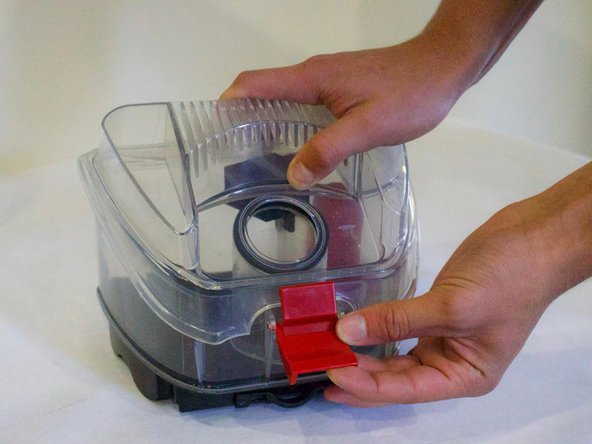
      • To clean Dirt Collection Box, unlatch lid and take off.

      댓글 쓰기

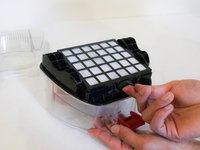
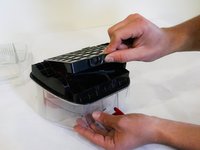
    5. Bissell OptiClean Cyclonic Vacuum Filter Replacements: 8 단계, 이미지 3개 중 1개 Bissell OptiClean Cyclonic Vacuum Filter Replacements: 8 단계, 이미지 3개 중 2개 Bissell OptiClean Cyclonic Vacuum Filter Replacements: 8 단계, 이미지 3개 중 3개
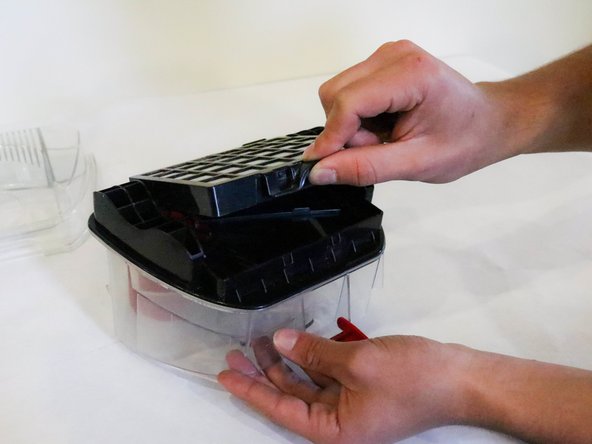
      • Flip Dirt Collection Box over and locate the push tab.

      • Push the Dirt Cup HEPA Media Filter up to take it off.

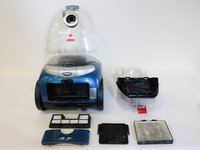
      • Picture 3 Shows all the filters taken out of the vacuum.

      댓글 쓰기

결론

To reassemble your device, follow these instructions in reverse order.

취소: 해당 안내서를 완성하지 않았습니다.

작성자

2다른 기여자 명과 함께

Austin Marshall

회원 가입일: 01/18/18

130 평판

안내서 1개를 작성함

Cal Poly, Team S12-G1, Banghart Winter 2018 Cal Poly, Team S12-G1, Banghart Winter 2018 회원

CPSU-BANGHART-W18S12G1

5 회원들

안내서 10개를 작성함

0가이드 댓글

댓글 쓰기

조회 통계:

지난 24시간: 1

지난 7일: 3

지난 30일: 25

전체 시간: 1,066