주요 콘텐츠로 건너뛰기
수리 커뮤니티 가입 - 계정 만들기

Brother PT-110 Keypad Contacts Replacement

필요한 것

    1. Brother PT-110 Keypad Contacts Replacement, Batteries: 1 단계, 이미지 2개 중 1개 Brother PT-110 Keypad Contacts Replacement, Batteries: 1 단계, 이미지 2개 중 2개
      • Push on the side of the cover, and remove it.

      댓글 쓰기

    2. Brother PT-110 Keypad Contacts Replacement: 2 단계, 이미지 1개 중 1개
      • Remove the batteries.

      댓글 쓰기

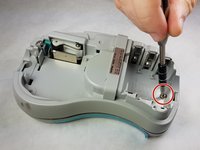
    1. Brother PT-110 Keypad Contacts Replacement, Back Plate: 3 단계, 이미지 2개 중 1개 Brother PT-110 Keypad Contacts Replacement, Back Plate: 3 단계, 이미지 2개 중 2개
      • Unscrew the two 9 mm Phillips #1 screws from the top and bottom.

      • Total: 2 x Screws

      댓글 쓰기

    2. Brother PT-110 Keypad Contacts Replacement: 4 단계, 이미지 1개 중 1개
      • First: To separate the top cover from the body, insert a spudger between the two halves.

      • Gently twist the spudger until the two halves separate. Do this in multiple spots around the perimeter of the cover to distribute the pressure.

      • DO NOT PULL HALVES APART. There are wired connections inside that must be disconnected before halves can be fully separated.

      댓글 쓰기

    3. Brother PT-110 Keypad Contacts Replacement: 5 단계, 이미지 1개 중 1개
      • Gently separate the two covers, ensuring wires are not taut.

      댓글 쓰기

    4. Brother PT-110 Keypad Contacts Replacement: 6 단계, 이미지 1개 중 1개
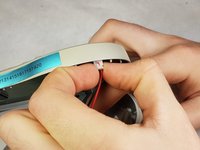
      • Gently grasp the ribbon wire and top cover, then gently pull the ribbon wire out of its connection.

      댓글 쓰기

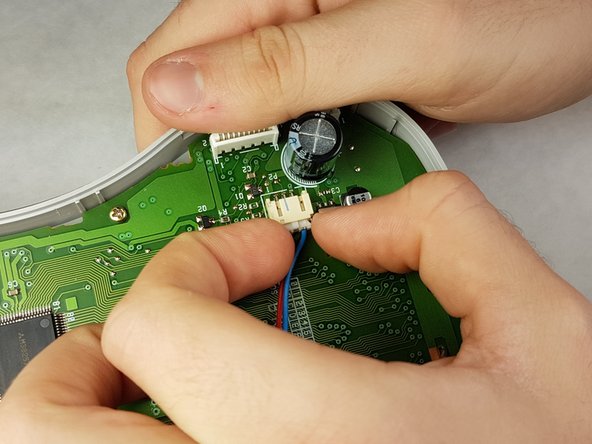
    5. Brother PT-110 Keypad Contacts Replacement: 7 단계, 이미지 2개 중 1개 Brother PT-110 Keypad Contacts Replacement: 7 단계, 이미지 2개 중 2개
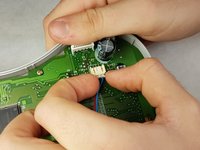
      • Carefully pinch the top of the connector.

      • Pull perpendicular to the device until the wire is disconnected.

      • It may require more force than expected to disconnect the wires.

      댓글 쓰기

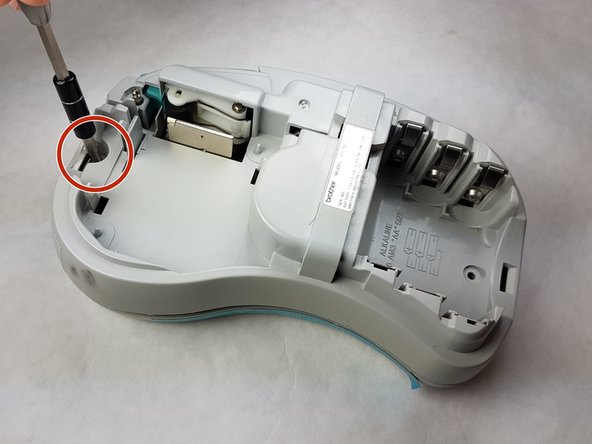
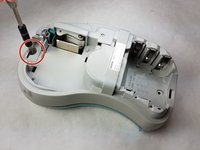
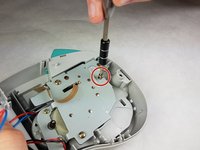
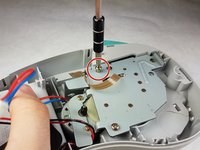
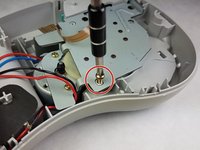
    6. Brother PT-110 Keypad Contacts Replacement: 8 단계, 이미지 3개 중 1개 Brother PT-110 Keypad Contacts Replacement: 8 단계, 이미지 3개 중 2개 Brother PT-110 Keypad Contacts Replacement: 8 단계, 이미지 3개 중 3개
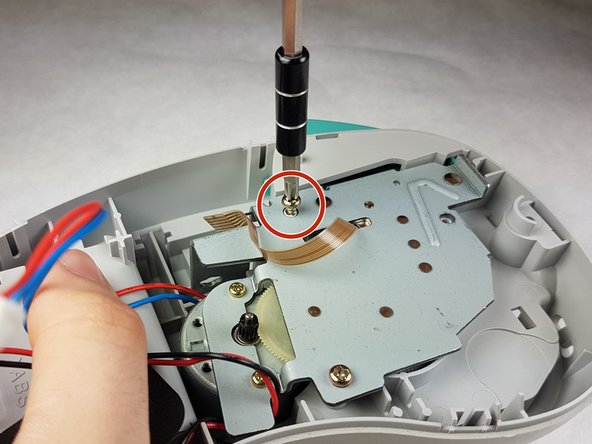
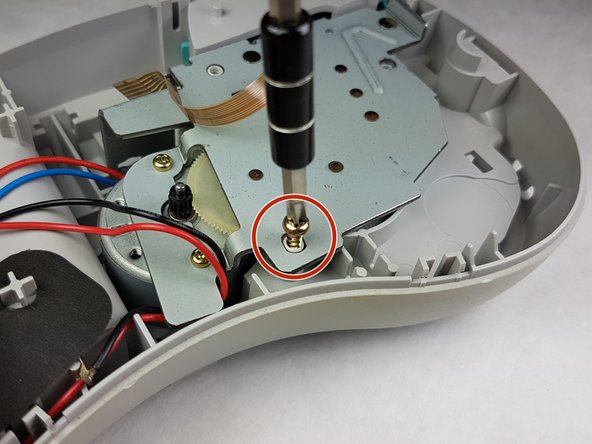
      • Unscrew the three 9 mm Phillips #1 screws shown.

      • Total: 3 x Screws

      댓글 쓰기

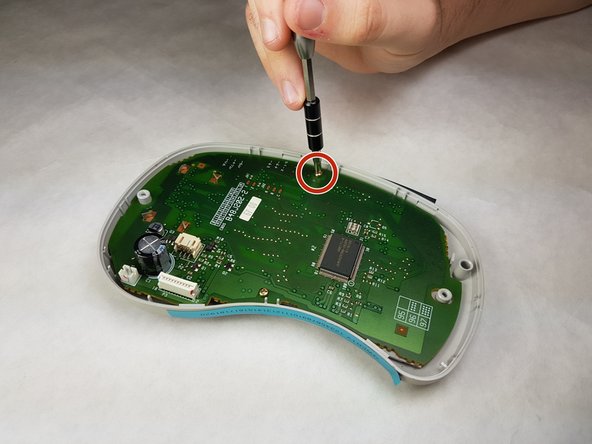
    1. Brother PT-110 Keypad Contacts Replacement, Keypad Contacts: 9 단계, 이미지 2개 중 1개 Brother PT-110 Keypad Contacts Replacement, Keypad Contacts: 9 단계, 이미지 2개 중 2개
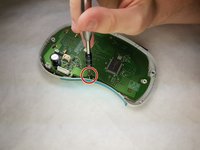
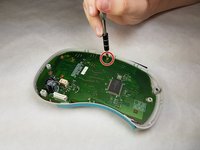
      • Unscrew both 6 mm Phillips #1 screws from the circuit board.

      • Total screws: 2

      댓글 쓰기

    2. Brother PT-110 Keypad Contacts Replacement: 10 단계, 이미지 1개 중 1개
      • Gently lift the circuit board out.

      댓글 쓰기

    3. Brother PT-110 Keypad Contacts Replacement: 11 단계, 이미지 1개 중 1개
      • Peel the keypad contacts up from the plastic casing.

      댓글 쓰기

결론

To reassemble your device, follow these instructions in reverse order.

취소: 해당 안내서를 완성하지 않았습니다.

작성자

3다른 기여자 명과 함께

Kimberly Larsen

회원 가입일: 09/28/16

279 평판

안내서 5개를 작성함

IUPUI, Team 1-1, Harley Fall 2016 IUPUI, Team 1-1, Harley Fall 2016 회원

IUPUI-HARLEY-F16S1G1

3 회원들

안내서 7개를 작성함

0가이드 댓글

댓글 쓰기

조회 통계:

지난 24시간: 0

지난 7일: 4

지난 30일: 23

전체 시간: 562