소개
If the camera on your CamPark BM20 baby monitor displays a black screen or is otherwise malfunctioning, the camera may be broken. Follow this guide to replace it.
The camera or lens can become damaged if the device is dropped or hit against a hard surface.
Before you begin the repair, refer to the CamPark BM20 Monitor Not Connecting to the Camera and CamPark BM20 Monitor Screen Not Turning On troubleshooting pages for potential solutions.
If you've determined the camera needs to be replaced, make sure the device is powered off, unplugged from the charging adapter, and the battery is removed.
필요한 것
-
-
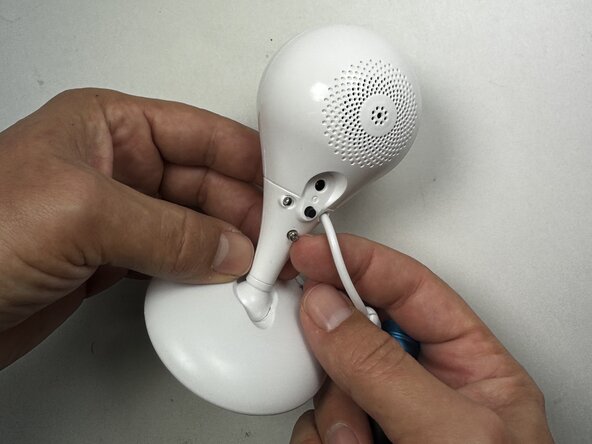
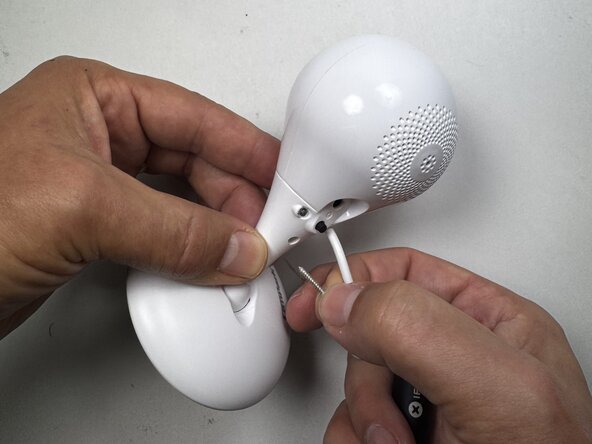
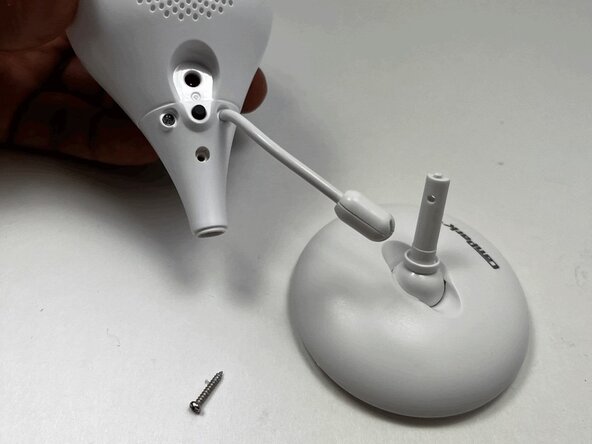
Use a Phillips #0 screwdriver to remove the 12.70 mm screw near the bottom of the back panel of the monitor.
 FixBot에 문의하기
-
-
-
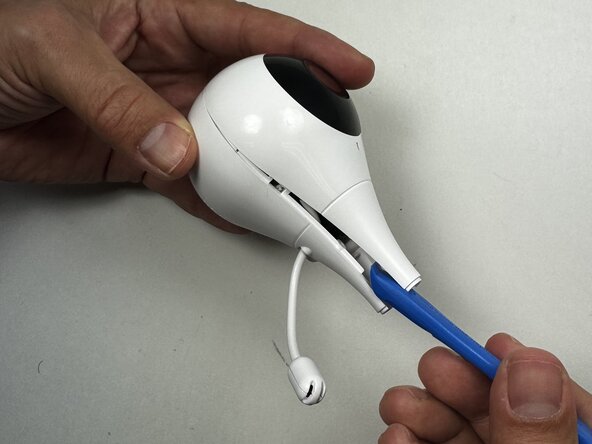
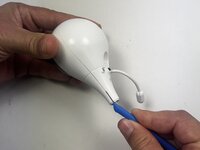
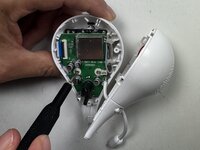
Use the iFixIt opening tool to separate the front and back of the camera unit.
-
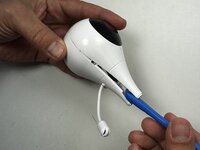
Place the end of the opening tool between the seams of the front and back of the camera and slide it around the perimeter to release the clips that connect them.
-
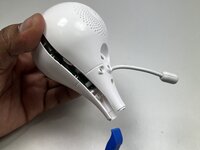
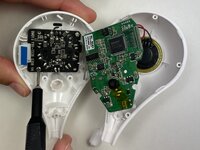
Carefully separate the front and back of the camera unit.
-
-
-
-
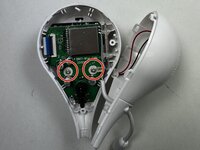
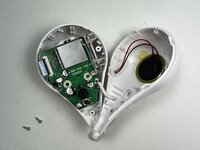
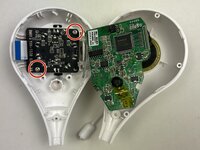
Use a Phillips #00 screwdriver to remove the two 6.35 mm screws from the motherboard.
-
-
-
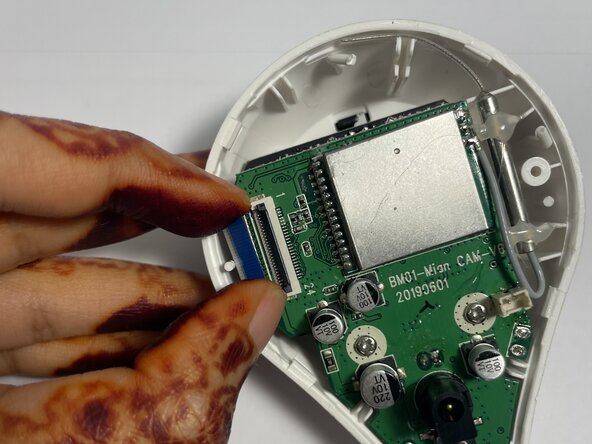
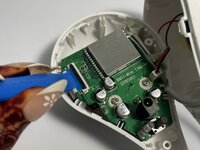
Use a spudger, opening tool, or a clean fingernail to flip up the black locking flap of the ZIF connector—this is the unlocked position.
-
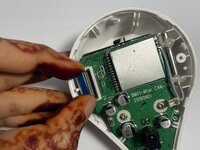
Use tweezers or your fingers to gently pull the cable out of its socket by the blue tab.
-
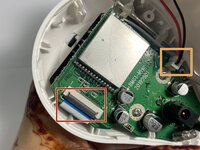
To disconnect the cable, first try pushing on alternating sides of the JST connector, like small sliding connectors.
-
If that doesn't work, use a pair of tweezers to firmly grip the sides of the connector and pull straight away from the socket. Hold the tweezers closer to the connector to get a better grip.
-
-
-
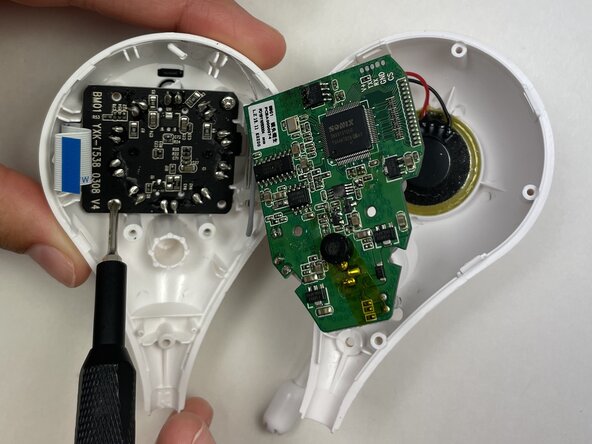
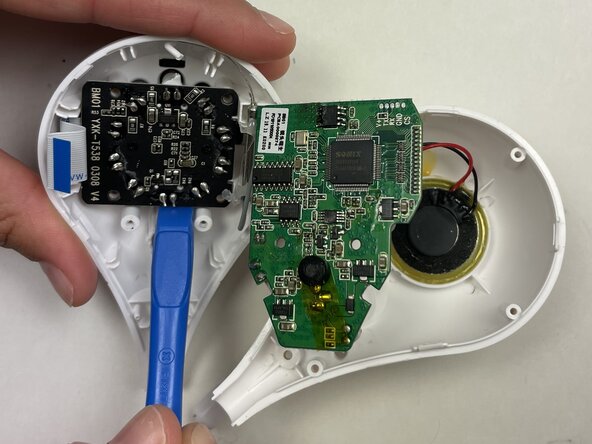
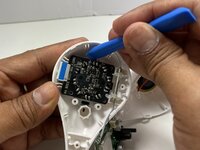
Use an opening tool or spudger to lift the motherboard from the top case and gently set it onto the other half of the casing to access the camera.
-
Remove the two 6.35 mm Phillips #0 screws holding the camera to the case.
-


To reassemble your device, follow these instructions in reverse order. Take your e-waste to an R2 or e-Stewards certified recycler.
