소개
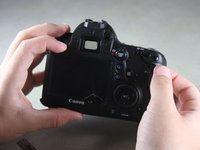
Use this guide to replace a nonfunctional MIC Port or Remote Socket on your EOS 6D.
필요한 것
-
-
Remove the 8mm Phillips #00 screw from the bottom of the front of the camera.
-
-
-
-
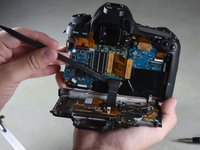
Rotate the camera so the bottom is facing you.
-
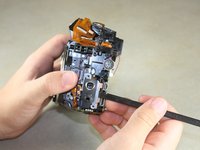
Use the spudger to remove the light brown ribbon wire from the bottom edge of the camera.
-


결론
To reassemble your device, follow these instructions in reverse order.
다른 2명이 해당 안내서를 완성하였습니다.
팀

Cal Poly, Team 11-48, Amido Spring 2014 Cal Poly, Team 11-48, Amido Spring 2014 회원
CPSU-AMIDO-S14S11G48
4 회원들
안내서 18개를 작성함