소개
This guide teaches how to to install the back panel latch on your camera.
필요한 것
-
-
Using a #00 Phillips screw driver, remove three 4.4 mm Phillips screws as indicated by the red circles.
 FixBot에 문의하기
-
-
-
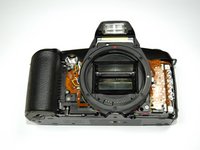
Using your finger, peel back the textured grip so the components are separated.
-
-
-
-
Using the flat end of a spudger, loosen the connection between the front panel and the device.
-
Remove the front panel using your hands.
-
-
-
Using a 00 Phillips screw driver, unscrew the two screws located on the side of the camera.
-
Two 4.3 mm Phillips screws
-
-
-
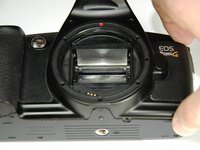
Open the back panel by pushing the locking latch up.
-
Lift the latch cover off of the camera body.
-
-
-
Slide the side latch (for the back door) up and then lift straight away from the camera body.
-


To reassemble your device, follow these instructions in reverse order.
팀

Cal Poly, Team 14-9, Forte Spring 2012 Cal Poly, Team 14-9, Forte Spring 2012 회원
CPSU-FORTE-S12S14G9
5 회원들
안내서 36개를 작성함