주요 콘텐츠로 건너뛰기
수리 커뮤니티 가입 - 계정 만들기

Canon ImageCLASS MF4350d Speaker Replacement

필요한 것

    1. Canon ImageCLASS MF4350d Speaker Replacement, Front Paneling: 1 단계, 이미지 1개 중 1개
      • Lift the printer lid up as shown in the photo.

      댓글 쓰기

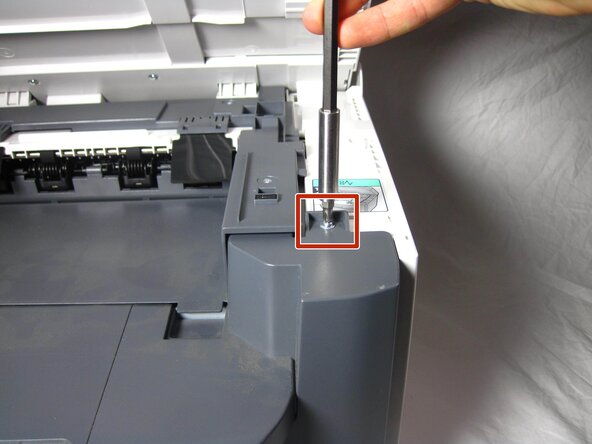
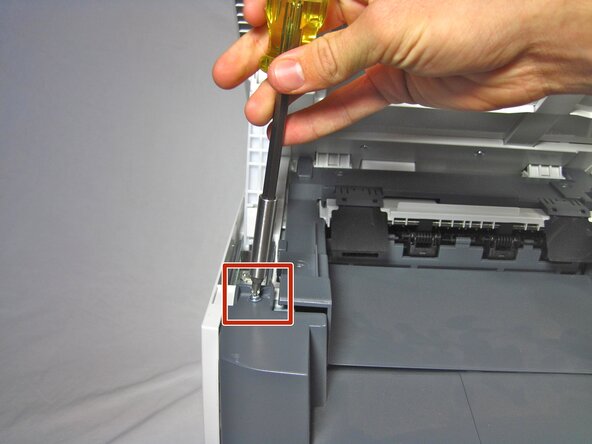
    2. Canon ImageCLASS MF4350d Speaker Replacement: 2 단계, 이미지 2개 중 1개 Canon ImageCLASS MF4350d Speaker Replacement: 2 단계, 이미지 2개 중 2개
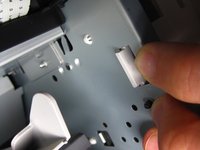
      • Locate and remove the two 10mm side screws. There is one on each side.

      댓글 쓰기

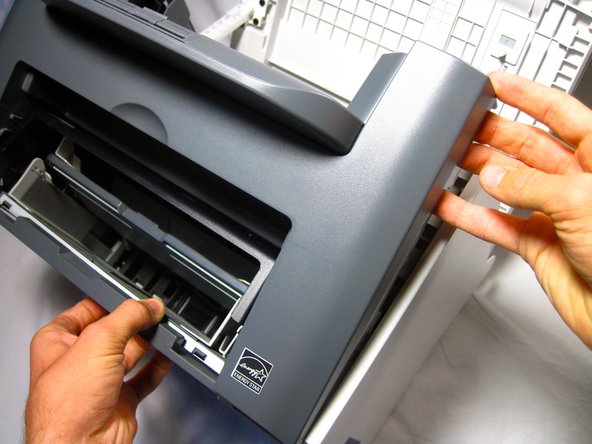
    3. Canon ImageCLASS MF4350d Speaker Replacement: 3 단계, 이미지 2개 중 1개 Canon ImageCLASS MF4350d Speaker Replacement: 3 단계, 이미지 2개 중 2개
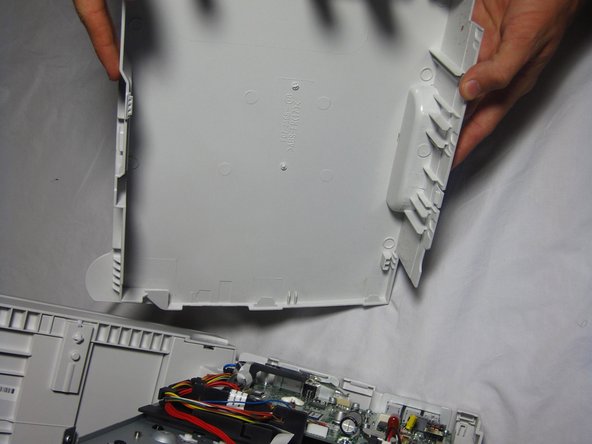
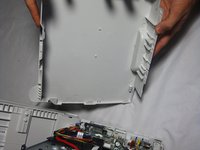
      • Unhook the plastic panel from the printer starting from the top.

      • You may need to wiggle the panel a bit to loosen it.

      • To remove the bottom part of the paneling gently lay the printer on its back.

      • The scanner lid needs to be supported when moving the printer

      댓글 쓰기

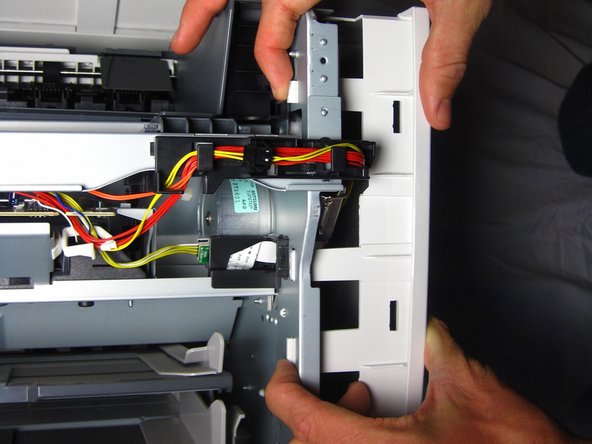
    1. Canon ImageCLASS MF4350d Speaker Replacement, Right Side Paneling: 4 단계, 이미지 3개 중 1개 Canon ImageCLASS MF4350d Speaker Replacement, Right Side Paneling: 4 단계, 이미지 3개 중 2개 Canon ImageCLASS MF4350d Speaker Replacement, Right Side Paneling: 4 단계, 이미지 3개 중 3개
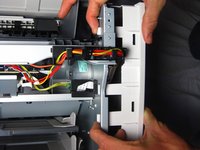
      • Gently unhook the right side paneling (as looking at the printer's front face) from the printer.

      • Use a gentle back and forth motion to wiggle the hooks out.

      댓글 쓰기

    1. Canon ImageCLASS MF4350d Speaker Replacement, Speaker: 5 단계, 이미지 1개 중 1개
      • Lay printer on its left side for better access to the speaker.

      • The scanner lid needs to be supported when moving the printer

      댓글 쓰기

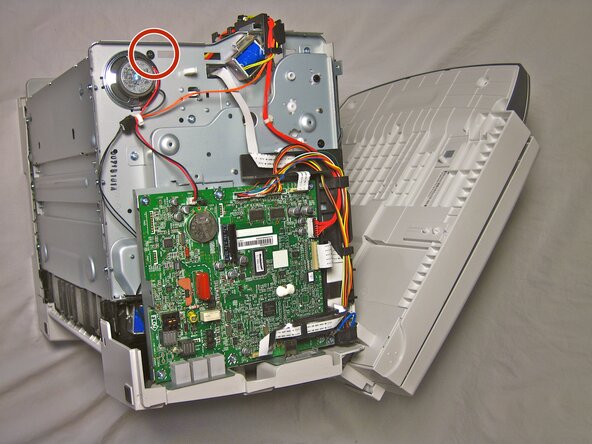
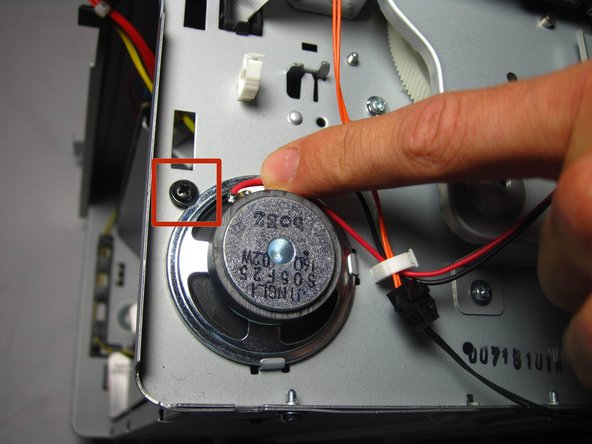
    2. Canon ImageCLASS MF4350d Speaker Replacement: 6 단계, 이미지 2개 중 1개 Canon ImageCLASS MF4350d Speaker Replacement: 6 단계, 이미지 2개 중 2개
      • Using a Phillips head screw driver, unscrew the 7mm screw.

      댓글 쓰기

    3. Canon ImageCLASS MF4350d Speaker Replacement: 7 단계, 이미지 3개 중 1개 Canon ImageCLASS MF4350d Speaker Replacement: 7 단계, 이미지 3개 중 2개 Canon ImageCLASS MF4350d Speaker Replacement: 7 단계, 이미지 3개 중 3개
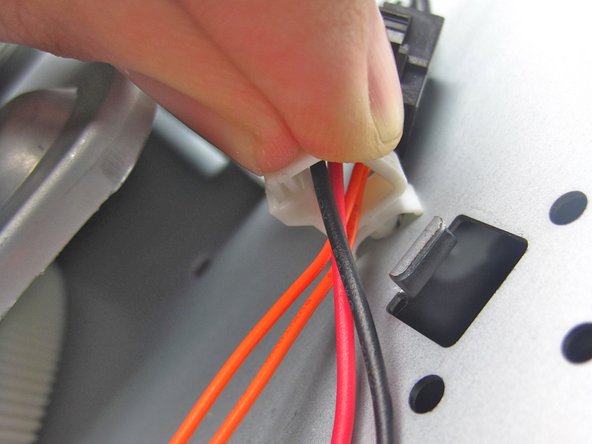
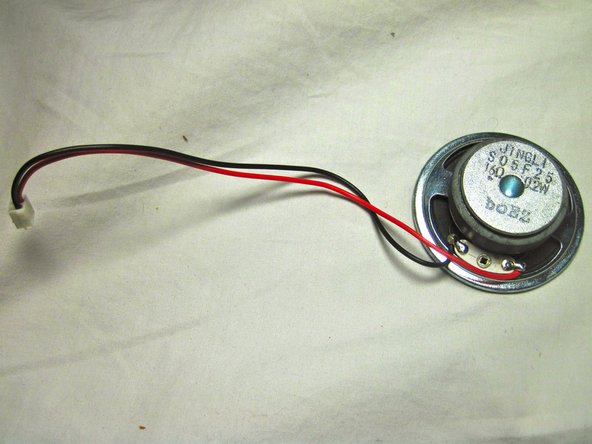
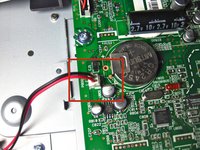
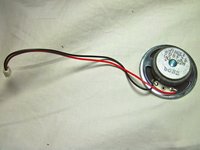
      • Locate the red and black wires connected to the speaker.

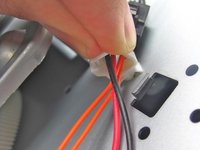
      • Undo the white clip holding the wires in place by pinching the tab on the top.

      • Remove the red and black wires from the wire bundle.

      • When replacing the old speaker, do not touch any part of the new speaker that is not metal other than the wires. Doing so could damage the speaker.

      • Lift out the speaker

      댓글 쓰기

결론

To reassemble your device, follow these instructions in reverse order.

취소: 해당 안내서를 완성하지 않았습니다.

다른 한 분이 해당 안내서를 완성하였습니다.

작성자

6다른 기여자 명과 함께

Helena Yanez

회원 가입일: 09/29/13

470 평판

안내서 4개를 작성함

Cal Poly, Team 13-1, Forte Fall 2013 Cal Poly, Team 13-1, Forte Fall 2013 회원

CPSU-FORTE-F13S13G1

5 회원들

안내서 17개를 작성함

0가이드 댓글

댓글 쓰기

조회 통계:

지난 24시간: 0

지난 7일: 5

지난 30일: 29

전체 시간: 1,823