주요 콘텐츠로 건너뛰기
수리 커뮤니티 가입 - 계정 만들기

Canon PowerShot A3400 IS Flash Assembly Replacement

필요한 것

    1. Canon PowerShot A3400 IS Flash Assembly Replacement, Battery: 1 단계, 이미지 1개 중 1개
      • Place thumb on area right next to where it says open and slide to the right to open.

      댓글 쓰기

    2. Canon PowerShot A3400 IS Flash Assembly Replacement: 2 단계, 이미지 1개 중 1개
      • Remove the battery by pushing the orange object outwards; the battery will spring up and out.

      댓글 쓰기

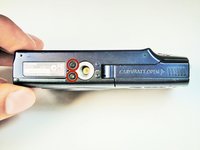
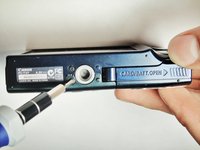
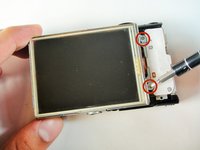
    1. Canon PowerShot A3400 IS Flash Assembly Replacement, Plastic Case: 3 단계, 이미지 2개 중 1개 Canon PowerShot A3400 IS Flash Assembly Replacement, Plastic Case: 3 단계, 이미지 2개 중 2개
      • Remove the two 5.00 mm screws in the bottom of the casing with a Philips #000 screwdriver

      댓글 쓰기

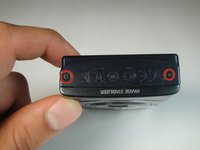
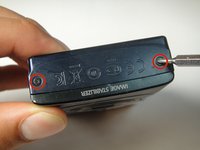
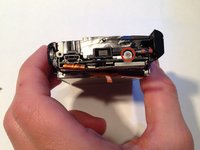
    2. Canon PowerShot A3400 IS Flash Assembly Replacement: 4 단계, 이미지 2개 중 1개 Canon PowerShot A3400 IS Flash Assembly Replacement: 4 단계, 이미지 2개 중 2개
      • Place the camera on to the side that has the image stabilizer label.

      • Remove the 5.00 mm screws that are on this side using the screwdriver.

      댓글 쓰기

    3. Canon PowerShot A3400 IS Flash Assembly Replacement: 5 단계, 이미지 1개 중 1개
      • Place camera on to the side with the A/V Out Digital Cover facing up.

      • Remove this visible 5.00 mm screw.

      • Pull the A/V Out Digital cover back to uncover the next step.

      댓글 쓰기

    4. Canon PowerShot A3400 IS Flash Assembly Replacement: 6 단계, 이미지 1개 중 1개
      • Remove the 5.00 mm screw from behind the cover.

      댓글 쓰기

    5. Canon PowerShot A3400 IS Flash Assembly Replacement: 7 단계, 이미지 1개 중 1개
      • Make sure the battery cover is open.

      댓글 쓰기

    6. Canon PowerShot A3400 IS Flash Assembly Replacement: 8 단계, 이미지 2개 중 1개 Canon PowerShot A3400 IS Flash Assembly Replacement: 8 단계, 이미지 2개 중 2개
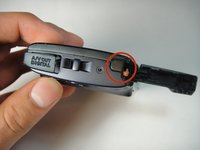
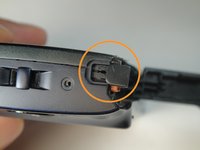
      • Turn the camera onto the side with the A/V out Digital cover.

      • Use your finger to pull this tab to the right.

      댓글 쓰기

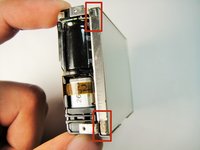
    7. Canon PowerShot A3400 IS Flash Assembly Replacement: 9 단계, 이미지 3개 중 1개 Canon PowerShot A3400 IS Flash Assembly Replacement: 9 단계, 이미지 3개 중 2개 Canon PowerShot A3400 IS Flash Assembly Replacement: 9 단계, 이미지 3개 중 3개
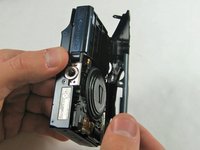
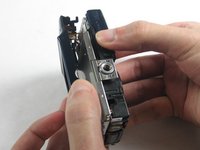
      • Remove the lens side by using your fingers or a spudger to pry it gently open.

      • Try to pry it loose all around that side so that it is easier to pull off.

      댓글 쓰기

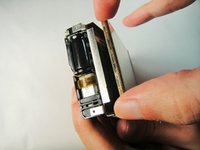
    8. Canon PowerShot A3400 IS Flash Assembly Replacement: 10 단계, 이미지 3개 중 1개 Canon PowerShot A3400 IS Flash Assembly Replacement: 10 단계, 이미지 3개 중 2개 Canon PowerShot A3400 IS Flash Assembly Replacement: 10 단계, 이미지 3개 중 3개
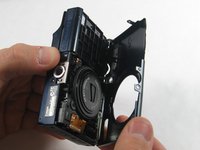
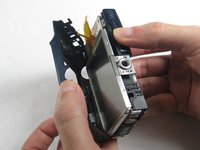
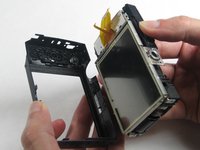
      • Using your fingers, pull the screen side gently off.

      • Try to loosen it all around that side so that it is easier to try and pull it off.

      댓글 쓰기

    1. Canon PowerShot A3400 IS Flash Assembly Replacement, Flash: 11 단계, 이미지 3개 중 1개 Canon PowerShot A3400 IS Flash Assembly Replacement, Flash: 11 단계, 이미지 3개 중 2개 Canon PowerShot A3400 IS Flash Assembly Replacement, Flash: 11 단계, 이미지 3개 중 3개
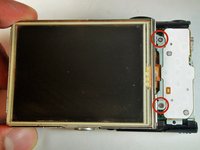
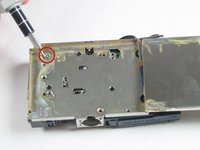
      • Remove the three 5 mm screws

      댓글 쓰기

    2. Canon PowerShot A3400 IS Flash Assembly Replacement: 12 단계, 이미지 3개 중 1개 Canon PowerShot A3400 IS Flash Assembly Replacement: 12 단계, 이미지 3개 중 2개 Canon PowerShot A3400 IS Flash Assembly Replacement: 12 단계, 이미지 3개 중 3개
      • Remove the screen by pulling at the two points as shown.

      댓글 쓰기

    3. Canon PowerShot A3400 IS Flash Assembly Replacement: 13 단계, 이미지 2개 중 1개 Canon PowerShot A3400 IS Flash Assembly Replacement: 13 단계, 이미지 2개 중 2개
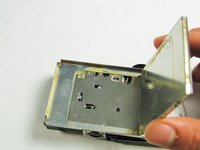
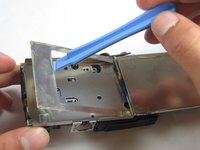
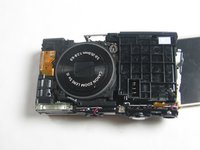
      • Remove the metal plate with the plastic opening tool.

      댓글 쓰기

    4. Canon PowerShot A3400 IS Flash Assembly Replacement: 14 단계, 이미지 2개 중 1개 Canon PowerShot A3400 IS Flash Assembly Replacement: 14 단계, 이미지 2개 중 2개
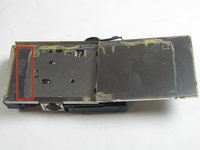
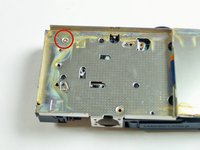
      • Remove the 5 mm screw

      댓글 쓰기

    5. Canon PowerShot A3400 IS Flash Assembly Replacement: 15 단계, 이미지 3개 중 1개 Canon PowerShot A3400 IS Flash Assembly Replacement: 15 단계, 이미지 3개 중 2개 Canon PowerShot A3400 IS Flash Assembly Replacement: 15 단계, 이미지 3개 중 3개
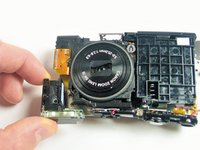
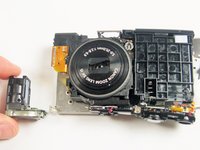
      • Gently pull the flash assembly away.

      댓글 쓰기

결론

To reassemble your device, follow these instructions in reverse order.

취소: 해당 안내서를 완성하지 않았습니다.

다른 2명이 해당 안내서를 완성하였습니다.

작성자

3다른 기여자 명과 함께

Emily Pretorius

회원 가입일: 01/13/15

349 평판

안내서 3개를 작성함

1가이드 댓글

easy to take off but waste of putting it back together..

The Heat - 답글 공유

댓글 쓰기

조회 통계:

지난 24시간: 1

지난 7일: 12

지난 30일: 28

전체 시간: 988