주요 콘텐츠로 건너뛰기
수리 커뮤니티 가입 - 계정 만들기

Casio G'zOne Commando Verizon MIL-SPEC Camera Replacement

필요한 것

    1. Casio G'zOne Commando Verizon MIL-SPEC Camera Replacement, Battery: 1 단계, 이미지 1개 중 1개
      • Slide the slider on the back of the phone to the free position.

      댓글 쓰기

    2. Casio G'zOne Commando Verizon MIL-SPEC Camera Replacement: 2 단계, 이미지 1개 중 1개
      • Using a plastic opening tool, gently lift open the back panel from bottom of the panel.

      댓글 쓰기

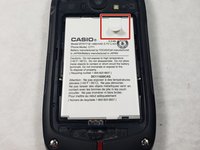
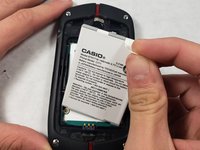
    3. Casio G'zOne Commando Verizon MIL-SPEC Camera Replacement: 3 단계, 이미지 2개 중 1개 Casio G'zOne Commando Verizon MIL-SPEC Camera Replacement: 3 단계, 이미지 2개 중 2개
      • Pull the white battery tab upwards and remove the battery.

      댓글 쓰기

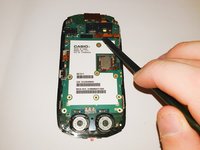
    1. Casio G'zOne Commando Verizon MIL-SPEC Camera Replacement, Motherboard: 4 단계, 이미지 1개 중 1개
      • Remove the four 6mm Y0 screws from the corners of the device.

      댓글 쓰기

    2. Casio G'zOne Commando Verizon MIL-SPEC Camera Replacement: 5 단계, 이미지 1개 중 1개
      • Remove the four 5mm Y0 screws from the back of the device.

      댓글 쓰기

    3. Casio G'zOne Commando Verizon MIL-SPEC Camera Replacement: 6 단계, 이미지 1개 중 1개
      • Using a spudger, pry away the motherboard from its compartment, by inserting the spudger in the compartment and lifting upwards until fully out.

      댓글 쓰기

    4. Casio G'zOne Commando Verizon MIL-SPEC Camera Replacement: 7 단계, 이미지 1개 중 1개
      • Lastly, using your hands, separate the motherboard from its compartment.

      댓글 쓰기

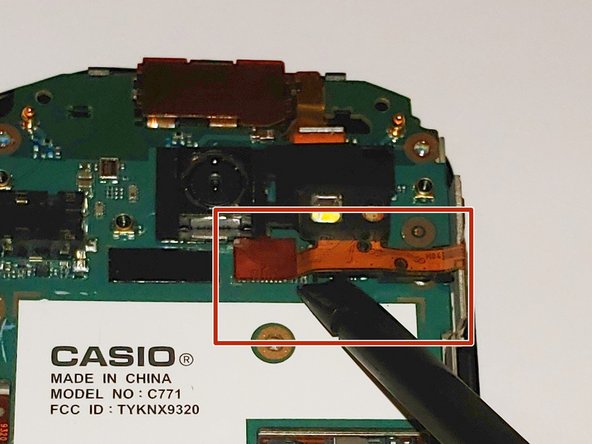
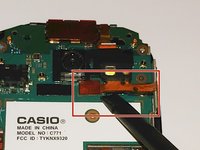
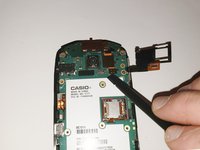
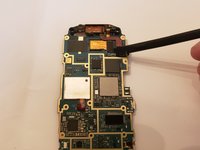
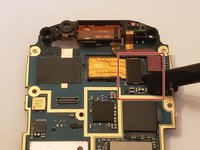
    1. Casio G'zOne Commando Verizon MIL-SPEC Camera Replacement, Camera: 8 단계, 이미지 3개 중 1개 Casio G'zOne Commando Verizon MIL-SPEC Camera Replacement, Camera: 8 단계, 이미지 3개 중 2개 Casio G'zOne Commando Verizon MIL-SPEC Camera Replacement, Camera: 8 단계, 이미지 3개 중 3개
      • Using a spudger, gently lift up the orange connector.

      댓글 쓰기

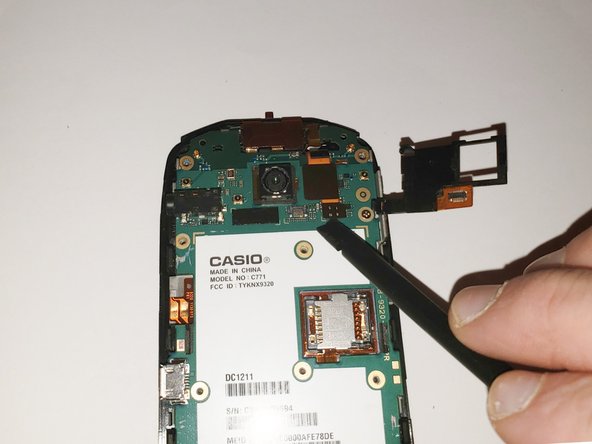
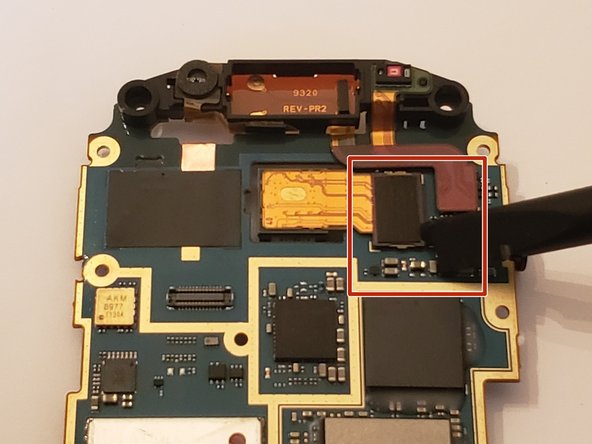
    2. Casio G'zOne Commando Verizon MIL-SPEC Camera Replacement: 9 단계, 이미지 2개 중 1개 Casio G'zOne Commando Verizon MIL-SPEC Camera Replacement: 9 단계, 이미지 2개 중 2개
      • Flip over the motherboard

      • Using a spudger, lift up the small black connector and remove the camera.

      댓글 쓰기

결론

To reassemble your device, follow these instructions in reverse order.

취소: 해당 안내서를 완성하지 않았습니다.

작성자

1다른 기여자 명과 함께

Zack Almeida

회원 가입일: 10/24/18

392 평판

안내서 4개를 작성함

UMass Dartmouth, Team S3-G7, Peak Fall 2018 UMass Dartmouth, Team S3-G7, Peak Fall 2018 회원

UMASSD-PEAK-F18S3G7

3 회원들

안내서 40개를 작성함

0가이드 댓글

댓글 쓰기

조회 통계:

지난 24시간: 0

지난 7일: 4

지난 30일: 29

전체 시간: 423