소개
More than just a busted light bulb below your ceiling fan? Use this guide to replace the lighting fixture and restore the visual brilliance of your room.
필요한 것
-
-
-
Find your circuit breaker panel and turn off the breaker that corresponds to your ceiling lights.
-
Do this by pushing it to the right.
-
Also flip your light switch to off.
 FixBot에 문의하기
-
-
-
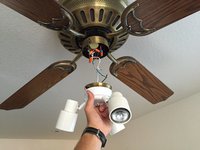
Remove the two 1.4 mm Phillips head screws that hold the fixture to the fan itself.
-
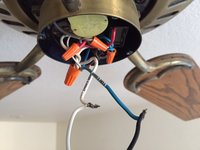
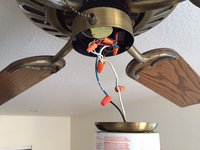
Once loose, pull down to expose the two connecting wires.
-
-
-
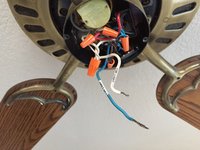
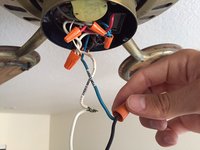
Disconnect these wires by twisting the caps in a counter-clockwise direction.
-
You only need to disconnect the wires coming from the lighting fixture.
-
Once both caps are removed, simply pull the wires apart to remove the fixture.
-
-
-
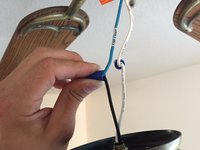
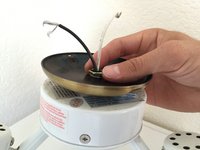
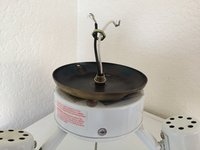
Loosen the nut holding the ceiling fan piece to the lighting fixture.
-
This step may require a crescent wrench if finger force is not enough.
-
-
-
-
Pull upwards to remove the fan piece that holds the light fixture.
-
Your model may require you to twist this piece in a counter-clockwise motion to remove.
-
-
-
Switch out the old fixture with your new fixture by doing the last two steps in reverse order.
-
-
-
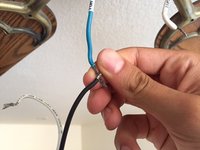
To connect your new fixture, locate the black wire from your light and the colored wire from the fan.
-
Twist these together. Do the same with the two white wires.
-
-
-
Your new light fixture should come with replacement caps. Twist these in a clockwise motion over your wire ends to ensure connection.
-
-
-
Flip your breaker back on, turn on your light switch, and enjoy your new lights!
-
-










To reassemble your device, follow these instructions in reverse order.
다른 12명이 해당 안내서를 완성하였습니다.

팀

Cal Poly, Team 14-1, Green Fall 2015 Cal Poly, Team 14-1, Green Fall 2015 회원
CPSU-GREEN-F15S14G1
4 회원들
안내서 4개를 작성함
11가이드 댓글
Amazingly instructive, informative and concise. Brilliant.
It's awesome
Just what I needed. Thanks.
bob.mohler - 답글 공유
Does it have remote control??
Could someone provide the name of the light fixture used in the demonstration?
THOMAS DUFF - 답글 공유
